
Is your garden cart looking a little worse for wear? A clean garden cart not only looks good but also works more efficiently.
You know that feeling of satisfaction when you see your garden tools neatly organized and ready for action? Imagine getting that same feeling every time you look at your garden cart. In this guide, you’ll discover simple yet effective steps to transform your garden cart from grimy to gleaming.
With just a little bit of effort, you can extend the life of your cart and make your gardening tasks a breeze. Curious to learn how? Keep reading, and you’ll find out just how easy it is to maintain this vital garden companion.
Gather Cleaning Supplies
Cleaning a garden cart keeps it working well and looking good. Before you start, gather all the supplies you need. This saves time and makes the job easier.
Having the right tools and cleaning agents helps remove dirt and grime safely. It also protects the cart’s materials from damage.
Essential Tools
Several basic tools help you clean your garden cart well. These tools remove dirt, mud, and debris from hard-to-reach places.
- Stiff-bristled brush for scrubbing tough dirt
- Soft cloth or sponge for wiping surfaces
- Bucket to hold water and cleaning solutions
- Garden hose or spray bottle for rinsing
- Protective gloves to keep hands clean
These tools help clean different parts of the cart, including wheels, handles, and the tray.
Recommended Cleaning Agents
Choosing the right cleaning agents removes dirt without harming the cart’s finish. Mild cleaners work best for garden carts.
- Mild dish soap mixed with water for general cleaning
- White vinegar solution to remove mineral deposits
- Baking soda paste for scrubbing stains
- Water only for rinsing after cleaning
Avoid harsh chemicals that can damage paint or metal parts. Test new cleaners on a small area first.

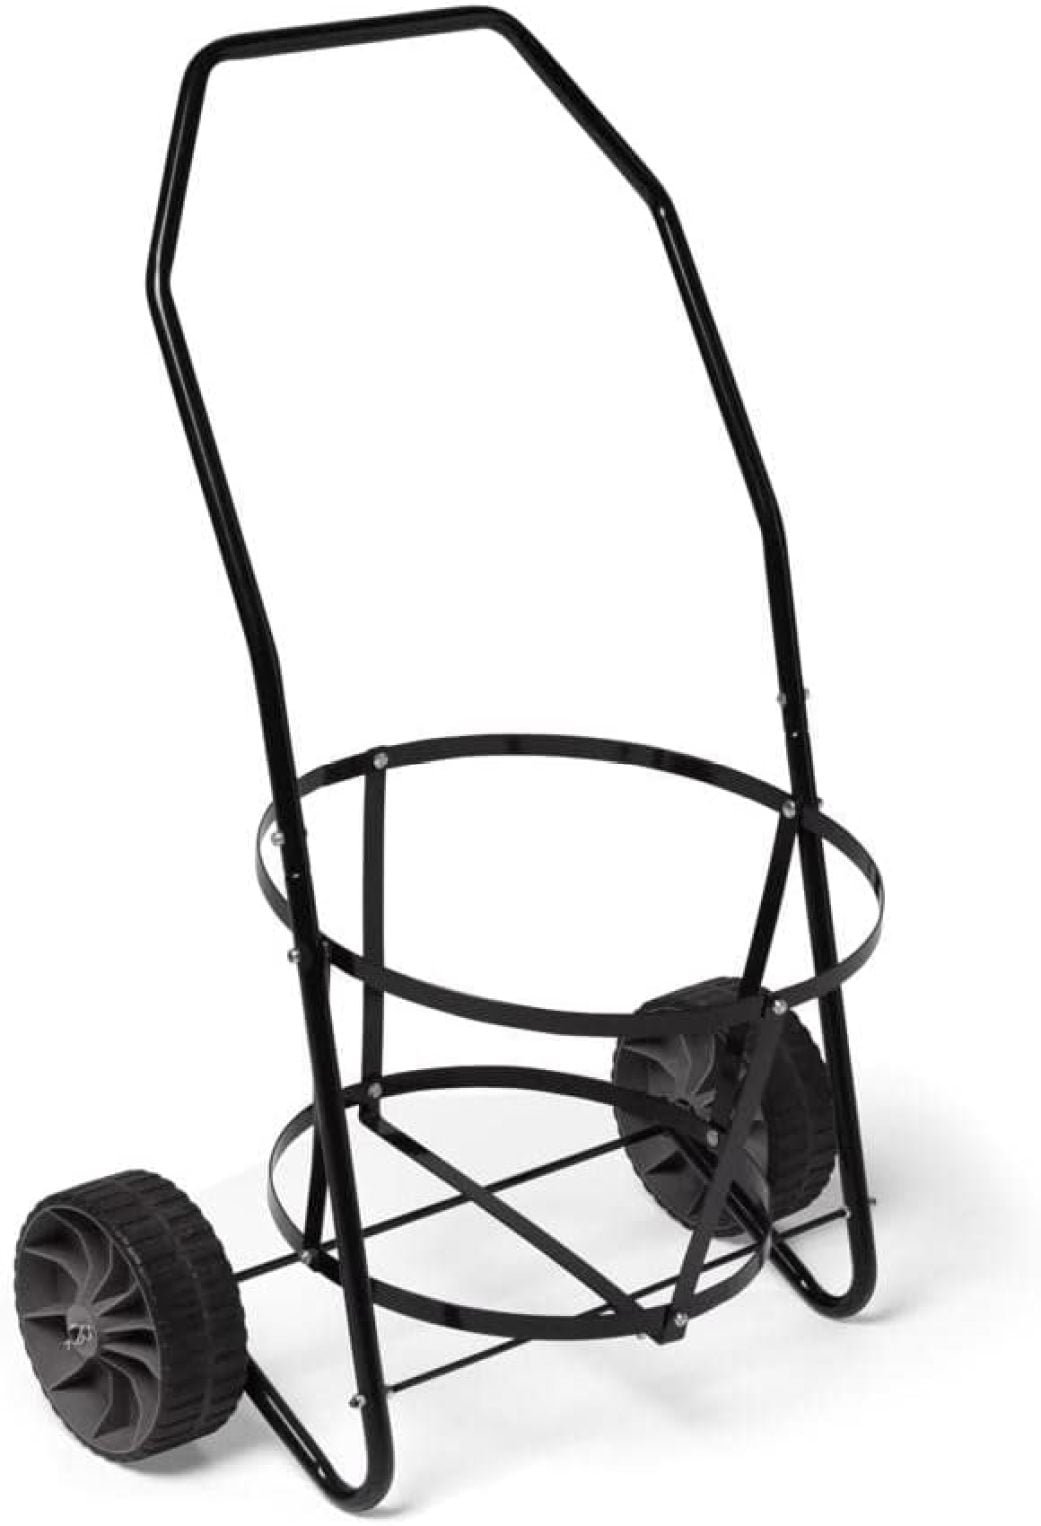
Credit: www.walmart.com
Prepare The Cart
Cleaning a garden cart starts with proper preparation. Getting the cart ready helps make the cleaning process easier and more effective.
Begin by clearing away dirt and parts that can be removed. This ensures no areas are missed and the cart stays in good shape.
Remove Debris
Clear out all dirt, leaves, and other debris from the cart. Use a brush or a cloth to wipe down surfaces and corners.
- Shake the cart to loosen dirt
- Use a hand broom to sweep off loose debris
- Wipe with a damp cloth to remove stuck dirt
- Check the wheels for mud or grass
Disassemble Removable Parts
Take off parts like handles, side panels, or wheels if possible. This lets you clean hard-to-reach places and prevents damage.
| Part | How to Remove | Cleaning Tip |
| Handles | Unscrew bolts with wrench | Soak in soapy water |
| Side Panels | Detach clips or screws | Use a soft brush |
| Wheels | Remove axle pins | Check for debris inside |
Wash The Cart
Cleaning your garden cart keeps it in good shape and ready for use. Washing removes dirt and debris from the cart’s surface.
Regular washing helps stop rust and damage. Use the right tools and water to clean your cart properly.
Scrubbing Techniques
Scrubbing removes stuck-on dirt and mud. Use a stiff brush or sponge with soap and water.
Scrub all parts of the cart, including wheels and handles. Focus on areas with heavy dirt buildup.
- Use a bucket with warm water and mild soap
- Dip the brush or sponge into the soapy water
- Scrub in circular motions to lift dirt
- Clean hard-to-reach spots carefully
- Rinse brush often to remove dirt
Using A Hose Or Pressure Washer
A garden hose can rinse off loose dirt quickly. Spray the entire cart, including wheels and undercarriage.
A pressure washer cleans tougher grime. Use it on a low setting to avoid damage. Keep the nozzle moving to protect paint.
- Start with a gentle spray from the hose
- Use a pressure washer if dirt is stubborn
- Maintain a safe distance to avoid scratches
- Rinse all soap and dirt off the cart
- Let the cart dry before storing
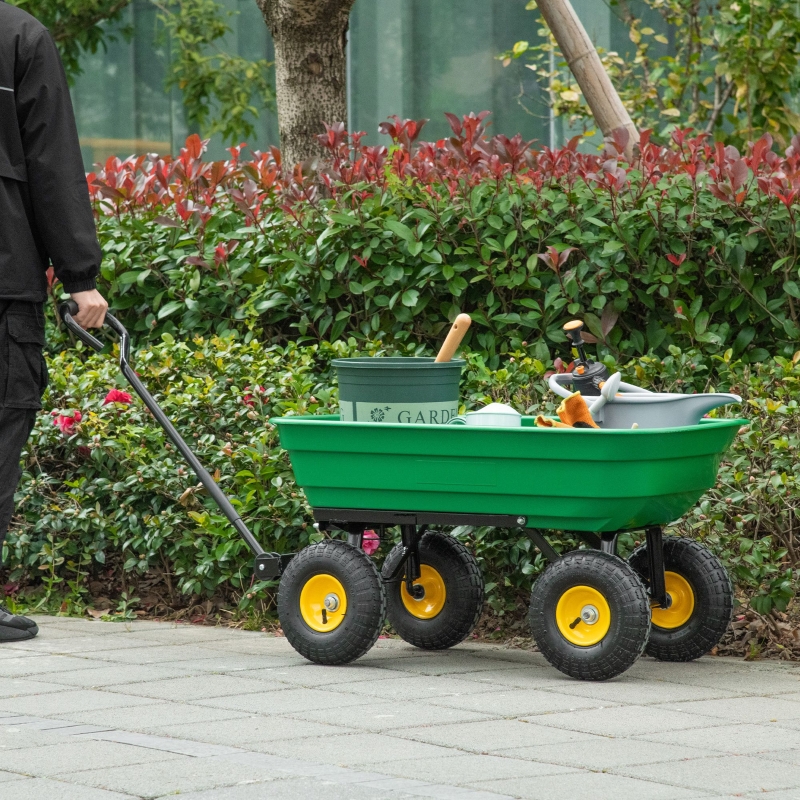
Credit: www.aosom.ca
Tackle Stubborn Stains
Cleaning a garden cart can be tough when stains do not come off easily. Stubborn stains need special care and attention.
Using the right cleaning solutions can make the job easier and keep your cart looking good.
Natural Cleaning Solutions
Natural cleaners are safe and easy to use on garden carts. They help remove dirt without harsh chemicals.
Mix baking soda with water to make a thick paste. Apply it to the stain and let it sit for 15 minutes. Then scrub with a brush.
- Use white vinegar to loosen dirt and grime
- Lemon juice works well on rust stains
- Salt can help scrub off tough spots
- Rinse with warm water after cleaning
Commercial Cleaners
Commercial cleaners are made for tough stains on outdoor tools. They often clean faster than natural solutions.
Choose a cleaner that is safe for metal and plastic parts of your garden cart. Follow the instructions on the label carefully.
- Use a degreaser for oily stains
- Rust removers target rust without damage
- All-purpose cleaners work on dirt and mud
- Wear gloves to protect your skin
Dry And Inspect
Cleaning a garden cart is not done until it is dry. Drying helps stop rust and damage. After drying, check the cart carefully for any problems.
Taking time to dry and inspect keeps your garden cart safe and strong. It also helps it last longer.
Proper Drying Methods
Dry your garden cart in a sunny, open space. Avoid leaving it in wet or shaded areas. Use a clean cloth to wipe off water in tight spots.
Make sure all parts, including wheels and handles, are completely dry before storing. This stops rust and mold from forming.
- Place the cart under direct sunlight
- Use a dry cloth to wipe water off
- Turn the cart to dry hard-to-reach areas
- Allow at least a few hours for full drying
Check For Damage
Look over the garden cart for cracks, dents, or rust spots. Check the wheels and handles for wear or looseness. Small problems can get worse if you ignore them.
Fixing damage early helps keep your cart safe and easy to use. Replace broken parts or tighten loose screws as needed.
- Inspect the frame for cracks or bends
- Look for rust on metal parts
- Test wheels for smooth movement
- Check handles for firmness and damage
Maintain Your Cart
Keeping your garden cart clean helps it last longer and work better. Regular care stops rust and damage. A clean cart looks nicer and is safer to use.
Follow simple steps to keep your garden cart in good shape. Cleaning and storing it right will save you time and money.
Regular Cleaning Tips
Clean your garden cart after each use. Dirt and plant residue can build up quickly. Use water and mild soap to remove grime. Dry the cart well to avoid rust.
- Remove loose dirt with a brush or cloth
- Wash the cart with soapy water
- Rinse thoroughly with clean water
- Dry all parts completely
- Check wheels and handles for damage
- Lubricate moving parts if needed
Storage Recommendations
Store your garden cart in a dry, covered place. Protect it from rain and sun to prevent rust and cracking. Keep it off the ground if possible.
| Storage Tip | Reason |
| Keep cart in garage or shed | Protects from weather damage |
| Use a tarp if no shelter available | Keeps moisture away |
| Store upside down or on a rack | Prevents water pooling |
| Remove heavy loads before storage | Prevents tire deformation |

Credit: www.ebay.com
Frequently Asked Questions
How Often Should I Clean My Garden Cart?
Clean your garden cart after every use. Regular cleaning prevents rust, dirt buildup, and prolongs its lifespan. It keeps your cart functional and safe for gardening tasks.
What Materials Do I Need To Clean A Garden Cart?
Use mild soap, water, a scrub brush, and a hose. Optionally, apply rust remover or lubricant for metal parts. These materials ensure thorough and safe cleaning of your garden cart.
Can I Use A Pressure Washer On My Garden Cart?
Yes, but use low pressure to avoid damaging paint or metal. Keep the nozzle at least 12 inches away. Pressure washing effectively removes dirt but requires careful handling.
How Do I Remove Rust From A Garden Cart?
Scrub rust spots with a wire brush or sandpaper. Apply rust converter or primer to prevent further corrosion. Regular maintenance reduces rust and keeps your cart durable.
Conclusion
Cleaning your garden cart keeps it working well and lasting long. Dirt and rust can damage it quickly. Regular cleaning makes your tasks easier and safer. Use simple tools like water, soap, and a brush. Dry it well to stop rust from forming.
Taking care of your cart saves money and time. A clean cart looks better and works smoother. Make cleaning part of your garden routine. Small efforts bring big results. Your garden cart will thank you.
