
Imagine you’re all set for a day of gardening or tackling a big outdoor project, and your trusty backpack sprayer is by your side. But wait—how clean is it?
A dirty sprayer can ruin your hard work, spreading unwanted chemicals or even clogging up just when you need it most. You might not realize it, but maintaining a clean backpack sprayer is crucial for its performance and longevity. In this guide, you’ll discover simple steps to keep your sprayer in top shape.
Stick around, and you’ll learn how a few minutes of cleaning can save you a world of trouble and make your tasks easier and more efficient. Ready to ensure your gear is always at its best? Let’s dive in.
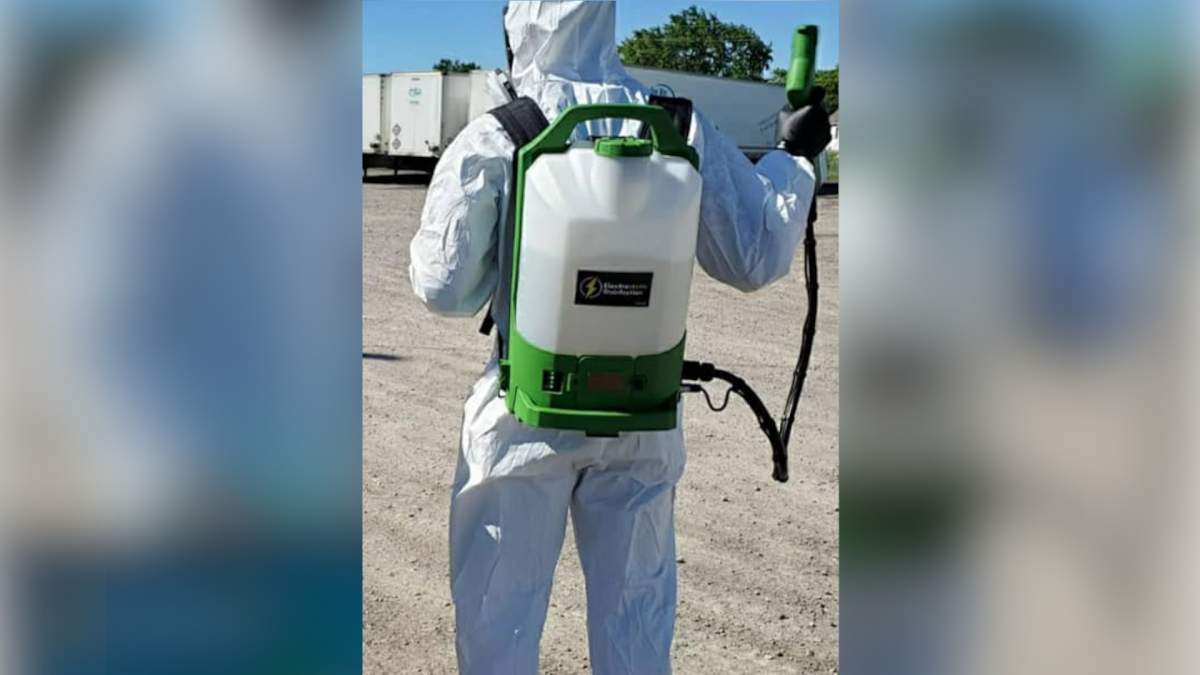
Credit: globalnews.ca
Preparing The Sprayer
Cleaning your backpack sprayer starts with good preparation. This helps keep the sprayer working well.
Preparing the sprayer correctly makes the cleaning process easier and safer.
Empty Remaining Solution
Remove any leftover solution from the tank. This prevents damage and keeps chemicals from mixing.
Pour the remaining liquid into a safe container for proper disposal or reuse.
- Wear gloves to protect your hands
- Open the tank lid carefully
- Pour out the liquid slowly
- Rinse the tank with clean water
Disassemble Removable Parts
Take apart parts like nozzles, filters, and hoses. This helps clean areas that hold dirt and chemicals.
Use tools if needed, and keep small parts in a safe place to avoid losing them.
- Remove the spray wand
- Detach the nozzle and filters
- Take off the hose carefully
- Place parts on a clean surface

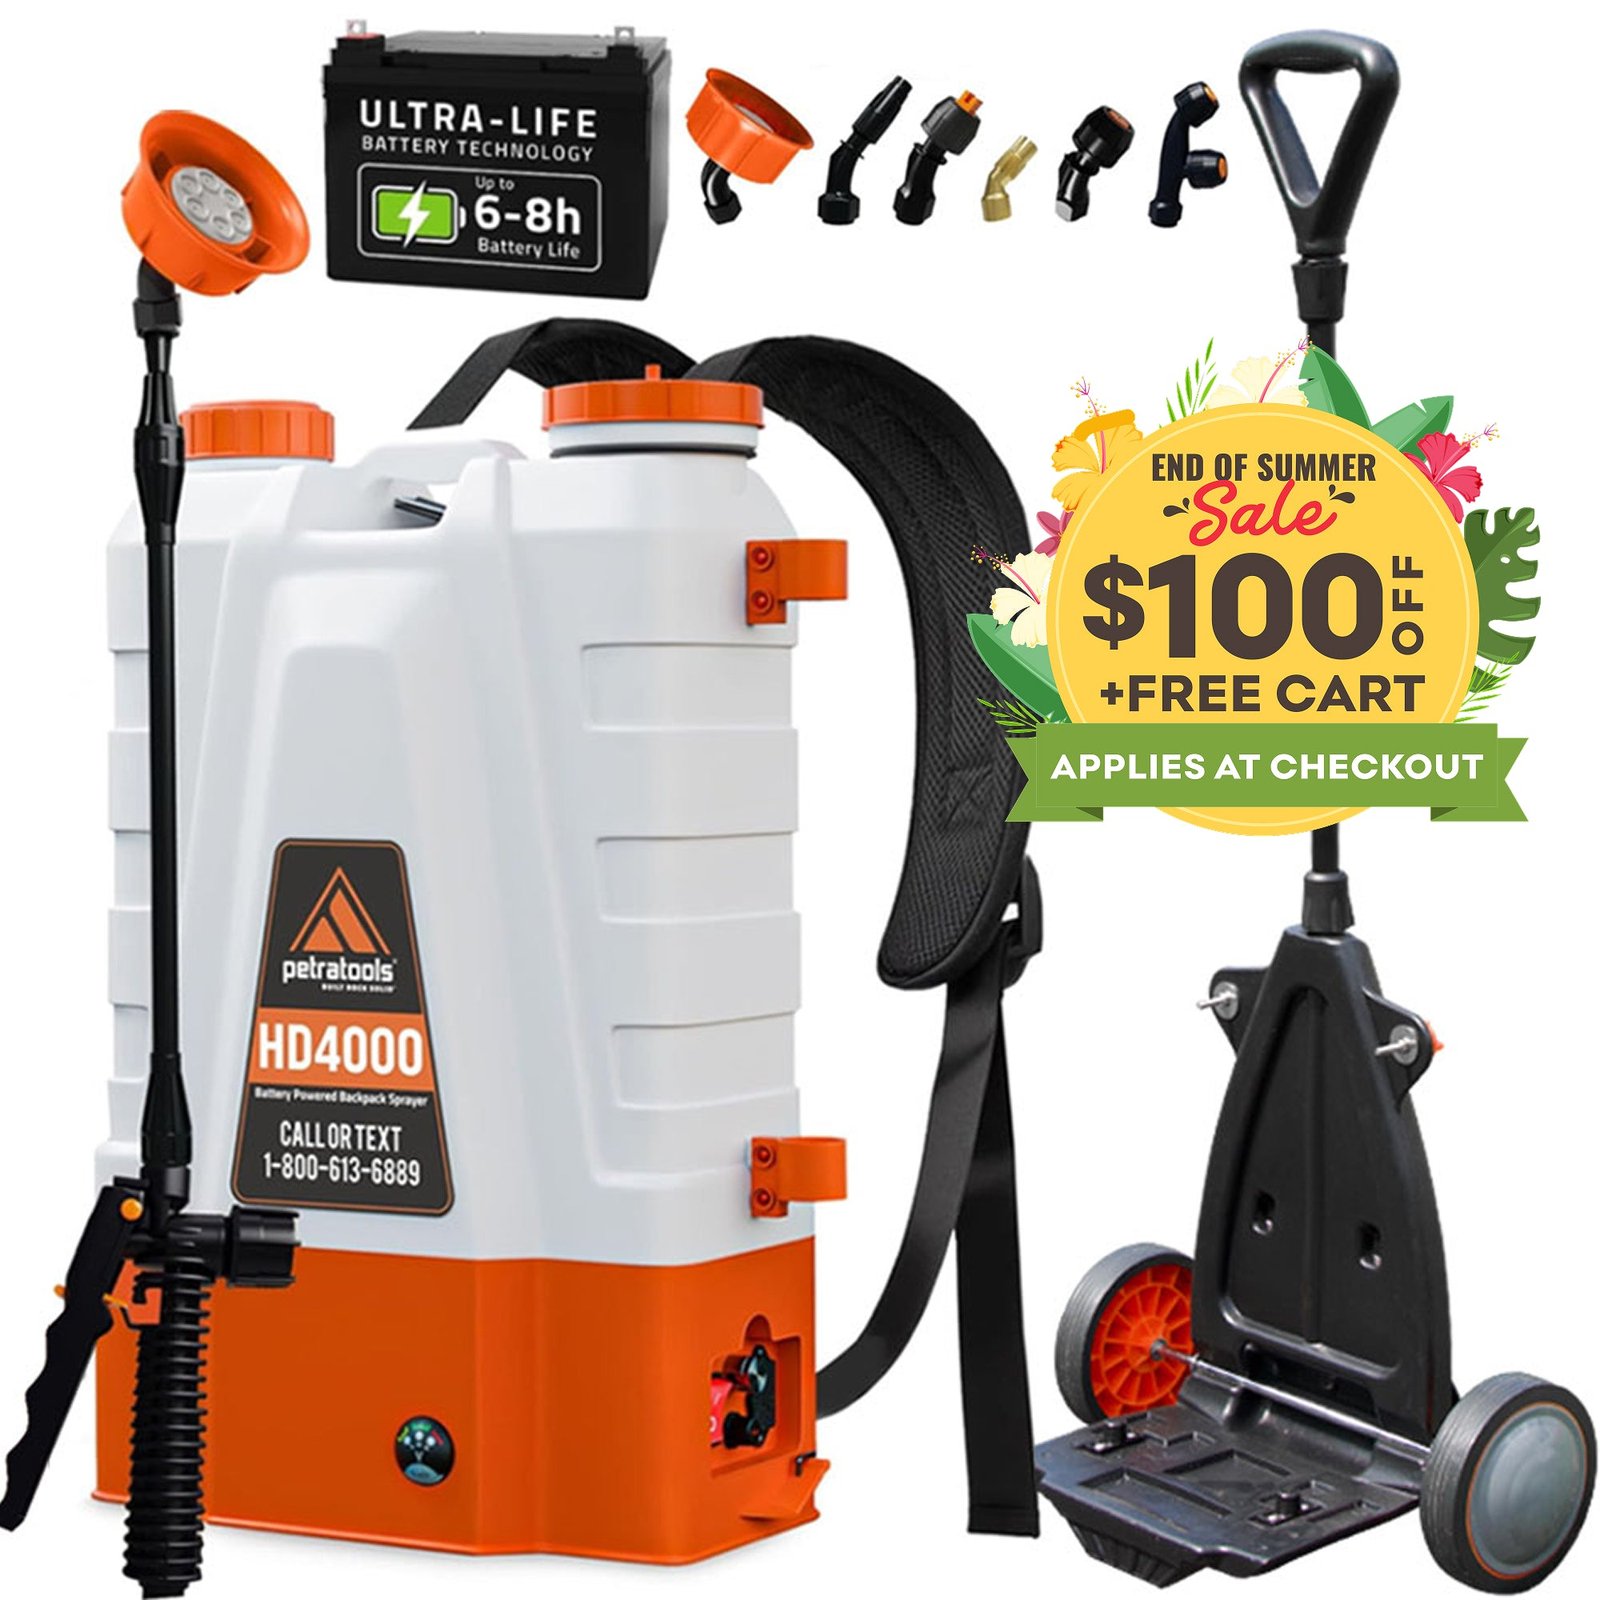
Credit: www.petratools.com
Rinsing The Tank
Cleaning your backpack sprayer tank is important for safe use. Rinsing removes leftover chemicals and prevents damage. This guide shows how to rinse the tank properly.
Follow simple steps to fill the tank with clean water and flush out any residue. This keeps the sprayer ready for the next use.
Fill With Clean Water
Start by filling the tank with fresh, clean water. Avoid using dirty or contaminated water. Use a hose or water source that is free of debris.
- Open the tank lid carefully.
- Fill the tank about halfway with clean water.
- Close the lid tightly to prevent spills.
- Make sure the water is at room temperature.
Shake And Flush Out Residue
Next, shake the tank to loosen any leftover chemicals inside. Then flush the water through the sprayer to clean the nozzle and hose.
| Action | Details |
| Shake Tank | Hold the sprayer and shake it gently for 30 seconds. |
| Flush Nozzle | Spray the water out until it runs clear. |
| Repeat if Needed | Refill and shake again if residue remains. |
Cleaning The Nozzle And Hose
Cleaning the nozzle and hose of your backpack sprayer keeps it working well. Dirt and residue can block the spray pattern. Regular cleaning helps you spray evenly and safely.
Focus on soaking and brushing these parts to clear clogs. This guide explains simple ways to clean them properly.
Soak In Warm Soapy Water
Fill a bucket with warm water and mild soap. Remove the nozzle and hose from the sprayer. Soak them in the soapy water for 15 to 20 minutes. This loosens dirt and chemical buildup inside.
| Item | Soaking Time | Water Temperature |
|---|---|---|
| Nozzle | 15-20 minutes | Warm |
| Hose | 15-20 minutes | Warm |
Use A Brush For Clogs
After soaking, use a soft brush to clean inside the nozzle and hose. A pipe cleaner or small bottle brush works well. Brush gently to avoid damage. Remove any dirt or residue stuck inside.
- Detach the nozzle and hose from the sprayer.
- Dip a soft brush in soapy water.
- Brush inside the nozzle and hose openings.
- Rinse with clean water after brushing.
- Check for any remaining clogs and repeat if needed.
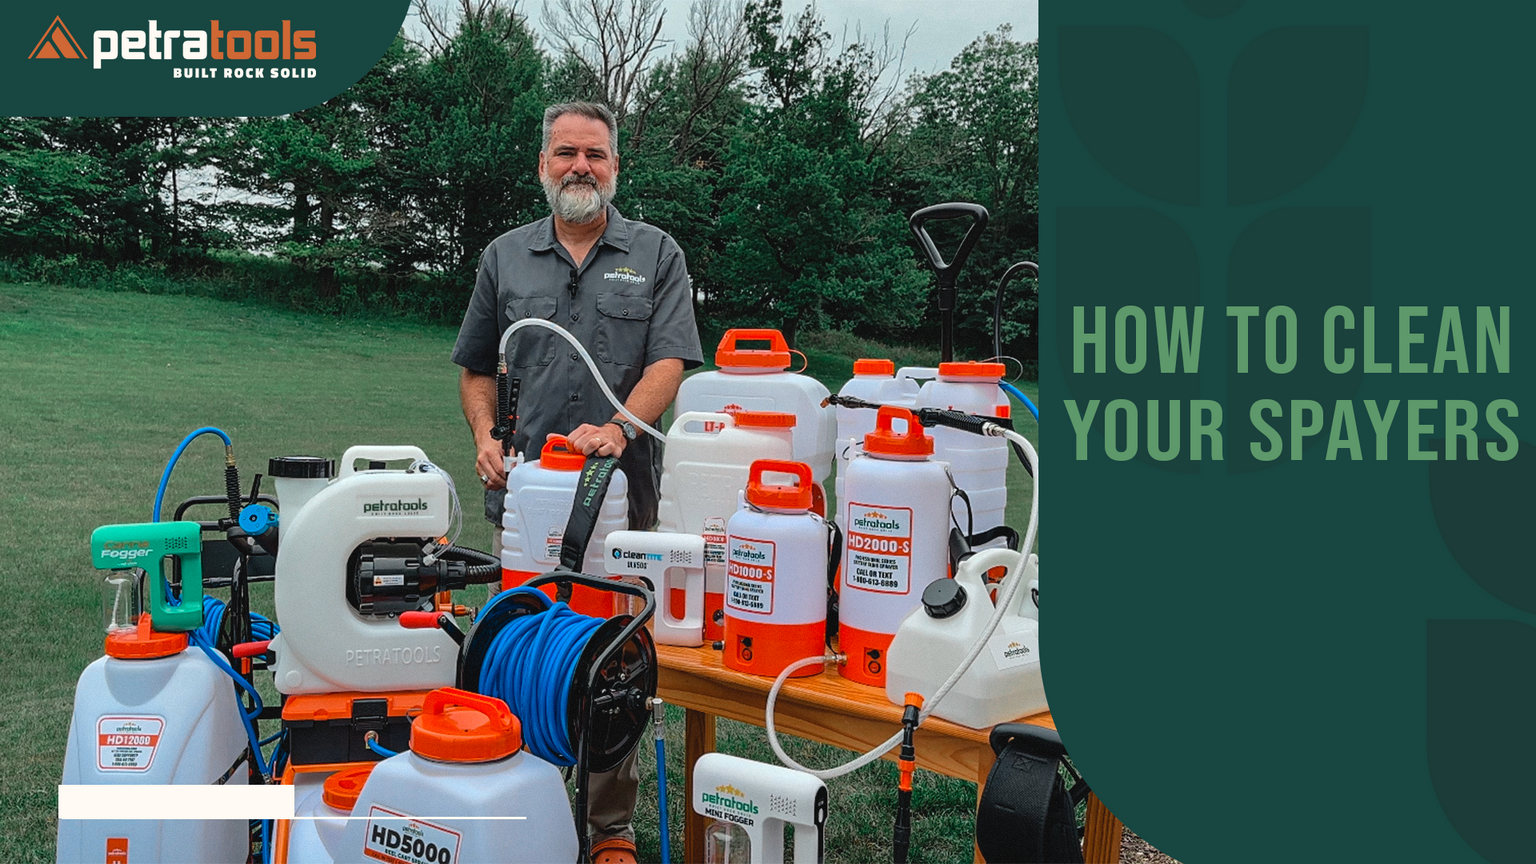
Credit: www.petratools.com
Sanitizing The Sprayer
Cleaning your backpack sprayer is important to keep it safe and working well. Sanitizing kills germs and removes chemicals. This helps protect you and plants.
Use simple steps to sanitize your sprayer after each use. This stops buildup and keeps the sprayer ready for the next job.
Use A Bleach Solution
Mix a bleach solution to clean the sprayer. Bleach kills bacteria and germs inside the tank and hoses. Use one part bleach and nine parts water.
Pour the solution into the sprayer tank. Pump the sprayer to move the bleach through all parts. Let it sit for 10 minutes to work well.
- Wear gloves to protect your skin
- Do this outdoors or in a well-ventilated area
- Never mix bleach with other chemicals
- Use fresh bleach solution every time
Rinse Thoroughly
After sanitizing, rinse the sprayer well. Fill the tank with clean water and pump it through the hose and nozzle. Repeat this process two or three times.
Rinsing removes bleach and leftover chemicals. This protects your plants and stops damage to the sprayer parts.
- Use clean water for rinsing
- Empty all water from the tank after rinsing
- Check the nozzle and hose for any blockages
- Dry the sprayer before storing it
Drying And Storage
Cleaning your backpack sprayer is important to keep it working well. Drying and storing it properly helps stop damage and rust.
After cleaning, make sure your sprayer is dry and stored in a safe place. This keeps it ready for the next use.
Air Dry Completely
Let your backpack sprayer dry fully before storing it. Moisture inside can cause rust and mold.
Open all parts like the tank lid and nozzles to help air flow inside. Place the sprayer in a well-ventilated area.
- Remove the tank lid and spray wand
- Keep the sprayer upright
- Dry all parts for at least 24 hours
- Check for any remaining moisture before storage
Store In A Cool, Dry Place
Store the sprayer where it is cool and dry. Avoid places with heat, direct sunlight, or high humidity.
High temperatures can damage plastic parts. Moist areas can cause rust and mold growth on metal parts.
- Choose a shaded storage area
- Keep the sprayer off the ground
- Use a shelf or hook to hang the sprayer
- Avoid damp basements or outdoor sheds
Regular Maintenance Tips
Keeping your backpack sprayer clean and well-maintained helps it last longer. Regular care prevents damage and keeps it working properly.
Follow simple steps to check for problems and keep the parts moving smoothly. This will save you time and money in repairs.
Check For Wear And Tear
Look over your backpack sprayer for any signs of damage. Check the tank, hoses, and nozzles for cracks or leaks.
- Inspect the straps for tears or fraying
- Look for cracks in the plastic tank
- Check hose connections for leaks
- Examine the nozzle for clogs or damage
- Make sure seals and gaskets are intact
Lubricate Moving Parts
Lubrication keeps the sprayer’s moving parts working well. Apply oil or grease to pumps, triggers, and valves.
| Part | Type of Lubricant | Frequency |
| Pump Handle | Light machine oil | After every use |
| Trigger | Silicone spray | Weekly |
| Valves | Grease | Monthly |
| Hose Connectors | Petroleum jelly | Monthly |
Frequently Asked Questions
How Often Should I Clean My Backpack Sprayer?
Clean your backpack sprayer after every use. This prevents chemical buildup and clogging. Regular cleaning ensures better performance and extends the sprayer’s lifespan.
What Materials Do I Need To Clean A Backpack Sprayer?
You need water, mild detergent, a soft brush, and clean cloth. Avoid harsh chemicals to protect sprayer parts. Proper tools make cleaning efficient and safe.
Can I Use Bleach To Clean My Sprayer?
Bleach can damage sprayer parts if used improperly. Use it only for disinfecting after thorough rinsing. Always follow manufacturer guidelines to avoid damage.
How Do I Prevent Clogging In My Backpack Sprayer?
Rinse the tank and nozzle thoroughly after each use. Filter the liquid before filling the tank. Regular maintenance prevents clogs and ensures smooth spraying.
Conclusion
Cleaning your backpack sprayer keeps it working well for a long time. Rinse all parts carefully after each use to avoid clogs. Use mild soap and water to remove dirt and chemicals. Dry the sprayer completely before storing it to stop rust.
Regular cleaning saves money and time by preventing damage. Take care of your sprayer, and it will take care of your garden. Simple steps make a big difference. Try to clean it right after spraying for best results.

