
Are you looking to give your lawn a clean, polished look without spending hours or breaking the bank? Installing plastic lawn edging is one of the easiest ways to create neat borders that keep grass and mulch where they belong.
You don’t need special tools or experience, and the results can instantly boost your yard’s curb appeal. In this guide, you’ll discover simple, step-by-step instructions to install plastic lawn edging quickly and effectively. Keep reading to transform your outdoor space with a sharp, professional finish you’ll be proud of.
Credit: www.housedigest.com
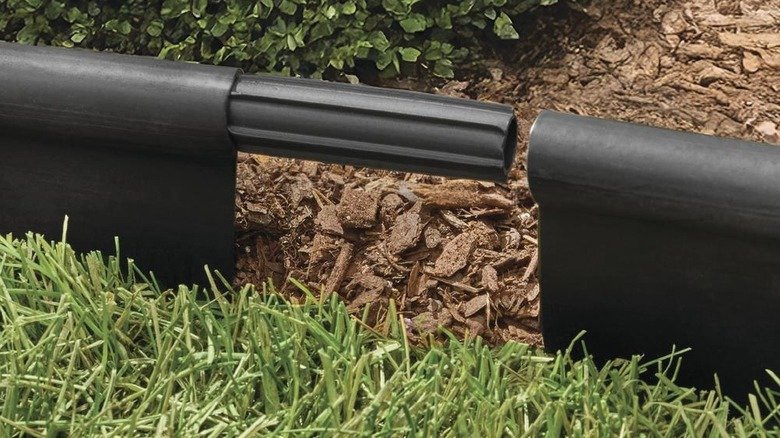
Choosing Plastic Lawn Edging
Plastic lawn edging helps keep your garden neat and tidy. It creates a clear boundary between grass and flower beds.
Choosing the right plastic edging makes installation easier. It also improves the look and durability of your lawn.
Types Of Plastic Edging
There are several types of plastic lawn edging to pick from. Each type has different shapes and uses.
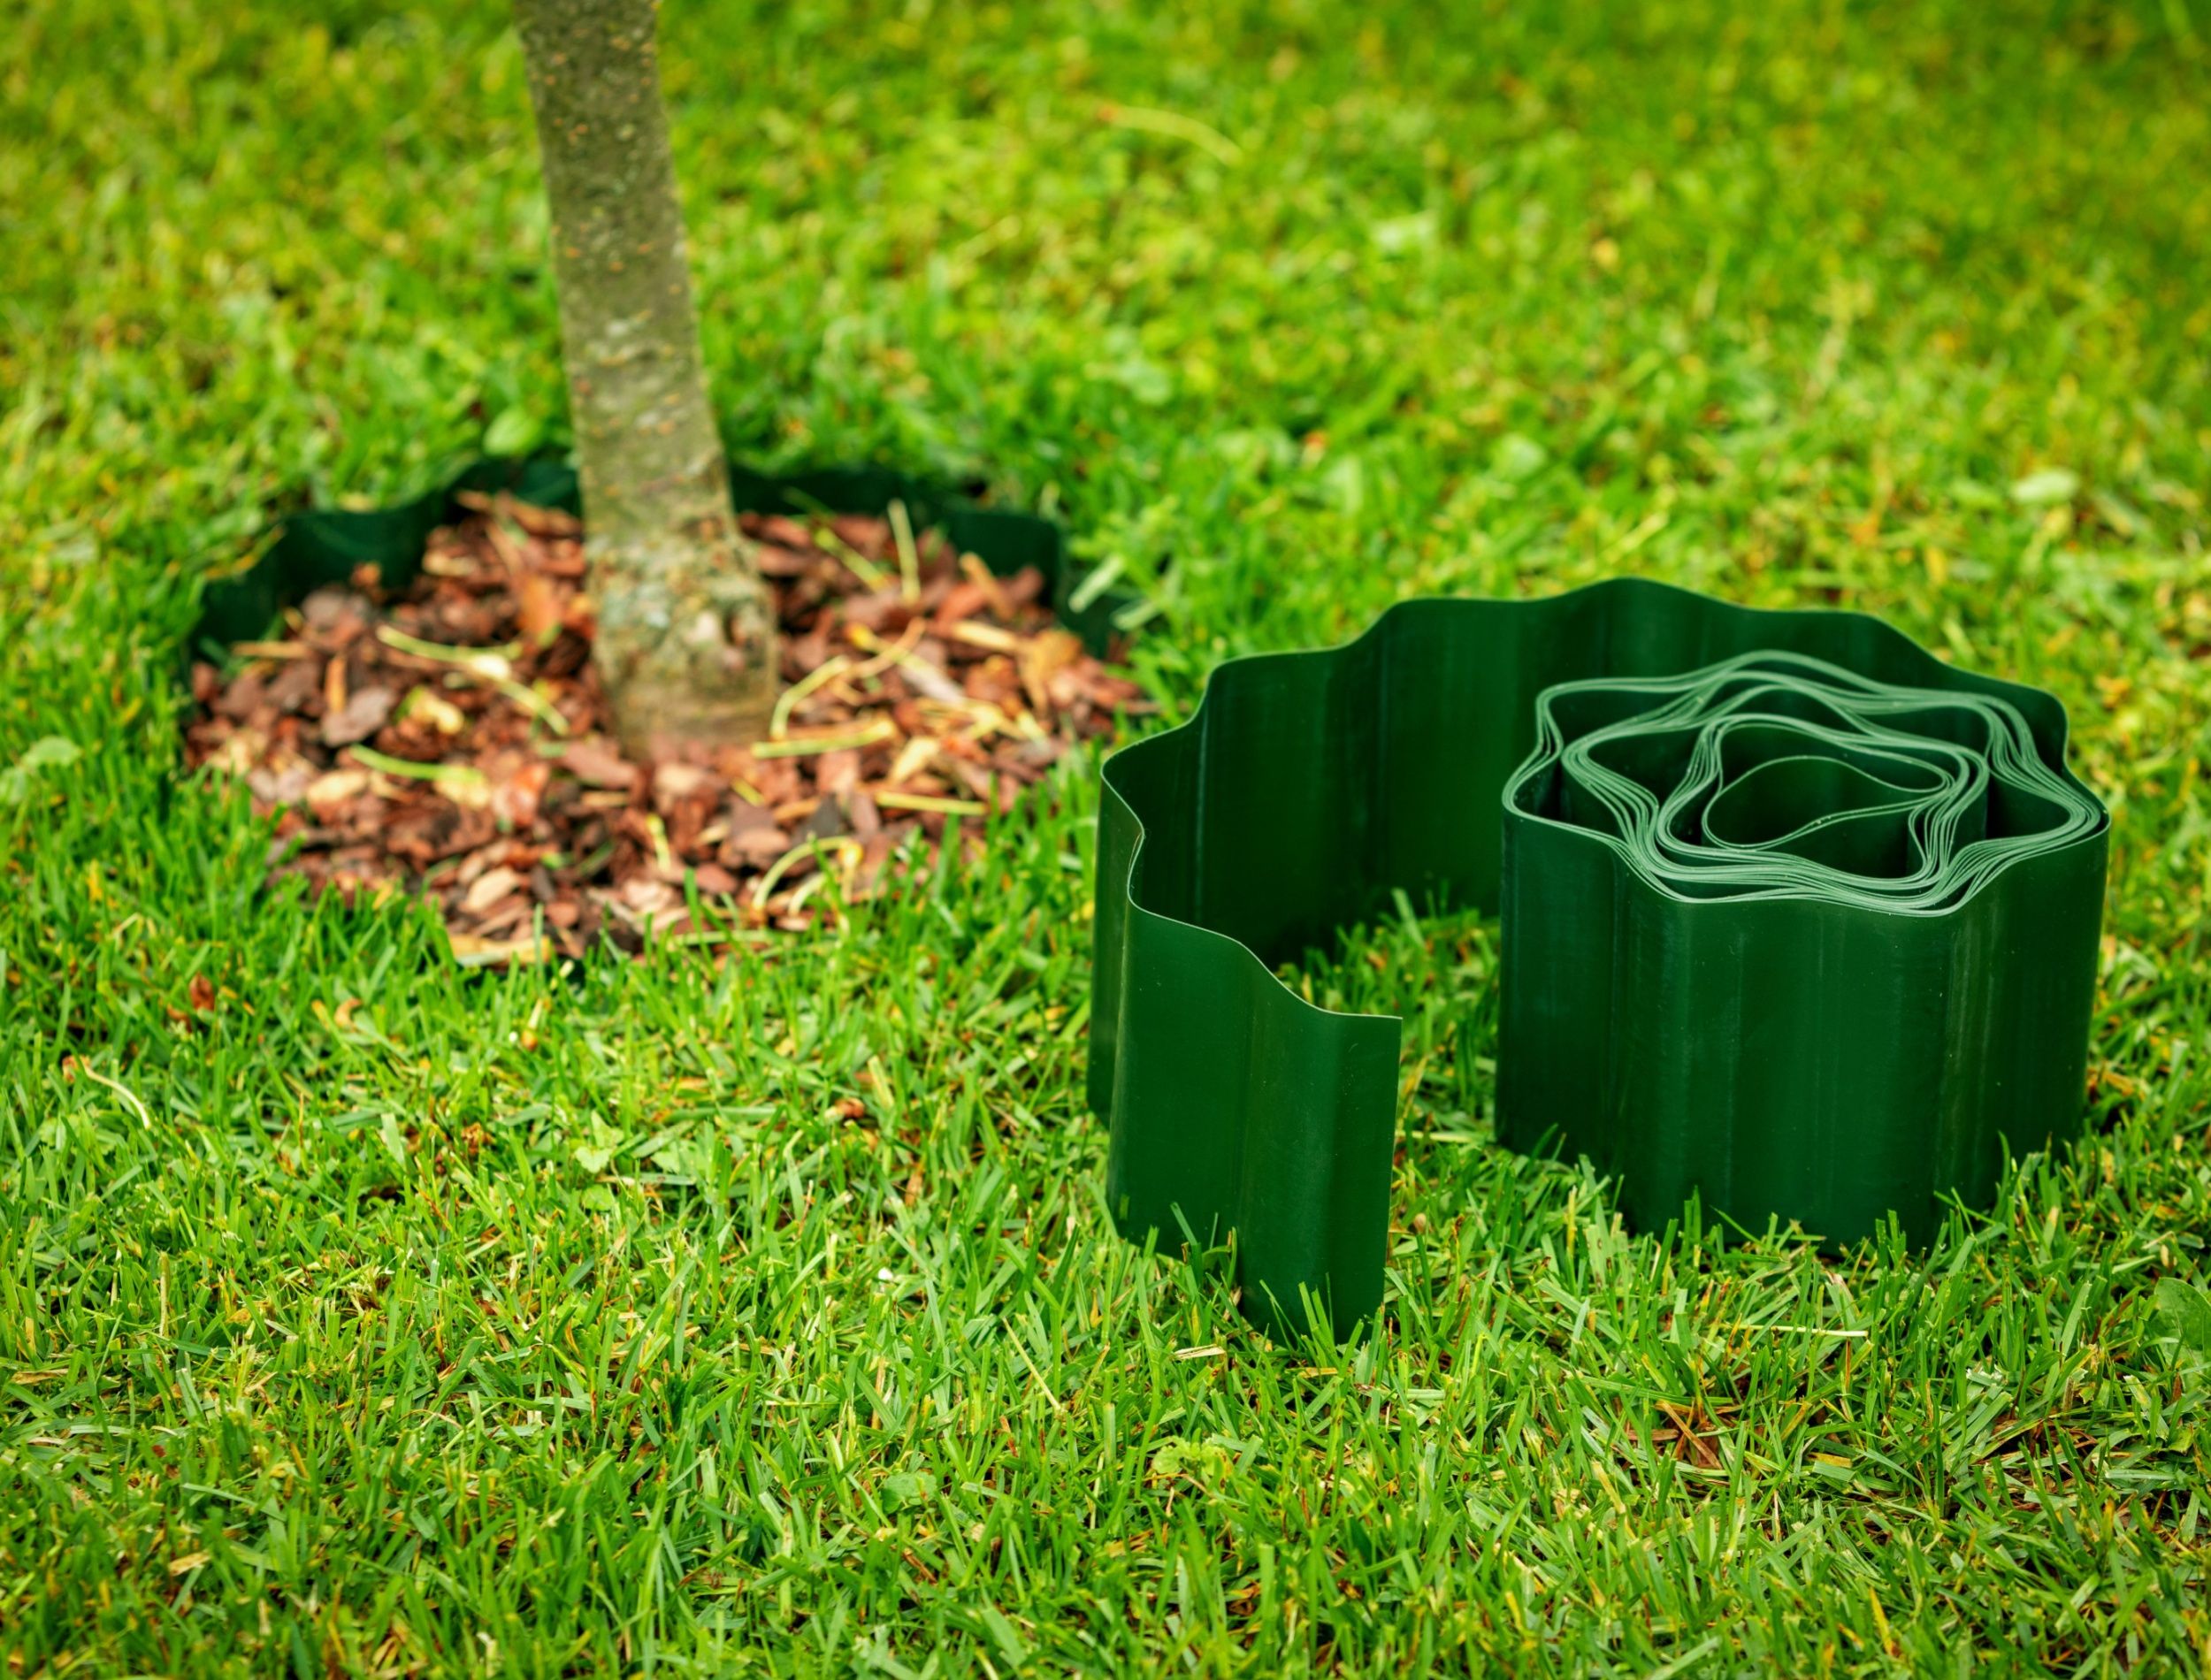
- Flexible plastic edging bends around curves and shapes.
- Rigid plastic edging holds straight lines well.
- Decorative plastic edging adds style with patterns or textures.
- Spiked plastic edging is easy to install by pushing into the ground.
Pick the type that fits your yard’s layout and design. Flexible edging suits curved gardens, while rigid works for straight edges.
Measuring Your Yard
Measure the area where you want to install plastic edging. This helps you buy the right amount of material.
Use a tape measure to find the length of each border. Write down each measurement for accuracy.
- Measure all straight edges first.
- For curves, use a flexible tape or string to follow the shape.
- Add extra length to allow for overlaps.
Tools And Materials Needed
Gather the right tools before you start installing plastic lawn edging. This makes the job faster and easier.
- Plastic lawn edging pieces
- Measuring tape
- Shovel or spade
- Rubber mallet or hammer
- Garden gloves
- Landscape stakes or spikes (if needed)
- Utility knife or scissors to cut edging
Having all tools ready helps you avoid interruptions during installation. It also ensures a clean, professional look.

Credit: shopping.yahoo.com
Preparing The Lawn
Preparing the lawn before installing plastic edging helps the project go smoothly. It ensures the edging stays in place and looks neat.
Follow simple steps to mark the line, clear the area, and level the ground for the best results.
Marking The Edging Line
First, decide where you want the plastic edging to go. Use a garden hose or string to lay out the shape on the lawn.
Mark the edge with spray paint or small flags to guide your installation.
Clearing The Area
Remove grass, weeds, and debris along the marked line. This clears space for the edging to fit well.
- Use a spade or shovel to dig out the grass strip.
- Pull out roots and rocks that could block the edging.
- Keep the cleared strip about 4 to 6 inches wide.
- Dispose of the removed material properly.
Leveling The Ground
After clearing, smooth and level the soil where the edging will sit. This stops the edging from tilting or sinking.
| Task | Tips |
|---|---|
| Remove bumps | Break up clumps and press soil down |
| Check level | Use a small level tool or straight board |
| Adjust soil | Add or remove dirt to make a flat surface |
| Compact soil | Press soil firmly with foot or tamper |
Installing The Edging
Installing plastic lawn edging helps define garden beds and paths. It keeps soil and mulch in place.
Follow easy steps to cut, position, and secure your plastic edging for a neat look.
Cutting The Edging To Size
Measure the area where you will install the edging. Use a tape measure for accuracy.
Cut the plastic edging with a handsaw or heavy-duty scissors. Cut slowly for a clean edge.
Positioning The Edging
Place the plastic edging along the garden bed or path. Make sure it follows the desired shape.
Push the edging slightly into the ground so it stands firm and looks tidy.
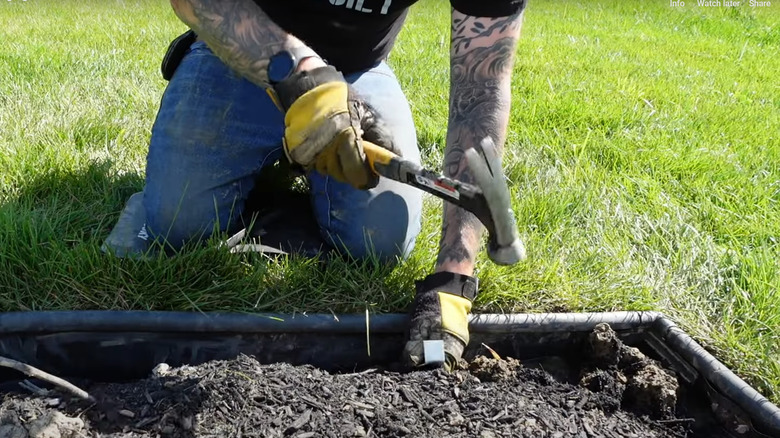
Securing With Stakes
Use stakes to hold the edging in place. Place stakes every 12 to 18 inches for stability.
- Drive stakes into the ground next to the edging
- Attach the edging to the stakes firmly
- Check that the edging is straight and secure
Credit: www.backyardboss.net
Finishing Touches
After installing plastic lawn edging, some final steps make your project last longer. These touches help keep the edging secure and looking neat. Follow these simple tips to complete your lawn edging installation.
Paying attention to details like soil, alignment, and care will improve the overall look. Let’s explore the finishing touches in detail.
Backfilling Soil
Fill the trench around the plastic edging with soil to hold it firmly. Backfilling helps prevent the edging from shifting out of place. Use soil that matches your lawn to blend well.
- Pack the soil tightly against the edging.
- Use a tamper or your foot to press the soil down.
- Make sure the soil level matches the lawn surface.
- Water the soil to help it settle.
Checking Alignment
Check the plastic edging to make sure it is straight and smooth. Proper alignment gives a clean, professional look to your lawn’s border. Fix any curves or gaps while the soil is still loose.
| Check Point | What to Look For | Action Needed |
| Edges | Are they even and level? | Adjust by pushing or pulling the edging gently. |
| Corners | Are corners tight without gaps? | Use connectors or trim to fit snugly. |
| Height | Does edging sit just above soil? | Reposition if too high or low. |
Maintaining Your Edging
Keep your plastic lawn edging looking good by doing regular maintenance. Small tasks help extend its life and keep your lawn tidy.
- Remove debris and leaves near the edging.
- Check for any shifts or damage every season.
- Trim grass or plants growing over the edging.
- Re-secure loose sections as needed.
Frequently Asked Questions
What Tools Are Needed To Install Plastic Lawn Edging?
You need a mallet, stakes, a measuring tape, and a utility knife. These tools help secure and cut the edging properly. Using the right tools ensures a neat and lasting installation for your lawn.
How Deep Should Plastic Lawn Edging Be Installed?
Install plastic lawn edging about 4 to 6 inches deep. This depth keeps it stable and prevents shifting. Proper depth ensures the edging holds soil and mulch effectively.
Can Plastic Lawn Edging Be Curved Or Shaped?
Yes, plastic lawn edging is flexible and can be curved. Gently bend it to fit your landscape design. This allows for creative shapes and smooth garden borders.
How Do I Secure Plastic Lawn Edging Firmly?
Use stakes or spikes to anchor the edging into the ground. Place them every 12 to 18 inches for strong support. Firm anchoring prevents edging from moving or warping.
Conclusion
Installing plastic lawn edging is a simple task. It enhances your garden’s look. Follow the steps carefully. Measure and mark first. Then dig the trench. Place the edging securely. Make sure it’s straight and firm. Fill back the soil. Tamp it down well.
Check for any gaps. Adjust if needed. Enjoy the neat, clean lines. Your garden will look tidy. Plastic edging is durable. It lasts long with little maintenance. A smart choice for any yard. Happy gardening!
