
Is your lawn looking tired, patchy, or just not as green as you want it to be? The secret to a healthier, lusher lawn might be hiding beneath the surface—in a layer called thatch.
If you don’t remove this thick buildup, your grass can struggle to breathe, soak up water, and grow strong. That’s where a scarifier comes in. Learning how to dethatch your lawn with a scarifier can transform your outdoor space, giving your grass the fresh start it needs.
Ready to find out how to bring your lawn back to life? Keep reading, and you’ll discover easy steps to make your grass thrive like never before.

Credit: lawnmaster.com
Why Dethatch Your Lawn
Dethatching your lawn removes a thick layer of dead grass and roots. This layer is called thatch. It can stop water and nutrients from reaching the soil.
Using a scarifier helps break up the thatch. This lets your lawn breathe and grow better. A healthy lawn looks green and feels soft.
Benefits Of Removing Thatch
Removing thatch improves your lawn’s health in many ways. It makes it easier for water, air, and nutrients to reach the roots.
- Reduces lawn diseases by removing dead material
- Improves water absorption and drainage
- Encourages new grass to grow stronger
- Helps lawn recover from drought and heat
- Prevents pests from hiding in thatch
Signs Your Lawn Needs Dethatching
You can tell if your lawn needs dethatching by looking for some signs. Check the thickness of the thatch layer and how your grass feels.
- The grass looks dull or yellowish
- Water pools on the surface after rain
- The soil feels hard and dry
- Grass blades grow thin or weak
- Thatch layer is thicker than half an inch
If you see these signs, dethatching with a scarifier will help your lawn stay healthy and green.
Credit: www.amazon.ca
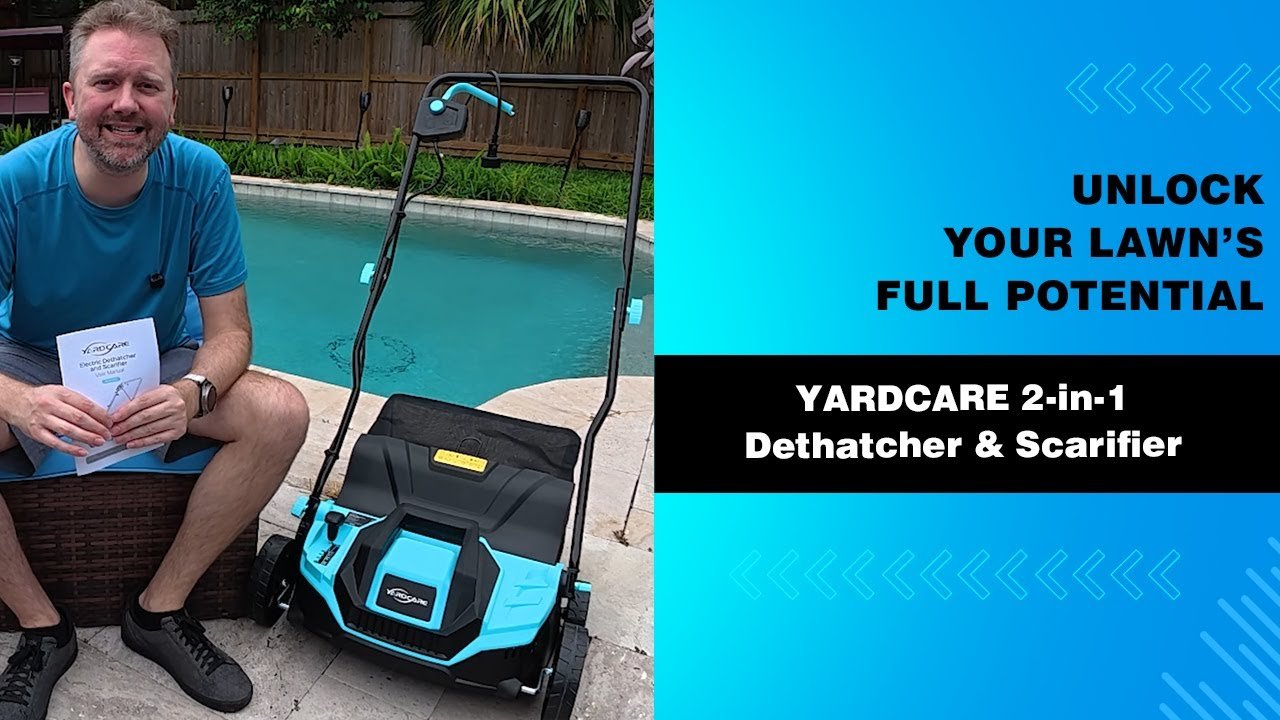
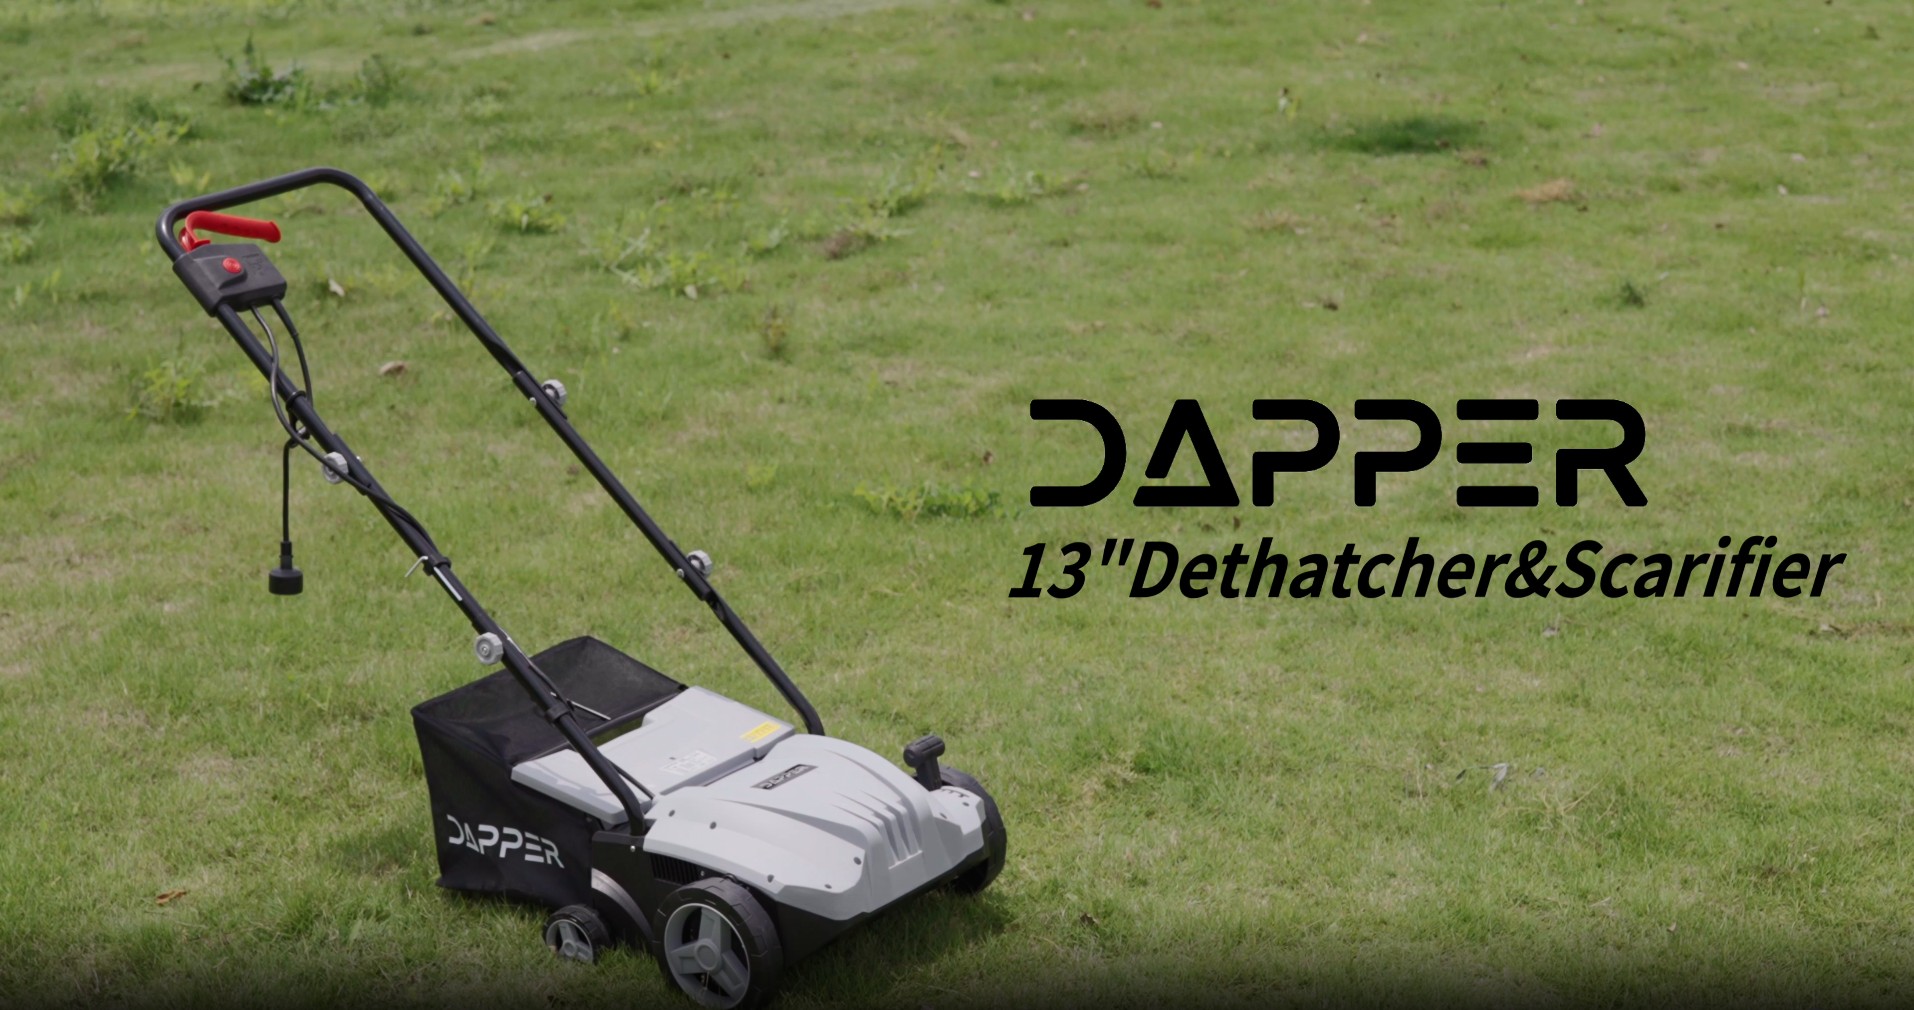
Choosing The Right Scarifier
Dethatching your lawn helps it stay healthy and green. Using a scarifier removes old thatch and allows air and water to reach the grass roots.
Picking the right scarifier makes the job easier and more effective. Learn about the types and features to find the best tool for your lawn.
Manual Vs. Powered Scarifiers
Manual scarifiers need you to push or pull them across the lawn. They are simple and quiet but need more effort. They work well for small yards.
Powered scarifiers use a motor to turn blades or tines. They cover larger areas faster and need less physical work. They are better for medium to big lawns.
- Manual scarifiers:affordable, eco-friendly, light weight
- Powered scarifiers:faster, deeper dethatching, heavier
Key Features To Look For
Choose a scarifier with strong blades or tines for good dethatching. Look for adjustable depth settings to protect your grass roots.
A scarifier with a collection bag helps keep your yard clean. Check the tool’s weight and handle comfort for easy use.
- Sharp, durable blades or tines
- Adjustable depth control
- Grass or thatch collection bag
- Comfortable, adjustable handles
- Light enough to push or carry
Preparing Your Lawn
Preparing your lawn is key before using a scarifier. Proper steps help the machine work well.
Start by getting the grass ready. This will make dethatching easier and better for your lawn.
Mowing And Watering Tips
Mow your lawn a few days before using the scarifier. Cut the grass to about 1.5 inches tall.
- Mowing short helps the scarifier reach the thatch layer.
- Avoid cutting the grass too low to prevent stress.
- Water the lawn lightly 1 or 2 days before scarifying.
- Do not soak the lawn. Slight moisture helps dethatching.
Clearing Debris
Remove leaves, sticks, and other debris before scarifying. This stops damage to the machine.
| Debris Type | Removal Method |
| Leaves | Use a rake or leaf blower |
| Sticks and twigs | Pick up by hand or rake |
| Small stones | Use a lawn vacuum or rake |
Step-by-step Dethatching Process
Dethatching your lawn removes the layer of dead grass and roots. This helps air, water, and nutrients reach the soil better. Using a scarifier is an effective way to do this job.
This guide will show you how to set the scarifier, use the right technique, and clean up the thatch after scarifying.
Setting Scarifier Depth
Adjusting the scarifier depth is important for proper dethatching. Set it too deep, and you may damage the grass roots. Set it too shallow, and it won’t remove enough thatch.
- Check the scarifier’s depth settings before starting.
- Start with a shallow setting to avoid harming the lawn.
- Test on a small area to see how much thatch is removed.
- Increase depth gradually if needed for thicker thatch layers.
- Keep track of settings for future use.
Technique For Effective Scarifying
Use the right scarifying technique to get the best results. Move the scarifier evenly across the lawn to remove thatch without stressing the grass.
- Work at a steady pace, not too fast or slow.
- Overlap each pass slightly to cover all areas.
- Scarify in one direction first.
- For heavy thatch, scarify a second time at a right angle.
- Avoid working on wet grass to prevent damage.
Collecting And Disposing Thatch
After scarifying, collect the loosened thatch to keep your lawn tidy. Proper disposal helps prevent disease and pests.
| Method | Description |
|---|---|
| Raking | Use a leaf rake to gather thatch into piles for easy removal. |
| Vacuum | Use a lawn vacuum to collect thatch quickly, especially on large lawns. |
| Bagging | Attach a bag to your scarifier or mower to collect debris as you work. |
| Composting | Use thatch in your compost pile if it is free of weeds and chemicals. |
Aftercare For A Healthy Lawn
After dethatching your lawn with a scarifier, proper care helps your grass grow strong. Good aftercare improves soil health and lawn appearance.
Follow simple steps to keep your lawn green and lush after removing thatch.
Fertilizing And Overseeding
Fertilizing gives your lawn the nutrients it needs. Overseeding fills bare spots and helps grass grow thick.
- Apply a balanced fertilizer about one week after dethatching.
- Choose seed types that match your existing grass.
- Spread seed evenly over thin or bare areas.
- Lightly rake to help seeds contact the soil.
- Keep the soil moist until seeds sprout and grow.
Watering Schedule
Water your lawn carefully after dethatching. Proper watering helps grass recover quickly without causing damage.
| Time After Dethatching | Watering Frequency | Water Amount |
| First 2 weeks | Daily or twice daily | Light watering to keep soil moist |
| Weeks 3 to 4 | Every 2-3 days | Deep watering to encourage roots |
| After 1 month | 1-2 times per week | About 1 inch per session |
Regular Lawn Maintenance
Keep your lawn healthy with regular care. This prevents new thatch buildup and promotes strong grass.
- Mow regularly but do not cut more than one-third of the grass height.
- Aerate the soil once or twice a year to improve air flow.
- Remove leaves and debris to avoid suffocating grass.
- Check for pests and treat problems early.

Credit: www.familyhandyman.com
Common Mistakes To Avoid
Maintaining a healthy lawn requires proper care and attention. Using a scarifier can help, but common mistakes can harm your lawn.
Understanding these mistakes will save you time and keep your grass lush.
Scarifying Too Often
Scarifying your lawn too frequently can cause stress to the grass. It is essential to know the right timing to avoid damage.
- Scarify only once or twice a year
- Watch for signs of stress in your lawn
- Consult with local lawn care experts for advice
Ignoring Lawn Recovery Time
After scarifying, your lawn needs time to recover. Ignoring this can lead to weakened grass and poor growth.
| Task | Recovery Time |
| Scarifying | 4-6 weeks |
| Aeration | 2-3 weeks |
| Fertilizing | 1-2 weeks |
Frequently Asked Questions
What Is The Best Time To Dethatch Lawn With A Scarifier?
The best time to dethatch your lawn is during early spring or early fall. These seasons offer optimal grass recovery and growth conditions. Avoid dethatching in extreme heat or drought to prevent lawn damage. Moist soil helps the scarifier work effectively without stressing the grass.
How Often Should I Dethatch My Lawn Using A Scarifier?
Dethatch your lawn once every 1 to 3 years, depending on thatch buildup. Over-dethatching can damage grass roots, while under-dethatching leads to poor lawn health. Regular inspection helps decide when scarifying is needed. Lawns with heavy thatch require more frequent treatment.
What Depth Setting Should I Use On A Scarifier?
Set your scarifier blades to a shallow depth, around 1/4 to 1/2 inch. This depth removes thatch without harming grass roots. Adjust depth based on lawn condition; avoid going too deep to prevent soil damage. Always test on a small area first.
Can I Dethatch My Lawn With A Scarifier On Wet Grass?
It is best to avoid dethatching wet grass as it can cause clumping and uneven scarification. Wet conditions can also damage your scarifier and compact the soil. Wait until the lawn is dry to ensure effective thatch removal and healthy grass recovery.
Conclusion
Dethatching your lawn with a scarifier helps keep grass healthy. It removes old, dead grass and lets air reach roots. Use the scarifier carefully and regularly for best results. Your lawn will grow greener and stronger over time. Keep watering and mowing after scarifying.
A well-maintained lawn looks great and stays thick. Try this simple step to improve your lawn’s health today.
