
When you collect soil samples, the container you choose can make all the difference. You might think any jar or bag will do, but the wrong container can spoil your results or cause contamination.
So, how do you pick the right one? You’ll discover the best types of containers for soil samples and why they matter. By the end, you’ll know exactly what to use to keep your soil samples fresh and accurate every time.
Keep reading to make sure your soil testing delivers reliable results you can trust.
Credit: www.humboldtmfg.com
Choosing The Right Container
Choosing the right container for soil samples helps keep the samples fresh and uncontaminated. The container type affects how well the soil stays dry or moist.
Different containers suit different soil types and testing needs. This guide explains key points to consider before selecting a container.
Material Options
Containers come in various materials. Each type affects how the soil sample reacts over time.
- Plastic:Lightweight and easy to seal. Avoid if the soil is wet for long periods.
- Glass:Non-reactive and good for chemical tests. Fragile and heavier to carry.
- Metal:Strong but can rust and affect soil chemistry. Use only with special coatings.
- Paper or Cardboard:Used for dry soil samples only. Not suitable for wet samples.
Size Considerations
Select a container size that fits your sample amount. Too large or too small containers cause problems.
| Sample Size | Recommended Container Size | Reason |
| Small (less than 100g) | Small jars or tubes | Prevents air exposure |
| Medium (100g to 500g) | Medium plastic or glass jars | Easy handling and sealing |
| Large (over 500g) | Large plastic buckets with lids | Stores enough soil for multiple tests |
Sealing Methods
Proper sealing keeps soil samples stable. There are several ways to seal containers.
- Screw-on lids: Common for plastic and glass jars. Tight seal prevents air and moisture.
- Snap lids: Quick to close but less airtight. Use for short-term storage.
- Plastic wrap: Wrap the container opening before sealing. Adds extra protection.
- Vacuum sealing: Removes air to keep samples fresh longer. Requires special equipment.
Impact Of Container Material On Soil Samples
Choosing the right container for soil samples is important. The container material can change the soil’s properties.
Some materials keep the soil fresh and unchanged. Others may react with the soil and affect test results.
Plastic Containers
Plastic containers are light and easy to carry. They do not break easily during transport.
Some plastics can absorb moisture or chemicals from the soil. This can change the soil’s makeup.
- Use food-grade plastic to avoid contamination
- Avoid plastics that let air pass through
- Keep samples cool to reduce chemical changes
Glass Containers
Glass containers do not react with soil chemicals. They keep samples pure and unchanged.
Glass is heavy and can break during transport. It is best for small samples or lab use.
- Glass is easy to clean and reuse
- It prevents gas exchange with the soil
- Use thick glass to avoid breakage
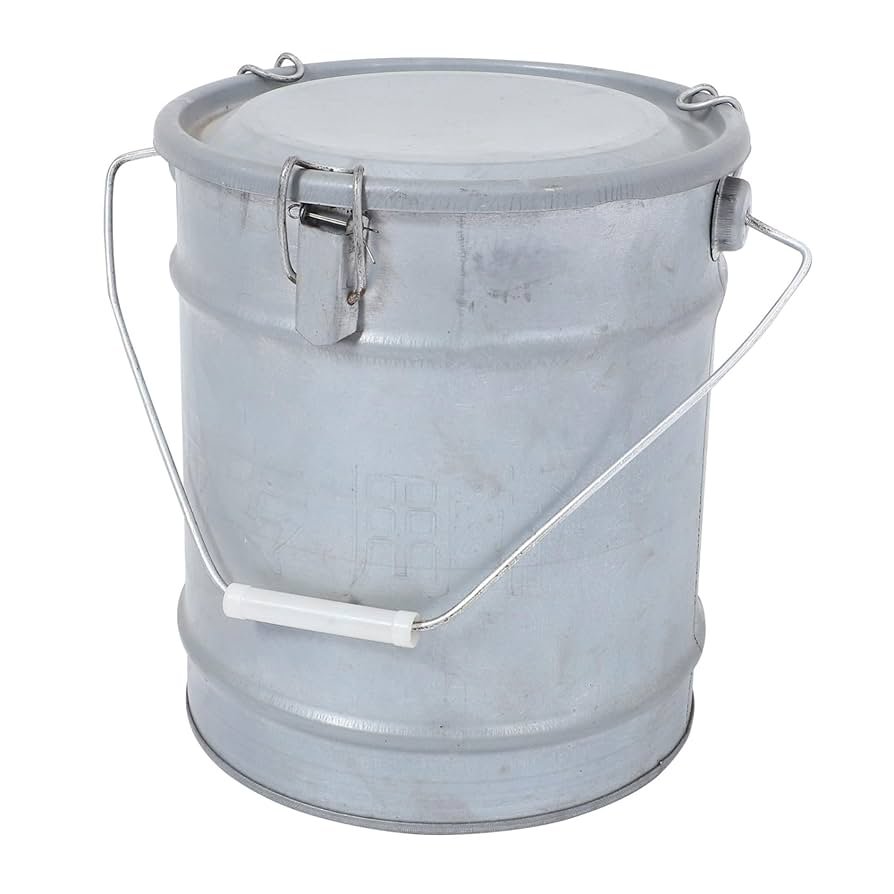
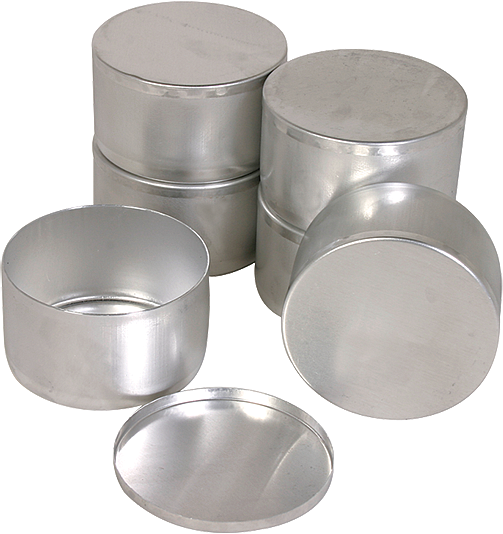
Metal Containers
Metal containers are strong and protect samples well. They are good for field collection.
Some metals can react with soil chemicals. This may change the soil and affect results.
- Use stainless steel to reduce reactions
- Avoid containers that rust or corrode
- Seal metal containers tightly to keep air out
Container Preparation And Cleaning
Choosing the right container for soil samples is important. Proper preparation and cleaning help get accurate results.
Containers must be clean and free from any material that may change the soil’s properties.
Sterilization Techniques
Sterilizing containers removes bacteria and fungi from the surface. This avoids changes in soil samples.
Common sterilization methods include heat, chemicals, and UV light. Each method suits different container types.
- Heat sterilization uses an oven or autoclave to kill microbes.
- Chemical sterilization uses solutions like alcohol or bleach.
- UV light sterilization uses ultraviolet rays to disinfect surfaces.
Avoiding Contamination
Contamination can change soil sample results. Handle containers carefully to avoid dirt or other materials.
Use clean gloves and tools. Store containers in clean places before and after collecting samples.
- Do not touch inside of containers with bare hands.
- Keep containers sealed until use.
- Clean containers immediately after use to prevent residue build-up.
- Label containers clearly to avoid mix-ups.
Storage And Transport Tips
Choosing the right container for soil samples is important. Proper containers keep samples safe and clean.
Good storage and transport protect the soil’s quality. This helps get accurate test results.
Temperature Control
Keep soil samples at a stable, cool temperature. Avoid heat or freezing to protect sample quality.
Use insulated containers or coolers for transport. This helps keep the soil from changing.
- Do not expose samples to direct sunlight.
- Store samples in a shaded, cool place.
- Use ice packs if needed but avoid wetting the soil.
- Transport samples quickly to the lab.
Labeling And Documentation
Clear labels help track each soil sample. Use waterproof labels and permanent markers.
Write the sample ID, date, and location on the container. Keep a record of this information.
- Include sample ID or code.
- Note the date and time of collection.
- Write the exact location or GPS coordinates.
- Keep a separate log sheet for details.
Common Mistakes To Avoid
Collecting soil samples correctly is important for accurate results. Choosing the right container helps keep the sample pure.
Many people make mistakes that affect the soil test. Avoid these common errors to get the best analysis.
Using Inappropriate Containers
Using the wrong container can contaminate the soil sample. Some containers react with soil or allow moisture inside.
Always use clean, non-reactive containers like plastic or glass. Avoid metal or containers with residues.
- Do not use containers that held chemicals or food
- Choose containers that do not absorb moisture
- Use containers with smooth surfaces to avoid soil sticking
Improper Sealing
Failing to seal the container tightly can let air and moisture in. This changes the soil’s properties.
Use containers with secure lids or covers. Check the seal before sending samples for testing.
- Loose lids cause contamination from outside
- Air exposure can dry the soil sample
- Moisture can cause mold or bacteria growth
Ignoring Sample Volume
Sending too little or too much soil can cause problems. Small samples may not represent the area well.
Use the recommended sample size for accurate tests. Usually, a few cups of soil are enough.
- Too little soil can give false results
- Too much soil may be hard to handle
- Follow testing lab guidelines for sample size

Credit: barndoorag.com
Special Containers For Specific Tests
Soil samples need special containers for accurate testing. Different tests require different types of containers. Here, we explore containers for moisture analysis and chemical testing.
Containers For Moisture Analysis
Moisture analysis needs airtight containers. This prevents water loss and ensures accurate results.
- Glass jars with tight seals
- Plastic containers with rubber gaskets
- Metal tins with snap-on lids
Containers For Chemical Testing
Chemical testing requires inert containers. They should not react with the soil or chemicals.
Common materials include:
- Borosilicate glass for strong acids
- Polypropylene for alkaline solutions
- High-density polyethylene for general use
| Container Type | Best Use |
| Glass Jars | Moisture analysis |
| Plastic Containers | Basic chemical tests |
| Metal Tins | Short-term storage |
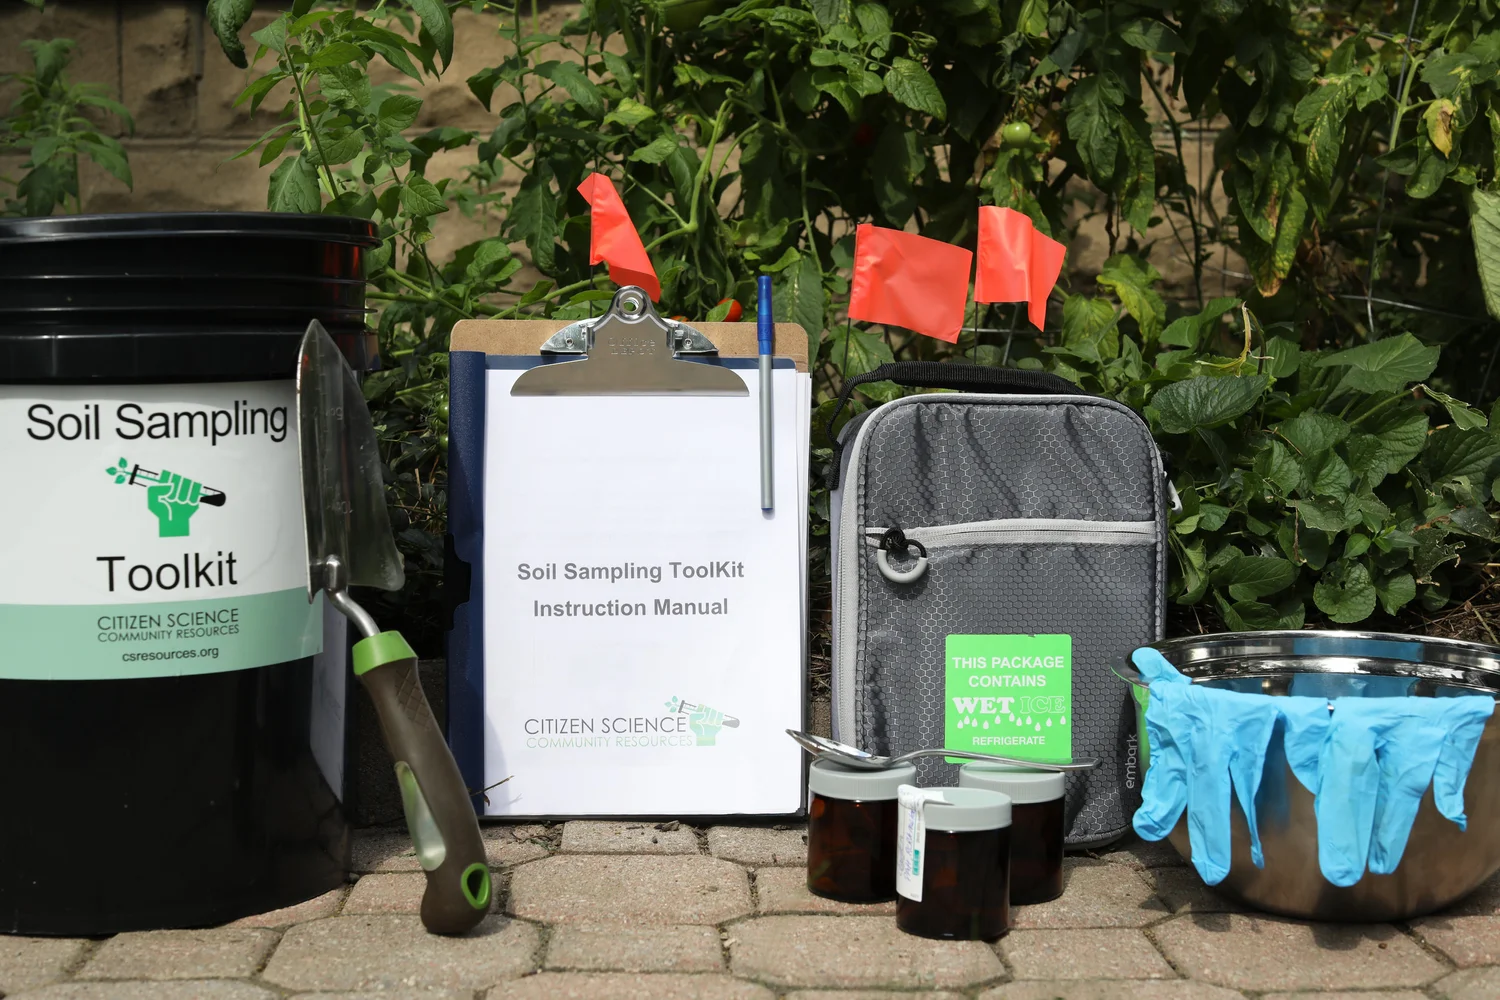
Credit: www.csresources.org
Frequently Asked Questions
What Type Of Container Is Best For Soil Samples?
The best containers for soil samples are clean, airtight plastic or glass jars. These prevent contamination and moisture loss. Avoid metal containers as they may react with soil chemicals. Use containers that are easy to label and seal tightly for accurate analysis.
Why Use Airtight Containers For Soil Sampling?
Airtight containers prevent moisture loss and contamination. They maintain the soil’s original condition until testing. This ensures accurate and reliable lab results. Airtight seals also stop odors and protect samples from external elements.
Can Plastic Containers Be Used For Soil Samples?
Yes, plastic containers are commonly used for soil samples. They are lightweight, durable, and non-reactive. Ensure they are clean and airtight to avoid contamination. Plastic containers are practical for field sampling and transportation.
How To Label Containers For Soil Samples?
Label containers clearly with sample ID, location, date, and depth. Use waterproof markers or labels to prevent smudging. Proper labeling helps track samples accurately during analysis and reporting.
Conclusion
Choosing the right container for soil samples matters a lot. It keeps the soil safe and clean for testing. Plastic or glass containers work well, but avoid metal ones. Make sure the container seals tightly to stop leaks. Label each sample clearly for easy tracking.
Proper containers help get accurate soil results. This simple step supports better soil care and farming. Always pick containers that fit your needs best. Simple care leads to better soil study.
