
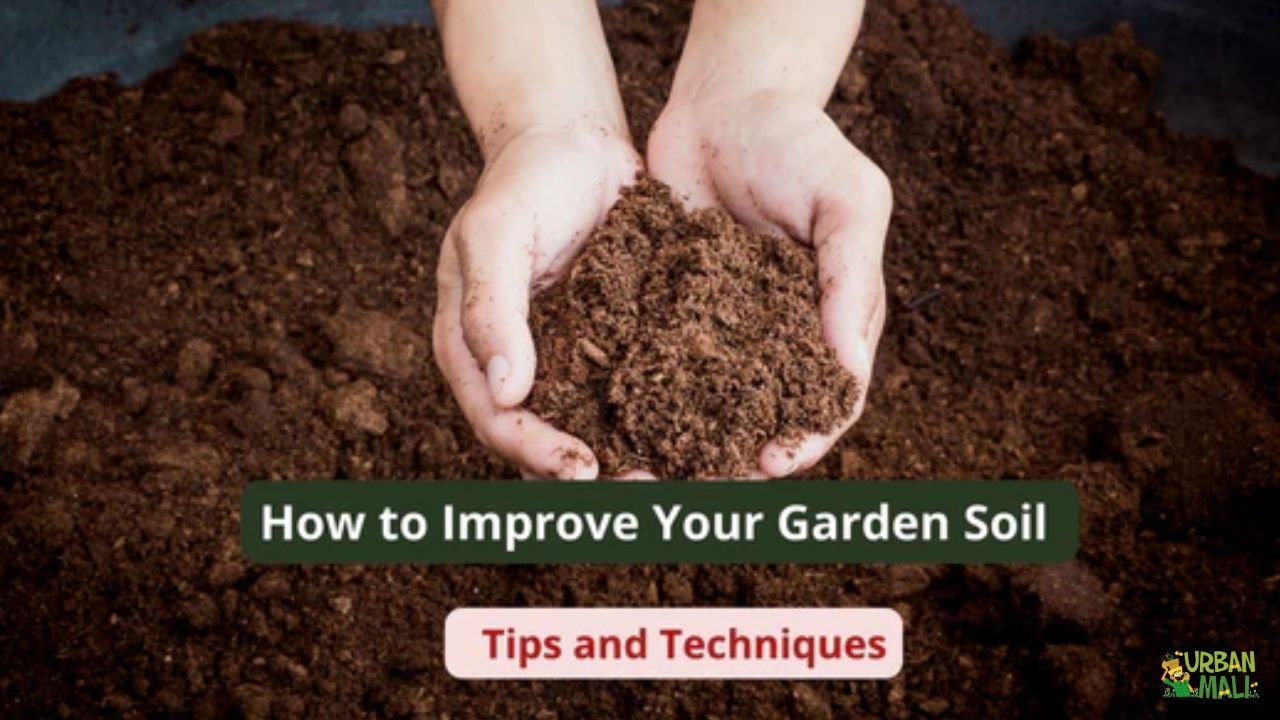
Imagine having a garden that thrives, producing vibrant flowers or bountiful vegetables right in your backyard. The secret to achieving this dream lies beneath your feet—in the soil.
But how do you know if your soil is up to the task? That’s where soil testing comes in. In this expert guide, you’ll discover how understanding your soil can transform your gardening efforts from frustrating to fulfilling. You’ll learn simple techniques to test your backyard soil, uncover hidden deficiencies, and tailor your gardening strategy for optimal growth.
Get ready to unlock the potential of your garden with insights that are easy to follow and even easier to implement. Dive in, and let’s turn your backyard into the lush, productive oasis you’ve always wanted.
Credit: www.ams-samplers.com
Why Test Backyard Soil
Testing backyard soil helps you understand its quality. It shows what your soil needs to grow healthy plants.
Knowing soil condition saves time and money. It guides you in adding the right nutrients and improving soil health.
Benefits For Garden Health
Soil testing reveals nutrient levels and pH balance. This helps you choose the best fertilizers and soil treatments.
Healthy soil supports strong roots and better plant growth. It also reduces the chance of diseases and pests.
- Improves plant nutrition
- Prevents over-fertilizing
- Enhances soil structure
- Supports beneficial soil organisms
- Increases crop yields and flower blooms
Common Soil Problems
Backyard soil may have issues like nutrient deficiency or wrong pH. These problems stop plants from growing well.
Soil can also have too much salt, poor drainage, or compacted layers. These reduce root health and water flow.
- Low nitrogen, phosphorus, or potassium
- Acidic or alkaline soil pH
- High salt levels
- Clay or sandy texture problems
- Soil compaction
Timing For Testing
Test your soil before planting season starts. Early testing gives time to fix soil problems.
Repeat soil tests every few years or if plants look unhealthy. Testing after adding fertilizers can check progress.
- Test in early spring or fall
- Test every 2-3 years
- Test after major soil changes
- Test if plants show poor growth
Types Of Soil Tests
Soil testing helps you understand your backyard soil better. It shows what your soil needs for healthy plants.
Different tests give different information. You can choose tests that fit your budget and goals.
Diy Testing Kits
DIY soil testing kits are easy to use and affordable. They give quick results about your soil’s condition.
- Test soil pH with color strips
- Check for nitrogen, phosphorus, and potassium levels
- Simple steps you can do at home
- Results guide basic soil care
Professional Lab Tests
Professional labs offer detailed soil analysis. They use advanced tools to check many soil properties.
| Test Type | Details | Benefits |
| Soil Texture | Measures sand, silt, clay | Helps plan drainage and planting |
| Heavy Metals | Detects harmful elements | Ensures safe gardening |
| Organic Matter | Measures decomposed material | Shows soil fertility |
| Salinity | Checks salt levels | Prevents plant damage |
Ph And Nutrient Analysis
Soil pH affects how plants absorb nutrients. Nutrient analysis shows what elements soil has.
Common nutrients tested include:
- Nitrogen (N) – for leaf growth
- Phosphorus (P) – for roots and flowers
- Potassium (K) – for overall plant health
- Calcium, Magnesium, Sulfur – secondary nutrients
Knowing pH and nutrients helps you add the right fertilizers.
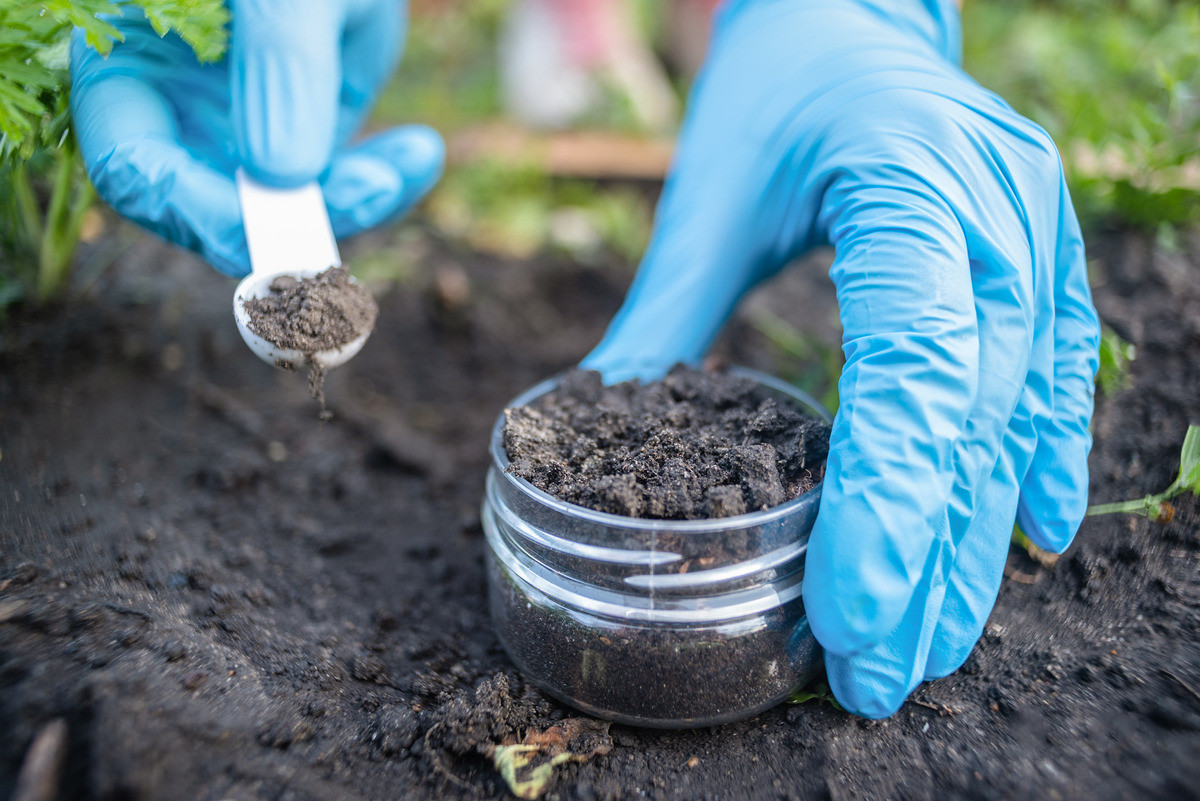
How To Collect Soil Samples
Testing your backyard soil helps you grow healthy plants. Collecting good samples gives accurate results.
This guide explains the tools, where to sample, and how to collect soil correctly.
Tools Needed
Gather these tools before collecting soil samples to make the job easier and cleaner.
- Clean spade or garden trowel
- Plastic bucket or clean container
- Soil sample bags or clean plastic bags
- Permanent marker for labeling
- Gloves to keep hands clean
- Notebook or paper for notes
Choosing Sampling Spots
Pick spots that show the variety of your yard’s soil. Avoid unusual areas.
| Area Type | Include or Avoid |
| Healthy lawn or garden | Include |
| Near compost or fertilizer piles | Avoid |
| Shady spots or under trees | Include |
| Driveways or paths | Avoid |
| Low spots or wet areas | Include |
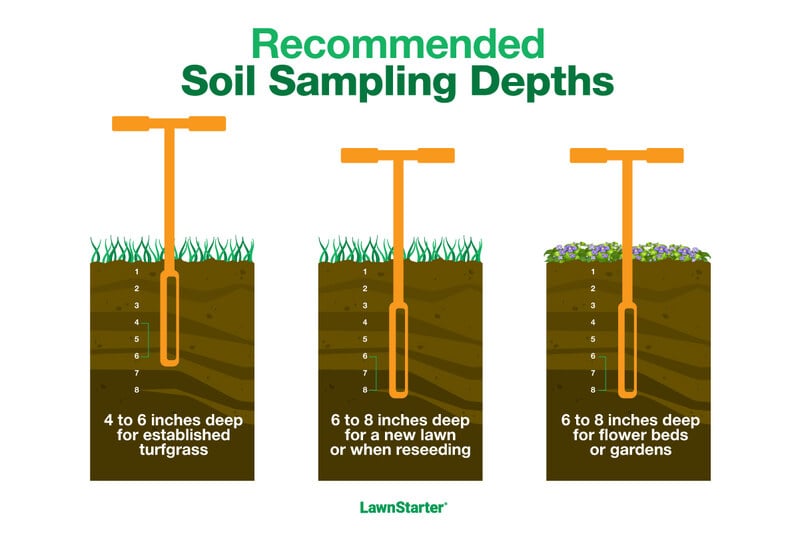
Proper Collection Techniques
Follow these steps to collect soil properly and get reliable test results.
- Clear surface debris like grass, leaves, and stones.
- Dig 6 to 8 inches deep using your spade or trowel.
- Take small slices of soil from each sampling spot.
- Place all soil slices from the area into the bucket.
- Mix the soil in the bucket well to make a composite sample.
- Fill the sample bag with about two cups of mixed soil.
- Label the bag with the date and location.
- Wash tools to avoid contamination.
Credit: www.lawnstarter.com
Interpreting Test Results
Soil testing gives useful data about your backyard soil. Understanding the results helps you improve plant growth. This guide explains key points in test reports.
Learn how to read soil pH, nutrient levels, and spot nutrient deficiencies. These insights guide your soil care and gardening decisions.
Understanding Soil Ph
Soil pH shows how acidic or alkaline your soil is. The pH scale runs from 0 to 14. A pH of 7 is neutral. Below 7 is acidic, above 7 is alkaline.
Most plants grow best in pH between 6 and 7. If pH is too low or too high, nutrients may become unavailable to plants.
- Low pH (acidic) can harm root growth.
- High pH (alkaline) can cause nutrient lockout.
- Adjust pH with lime to raise it or sulfur to lower it.
Nutrient Levels Explained
Soil tests show amounts of key nutrients like nitrogen (N), phosphorus (P), and potassium (K). These nutrients support plant health and yield.
| Nutrient | Role in Plants | Ideal Level |
| Nitrogen (N) | Helps leaves grow | 20-50 ppm |
| Phosphorus (P) | Supports roots and flowers | 15-40 ppm |
| Potassium (K) | Strengthens stems and disease resistance | 100-200 ppm |
Identifying Deficiencies
Deficiencies show as poor plant growth or discoloration. Soil tests help find which nutrients are low. Fixing these improves plant health.
- Yellow leaves often mean low nitrogen.
- Poor root growth can signal low phosphorus.
- Weak stems may indicate potassium deficiency.
- Use test results to add the right fertilizer.
Improving Soil Based On Results
After testing your backyard soil, you get clear results. These results help you improve your soil for better plant growth.
Improving soil means fixing its pH, adding nutrients, and choosing the right fertilizers. These changes make your soil healthy.
Adjusting Ph Levels
Soil pH shows if soil is acidic or alkaline. Plants grow best in certain pH ranges. Testing shows if you need to raise or lower pH.
To raise pH, add lime to reduce acidity. To lower pH, add sulfur to reduce alkalinity. Apply changes slowly and retest soil after a few months.
- Add lime to raise soil pH (reduce acidity)
- Add sulfur to lower soil pH (reduce alkalinity)
- Retest soil pH after treatment
- Adjust amounts based on plant needs
Adding Fertilizers And Amendments
Soil tests show which nutrients your soil lacks. Fertilizers add these nutrients back to help plants grow strong and healthy.
Amendments improve soil texture and water holding. For example, adding compost can make sandy soil hold water better.
- Nitrogen helps leaves grow green and lush
- Phosphorus supports strong roots and flowers
- Potassium improves plant health and resistance
- Organic matter improves soil structure and moisture
Organic Vs Synthetic Options
Organic fertilizers come from natural sources like compost and manure. Synthetic fertilizers are made in factories and supply nutrients quickly.
Organic options improve soil health over time. Synthetic options work faster but may harm soil life if overused.
- Organic: slow release, improves soil life, eco-friendly
- Synthetic: fast acting, precise nutrient supply, easy to use
- Choose based on your garden needs and soil test results
Maintaining Healthy Soil
Healthy soil is key to a thriving backyard garden. It supplies plants with nutrients and water.
Testing soil helps you understand its condition. You can improve soil for better plant growth.
Regular Testing Schedule
Test your soil at least once a year. Spring or fall is a good time for testing.
Regular tests show nutrient levels and pH balance. You can fix problems early.
- Test before planting season
- Retest after adding fertilizers or amendments
- Keep records of test results
Crop Rotation And Cover Crops
Change where you plant crops each year. This helps prevent soil nutrient loss.
Use cover crops to protect soil in off seasons. They add nutrients and stop erosion.
- Plant legumes like clover to add nitrogen
- Rotate root, leaf, and fruit crops yearly
- Cover soil with plants during winter
Mulching And Composting
Mulch keeps soil moist and stops weeds. It also adds organic matter as it breaks down.
Compost enriches soil with nutrients. Use kitchen scraps and garden waste to make compost.
- Apply mulch around plants to keep moisture
- Add compost to soil before planting
- Turn compost regularly for best results
Common Mistakes To Avoid
Testing your backyard soil helps plants grow strong and healthy. Many people make simple mistakes that affect test results.
Knowing what to avoid can save time and money. Let’s look at some common errors in soil testing.
Incorrect Sampling
Taking soil samples the wrong way can give false results. You must collect soil from many spots in your yard.
- Do not take samples from only one place.
- Avoid areas with dead grass or near compost piles.
- Take samples from the top 6 inches of soil.
- Mix samples in a clean container before testing.
Ignoring Test Results
Soil test reports show important information about nutrients and pH. Ignoring these results wastes effort.
Follow the recommendations to fix problems. Check the report carefully to know what your soil needs.
| Test Result | What to Do |
| Low Nitrogen | Add nitrogen fertilizer or compost |
| High pH (Alkaline) | Use sulfur or acidifying amendments |
| Low Phosphorus | Apply bone meal or phosphate fertilizer |
| Low Potassium | Use potash or wood ash carefully |
Overusing Amendments
Adding too much fertilizer or lime can harm plants. It may cause nutrient imbalance or burn roots.
Tips to avoid overusing amendments:
- Apply only the recommended amount from your soil test.
- Use natural materials like compost for slow nutrient release.
- Test soil again after a few months before adding more.
- Keep records of what you add each season.

Credit: www.familyhandyman.com
Frequently Asked Questions
What Is The Importance Of Soil Testing In Backyard Gardening?
Soil testing reveals nutrient levels and pH balance. It helps optimize plant growth by guiding proper fertilization and soil amendments. Testing prevents overuse of chemicals and ensures healthy, productive garden soil for backyard plants.
How Do I Collect A Soil Sample For Testing?
Use a clean trowel to collect soil from 6-8 inches deep. Take samples from multiple spots and mix them evenly. Avoid surface debris and store the sample in a clean container before sending it for analysis.
What Nutrients Do Backyard Soil Tests Typically Measure?
Tests commonly measure nitrogen, phosphorus, potassium, pH, organic matter, and micronutrients. These elements are vital for plant health and growth. Knowing their levels helps tailor fertilization and soil improvement strategies for your backyard.
How Often Should I Test My Backyard Soil?
Test soil every 2-3 years or before planting major crops. Frequent testing helps track changes and maintain nutrient balance. Regular checks prevent nutrient deficiencies and improve long-term soil health.
Conclusion
Testing your backyard soil helps plants grow strong and healthy. It shows what nutrients your soil needs most. Simple steps make testing easy for everyone. Knowing your soil’s condition saves time and money. Healthy soil means better flowers, fruits, and vegetables.
Take care of your soil, and it will take care of you. Start testing today for a greener, thriving garden tomorrow.
