
Getting your flower bed ready for planting can feel like a big job, but using a tiller makes it much easier—and even enjoyable. If you want your flowers to grow strong and healthy, preparing the soil the right way is key.
In this guide, you’ll learn exactly how to use a tiller to break up the ground, remove weeds, and create the perfect home for your plants. Whether you’re new to gardening or just want to improve your technique, these simple steps will save you time and effort.
Keep reading to discover how a tiller can transform your flower bed prep and help your garden flourish.
Credit: gardening.org
Choosing The Right Tiller
Preparing a flower bed starts with choosing the right tiller. The right tool makes soil work easier and faster.
Different tillers fit different garden sizes and soil types. Knowing their features helps you pick the best one.
Types Of Tillers
Tillers come in many types. Some are designed for light garden work, while others handle tough soil.
- Front-tine tillers:The tines are in front of the wheels. Good for soft soil and small gardens.
- Rear-tine tillers:The tines are behind the wheels. They work well in hard or large areas.
- Cultivators:Smaller and lighter, perfect for mixing soil and weeds in flower beds.
Size And Power Considerations
| Size | Power | Best Use |
| Small | Electric or low horsepower | Small flower beds or light soil |
| Medium | 4-7 horsepower | Medium gardens, average soil |
| Large | 8+ horsepower | Large areas, hard or rocky soil |
Choose a size and power that matches your garden and soil type. Too big can be hard to handle; too small may not work well.
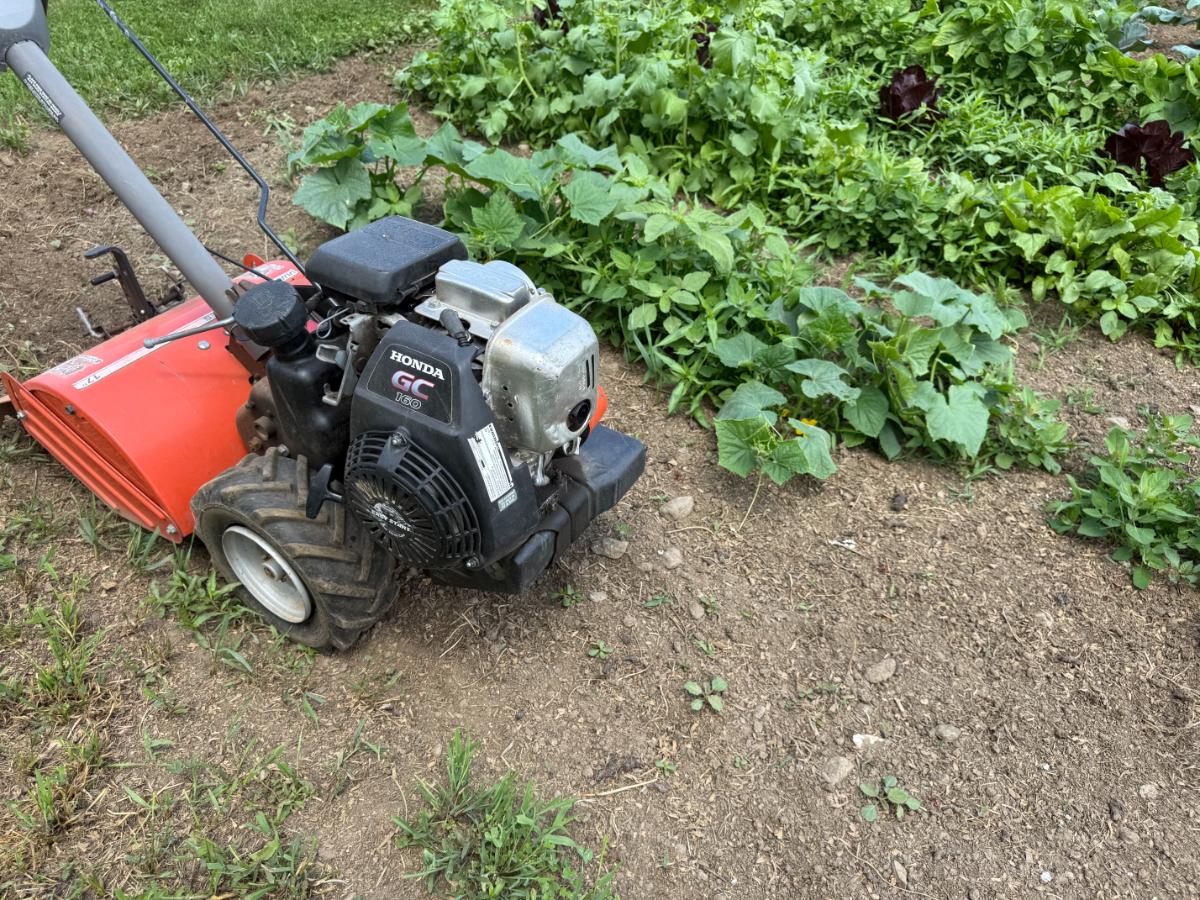
Gas Vs Electric Tillers
Gas tillers offer strong power and work well on large areas. They need fuel and more maintenance.
Electric tillers are quieter and lighter. They suit small gardens and need less upkeep.
- Gas tillers are best for tough soil and big gardens.
- Electric tillers are good for small spaces and light soil.
- Consider noise and ease of use when choosing.
Credit: gardening.org
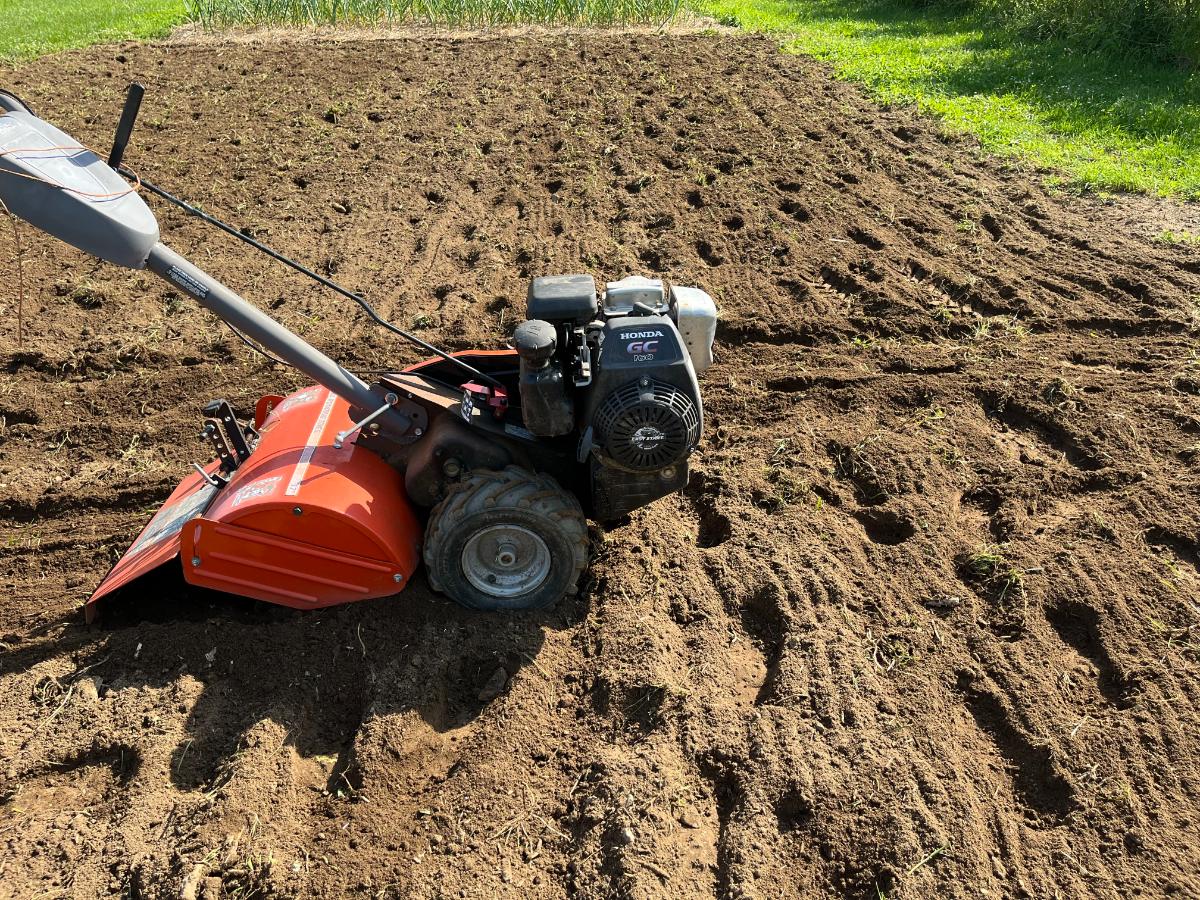
Preparing The Flower Bed
Using a tiller makes flower bed preparation easier and faster. It helps loosen the soil so plants can grow well.
Before tilling, you need to prepare the flower bed area properly. This ensures good soil health and plant growth.
Clearing Debris And Weeds
Remove leaves, sticks, and old plants from the flower bed. This clears space for new plants and prevents pests.
Pull out all weeds by the roots. Weeds take nutrients from the soil and block sunlight for flowers.
- Use gloves to protect your hands
- Collect debris in a bag or compost bin
- Check for hidden roots and remove them
Marking The Area
Mark the flower bed boundaries with string or stakes. This keeps your tiller within the right area.
Clear marks help you till evenly and avoid damage to nearby plants or grass.
- Use stakes at each corner of the bed
- Tie string between stakes to form a clear line
- Double-check measurements for shape and size
Soil Testing Basics
Test soil before tilling to know its condition. Soil tests show pH and nutrient levels.
Good soil helps flowers grow healthy and strong. You can fix problems by adding the right materials.
- Use a soil test kit or send samples to a lab
- Check for pH level, nitrogen, phosphorus, and potassium
- Add lime to raise pH or sulfur to lower pH
- Use compost or fertilizer to improve nutrients
Using The Tiller Safely
Using a tiller is a great way to prepare your flower bed. It makes the soil loose and ready for planting. Safety is very important when using this tool.
Knowing how to use the tiller safely can prevent accidents and injuries. Follow simple safety steps to protect yourself and others.
Safety Gear Essentials
Wearing the right safety gear helps keep you safe while tilling. Always prepare before starting the tiller.
- Wear sturdy gloves to protect your hands from blisters and cuts.
- Use safety glasses to shield your eyes from flying dirt and debris.
- Put on closed-toe shoes or boots with good traction to avoid slips.
- Wear hearing protection if the tiller is loud to protect your ears.
- Dress in long pants and long sleeves to prevent scratches and insect bites.
Operating Tips
Use the tiller carefully to keep control and avoid damage. Follow these tips to work safely and efficiently.
- Read the tiller’s manual before starting to know how it works.
- Check the area for rocks, sticks, or wires that could block the tiller.
- Start the tiller on a flat surface and hold it firmly with both hands.
- Walk slowly and guide the tiller in straight lines to cover the whole bed.
- Turn off the tiller before making any adjustments or removing debris.
Avoiding Common Hazards
| Hazard | How to Avoid |
|---|---|
| Loose clothing | Wear fitted clothes to prevent them from getting caught. |
| Wet ground | Do not use the tiller on wet or slippery soil to avoid slipping. |
| Hidden objects | Inspect and clear the soil before tilling to remove hazards. |
| Fuel spills | Refuel the tiller away from heat and wipe spills quickly. |
| Fatigue | Take breaks to avoid tiredness and stay alert. |
Tilling Techniques For Flower Beds
Tilling flower beds is a key step in preparing soil for planting. It helps mix nutrients and loosen soil for better root growth.
Using a tiller correctly can save time and effort while improving the health of your flower bed soil.
Depth And Speed Settings
Set the tiller to the right depth to avoid harming soil structure. A shallow depth of 4 to 6 inches works best for flower beds.
Adjust the speed to match soil conditions. Slow speed helps break up compact soil without causing damage.
- Choose a depth that breaks hard soil but keeps layers intact.
- Use slow speed for rocky or clay soils.
- Increase speed slightly for loose, sandy soil.
- Check tiller settings before starting to avoid over-tilling.
Multiple Passes Strategy
Make several passes over the flower bed to prepare soil thoroughly. This helps mix organic matter and smooth the surface.
| Pass Number | Purpose | Notes |
| First | Break up hard soil | Use deeper setting |
| Second | Mix in compost or fertilizer | Use medium depth |
| Third | Level the surface | Use shallow depth |
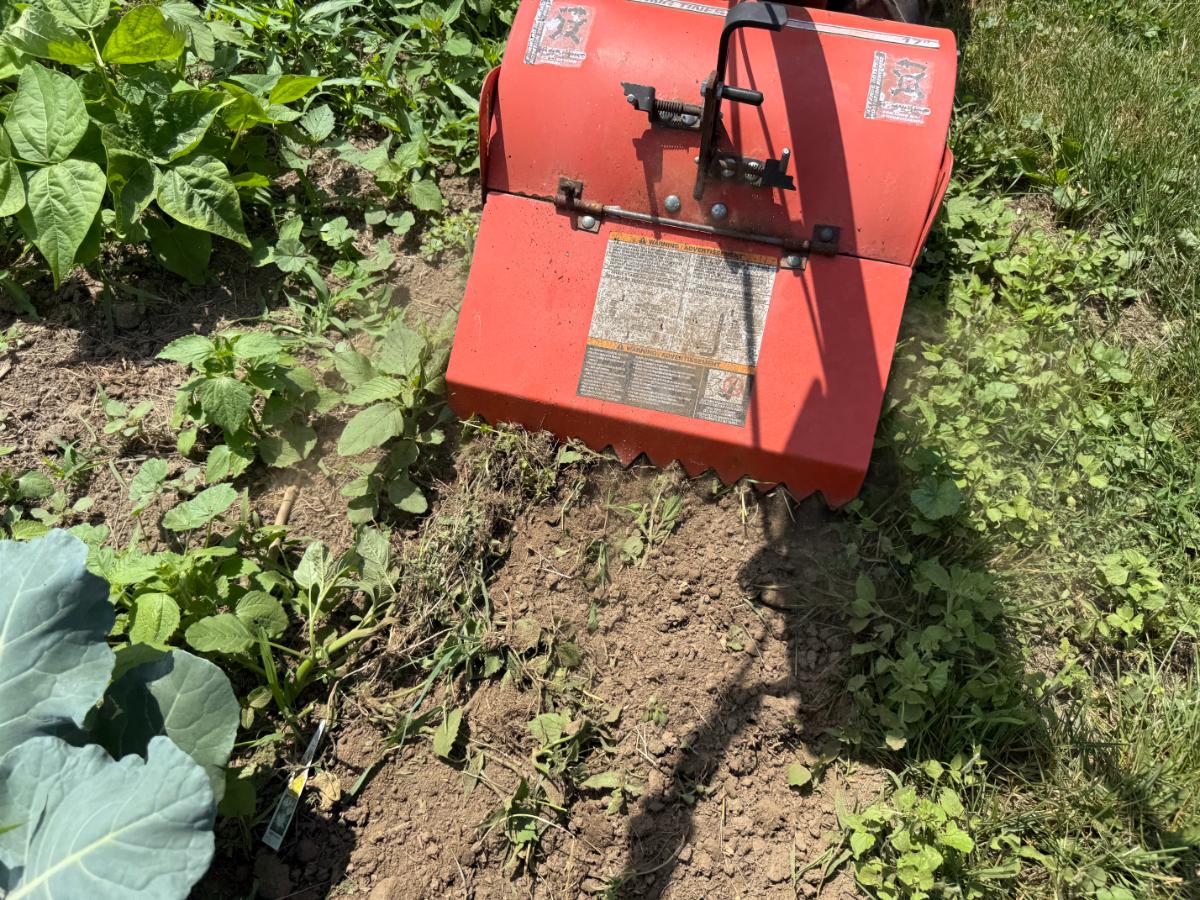
Working Around Plants
Be careful when tilling near existing plants. Damaging roots can harm plant health and growth.
Follow these tips to protect plants while tilling:
- Turn off the tiller near plant bases.
- Use hand tools close to plants if needed.
- Keep a safe distance of at least 6 inches from stems.
- Work slowly and watch for roots.
Post-tilling Soil Care
After tilling your flower bed, the soil is loose and ready for planting. Proper care helps the soil stay healthy and supports plant growth.
Taking the right steps after tilling improves soil structure and moisture retention. This makes your flower bed a perfect place for flowers to grow.
Adding Amendments
Soil amendments improve soil quality by adding nutrients and organic matter. Use compost, manure, or peat moss to enrich the soil.
Mix the amendments evenly into the soil after tilling. This helps the nutrients reach the roots of your plants.
- Use 2-3 inches of compost or aged manure
- Add peat moss for better moisture retention
- Apply lime if your soil is too acidic
- Mix amendments well with a rake or tiller
Leveling And Raking
After adding amendments, level the soil surface. This creates a smooth bed for planting and helps water spread evenly.
Use a rake to break up large clumps and remove stones or roots. A flat, even bed prevents water pooling and soil erosion.
- Use the back of a rake for leveling
- Remove debris and rocks during raking
- Check for low spots and fill with soil
- Lightly firm the soil but keep it loose
Watering Tips
Water the soil right after tilling and leveling. Moist soil helps settle amendments and starts the soil’s recovery.
Keep the soil moist but not soggy before planting flowers. Use gentle watering to avoid washing away soil or amendments.
- Water deeply to reach the root zone
- Use a sprinkler or gentle hose spray
- Water early in the morning or late afternoon
- Check soil moisture regularly to avoid drying
Credit: gardening.org
Maintaining Your Tiller
Using a tiller makes preparing flower beds easier. Proper maintenance keeps your tiller in good shape.
This guide covers cleaning, routine care, and storing tips for your tiller.
Cleaning After Use
Cleaning your tiller after each use prevents rust and dirt buildup. Clean tools last longer and work better.
- Remove soil from the blades and tines.
- Wipe the tiller with a damp cloth.
- Dry all parts to prevent rust.
Routine Maintenance
Regular maintenance ensures your tiller runs smoothly. Check oil levels and tighten loose screws.
Consult your tiller’s manual for specific maintenance tasks and schedules.
Storage Best Practices
Storing your tiller properly extends its lifespan. Keep it in a dry, safe place away from the elements.
| Storage Area | Requirements |
| Garage | Cool and dry |
| Shed | Protected from rain |
| Basement | Away from moisture |
Frequently Asked Questions
How Deep Should I Till For Flower Bed Prep?
Till the soil about 6 to 8 inches deep to loosen it. This depth helps roots grow well. It also improves soil aeration and drainage for healthier flowers.
When Is The Best Time To Use A Tiller?
The best time is early spring or late fall. Soil should be dry but not too hard. Avoid tilling when soil is wet to prevent clumping and compaction.
What Type Of Tiller Is Best For Flower Beds?
A garden tiller with adjustable tines works best. Choose a lightweight, electric or gas tiller for easy maneuvering. This helps prep small to medium flower beds effectively.
How Often Should I Till My Flower Bed?
Tilling once or twice a year is ideal. Over-tilling can harm soil structure and beneficial organisms. Always prep before planting new flowers or adding soil amendments.
Conclusion
Using a tiller makes flower bed prep easier and faster. It breaks up soil well and mixes nutrients evenly. This helps plants grow strong and healthy. Take your time to till carefully and avoid overworking the soil. Regular tilling keeps your flower bed ready for new plants each season.
Give your garden the best start with simple tilling steps. Happy planting!

