
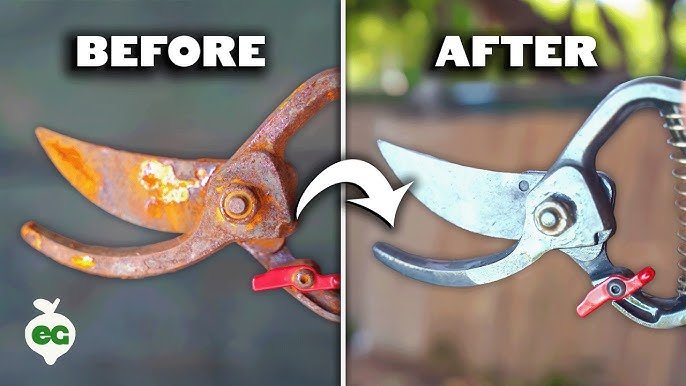
If you want your pruning shears to work smoothly and last longer, keeping them clean is key. Dirty, sticky blades can damage your plants and make your cutting job harder.
But don’t worry—cleaning your pruning shears is easier than you think. You’ll discover simple steps to quickly clean your tools, protect them from rust, and keep them sharp. Ready to make your gardening tasks easier and more enjoyable? Let’s get started!
Tools Needed
Keeping your pruning shears clean is key for good garden care. Using the right tools makes cleaning easier and safer.
This guide covers the tools you need for cleaning pruning shears well and protecting yourself during the process.
Essential Cleaning Supplies
To clean pruning shears properly, gather these cleaning supplies before you start. They help remove dirt, sap, and rust.
- Warm soapy water
- Soft cloth or sponge
- Old toothbrush
- Rubbing alcohol or disinfectant
- Steel wool or fine sandpaper for rust removal
- Lubricating oil for blades
- Clean towels for drying
Protective Gear
Wear protective gear to avoid injury and keep hands clean. Safety is important while handling sharp tools and chemicals.
| Protective Gear | Purpose |
| Gardening gloves | Protect hands from cuts and dirt |
| Safety goggles | Shield eyes from splashes and debris |
| Apron or old clothes | Keep clothes clean from sap and dirt |

Credit: cowenlandscapes.co.uk
Preparing Shears For Cleaning
Cleaning pruning shears keeps them sharp and safe to use. Before cleaning, prepare your shears properly.
Proper preparation removes dirt and helps you clean every part well.
Removing Dirt And Debris
Start by wiping off loose dirt from the blades. Use a dry cloth or brush to clear away debris.
For stuck dirt, use a damp cloth or warm water. Avoid soaking the shears for a long time.
- Brush off soil and plant material
- Use water and mild soap if needed
- Dry shears completely before next steps
Disassembling The Shears
Take apart the shears carefully to clean inside parts. Most pruning shears have screws or bolts.
Use a screwdriver or wrench to remove these parts. Keep them safe to avoid losing them.
- Unscrew the blade and handle parts
- Separate the spring and pivot areas
- Place small parts in a container
Cleaning Techniques
Pruning shears need cleaning to work well and last long. Dirt and sap can build up on the blades. This guide shows easy ways to clean them safely.
Follow these cleaning tips to keep your pruning shears sharp and rust-free. Proper care helps plants stay healthy too.
Washing Blades Safely
Use warm water and mild soap to wash the blades. Avoid harsh chemicals that can damage the metal. Always wear gloves to protect your hands.
- Fill a bowl with warm, soapy water.
- Dip a cloth or sponge and wipe the blades.
- Use a soft brush for stubborn dirt.
- Rinse blades with clean water.
- Dry the shears fully with a clean towel.
- Apply oil to prevent rust.
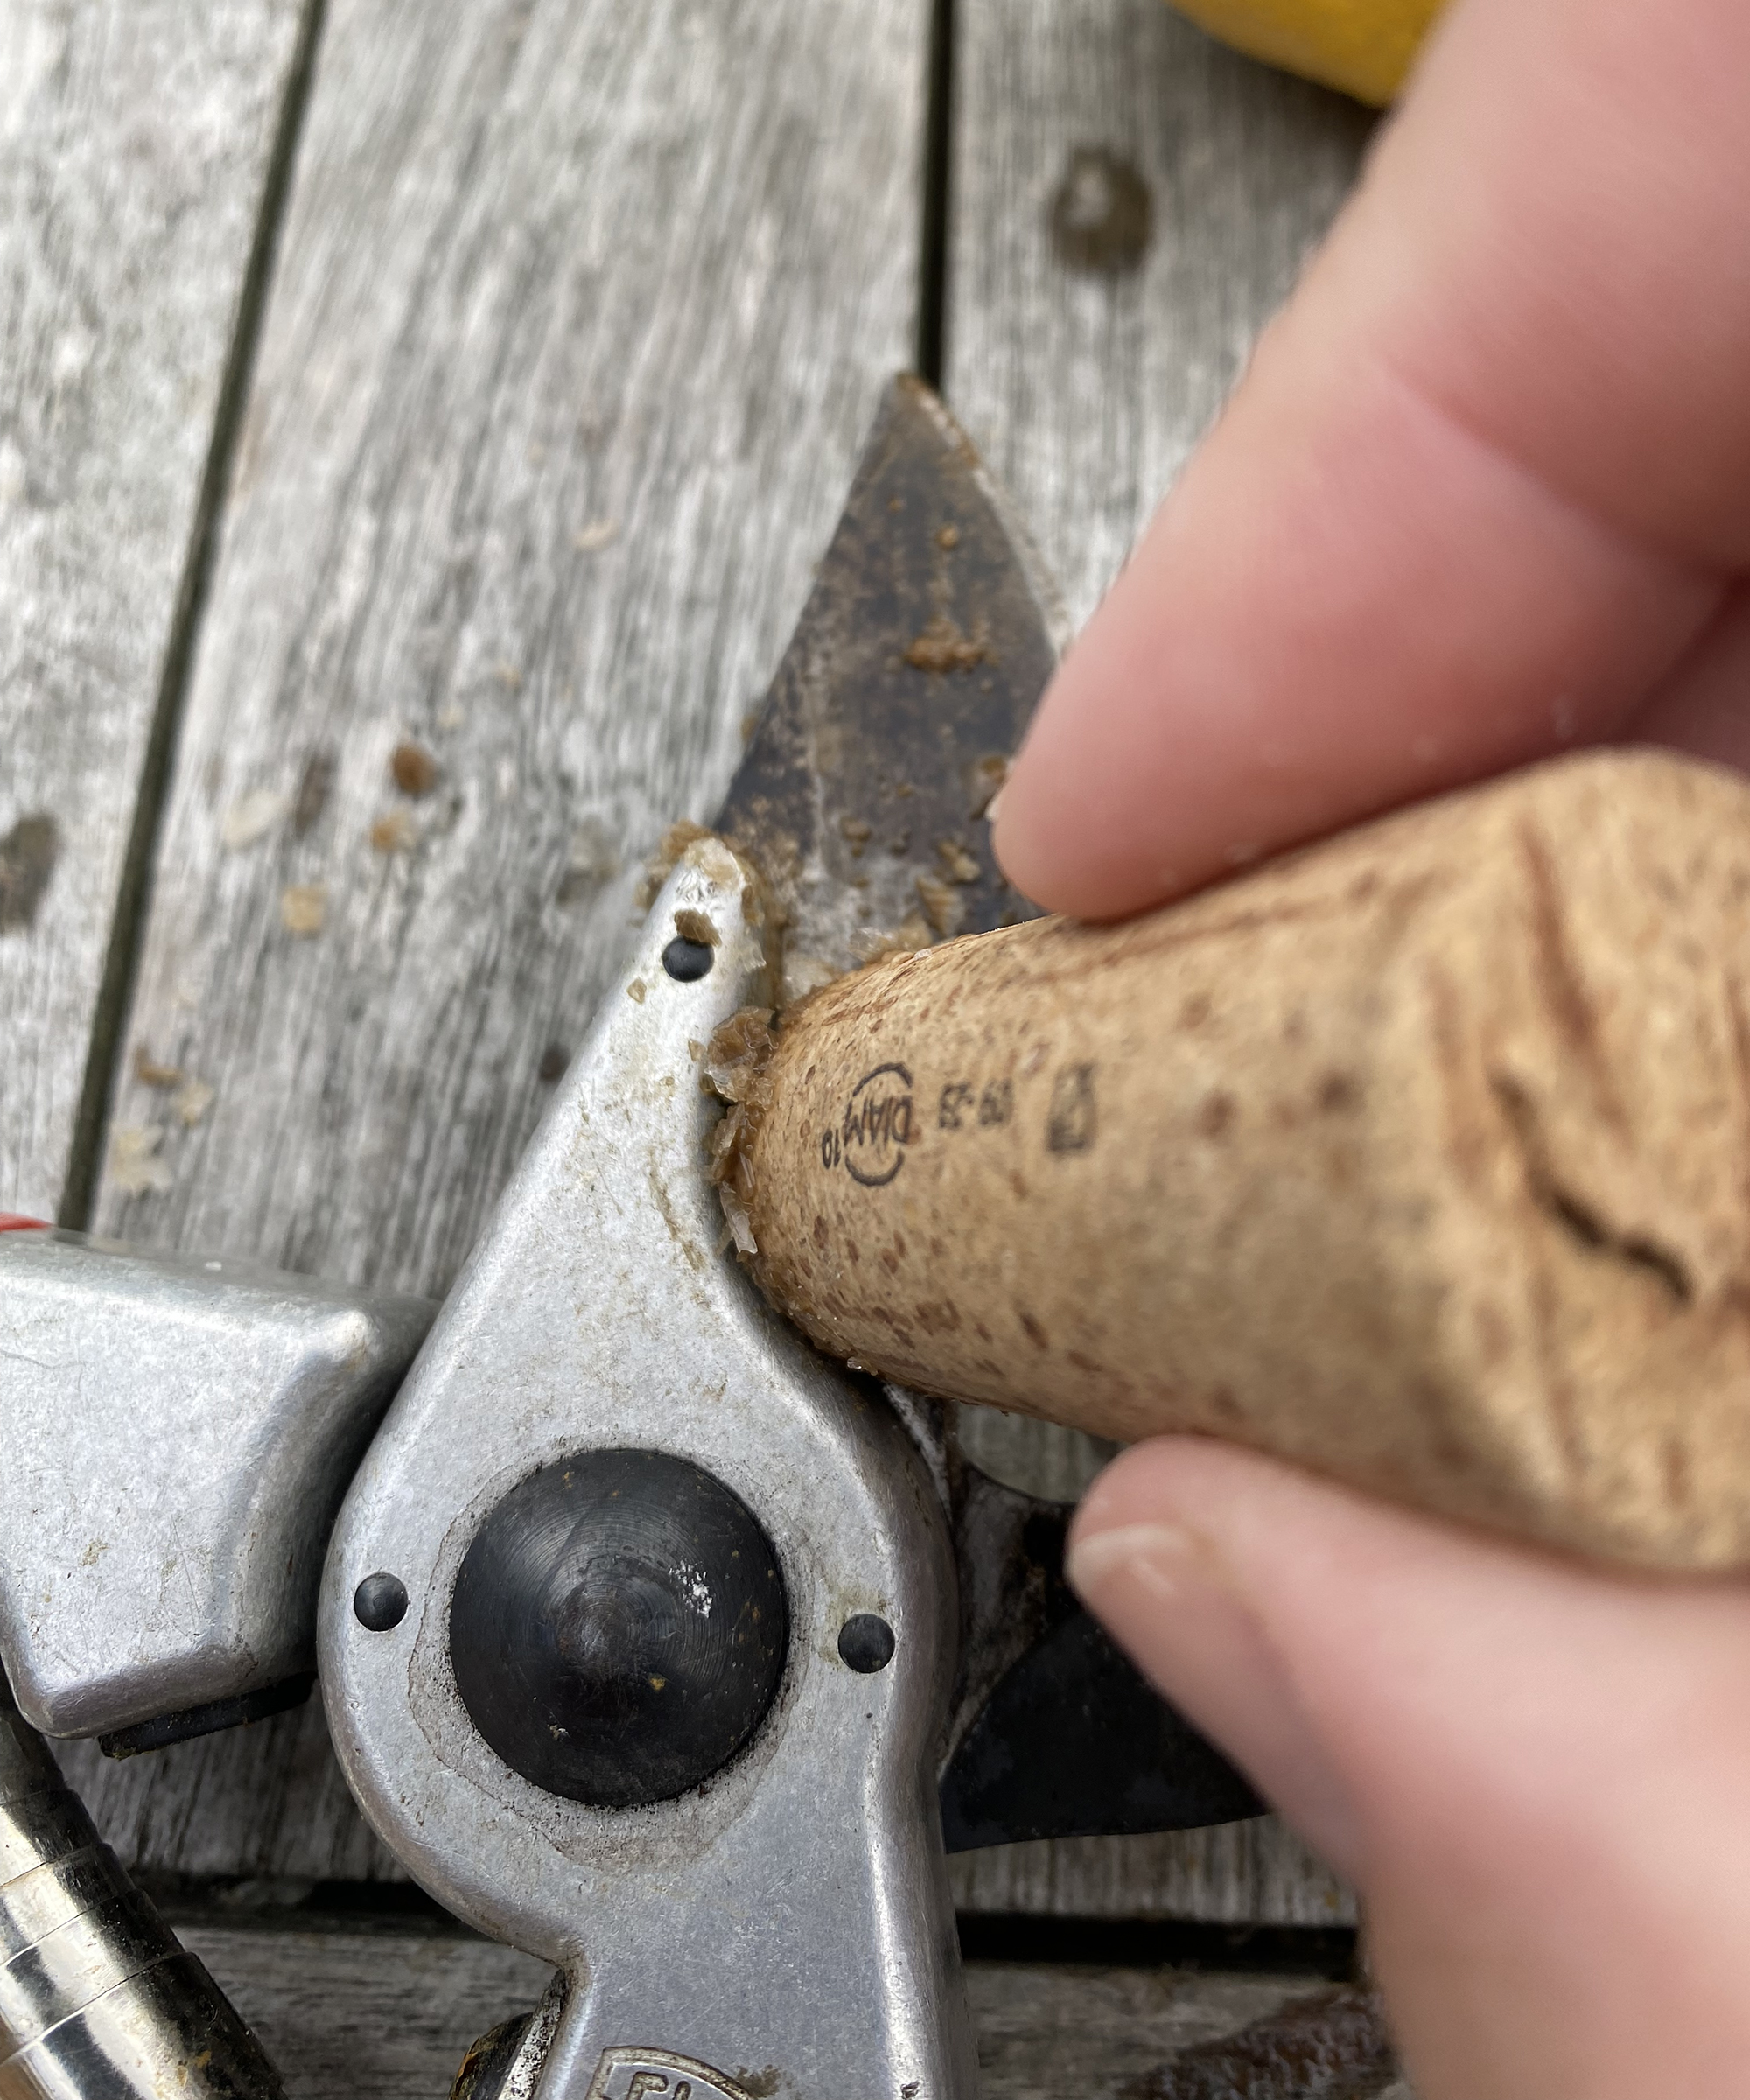
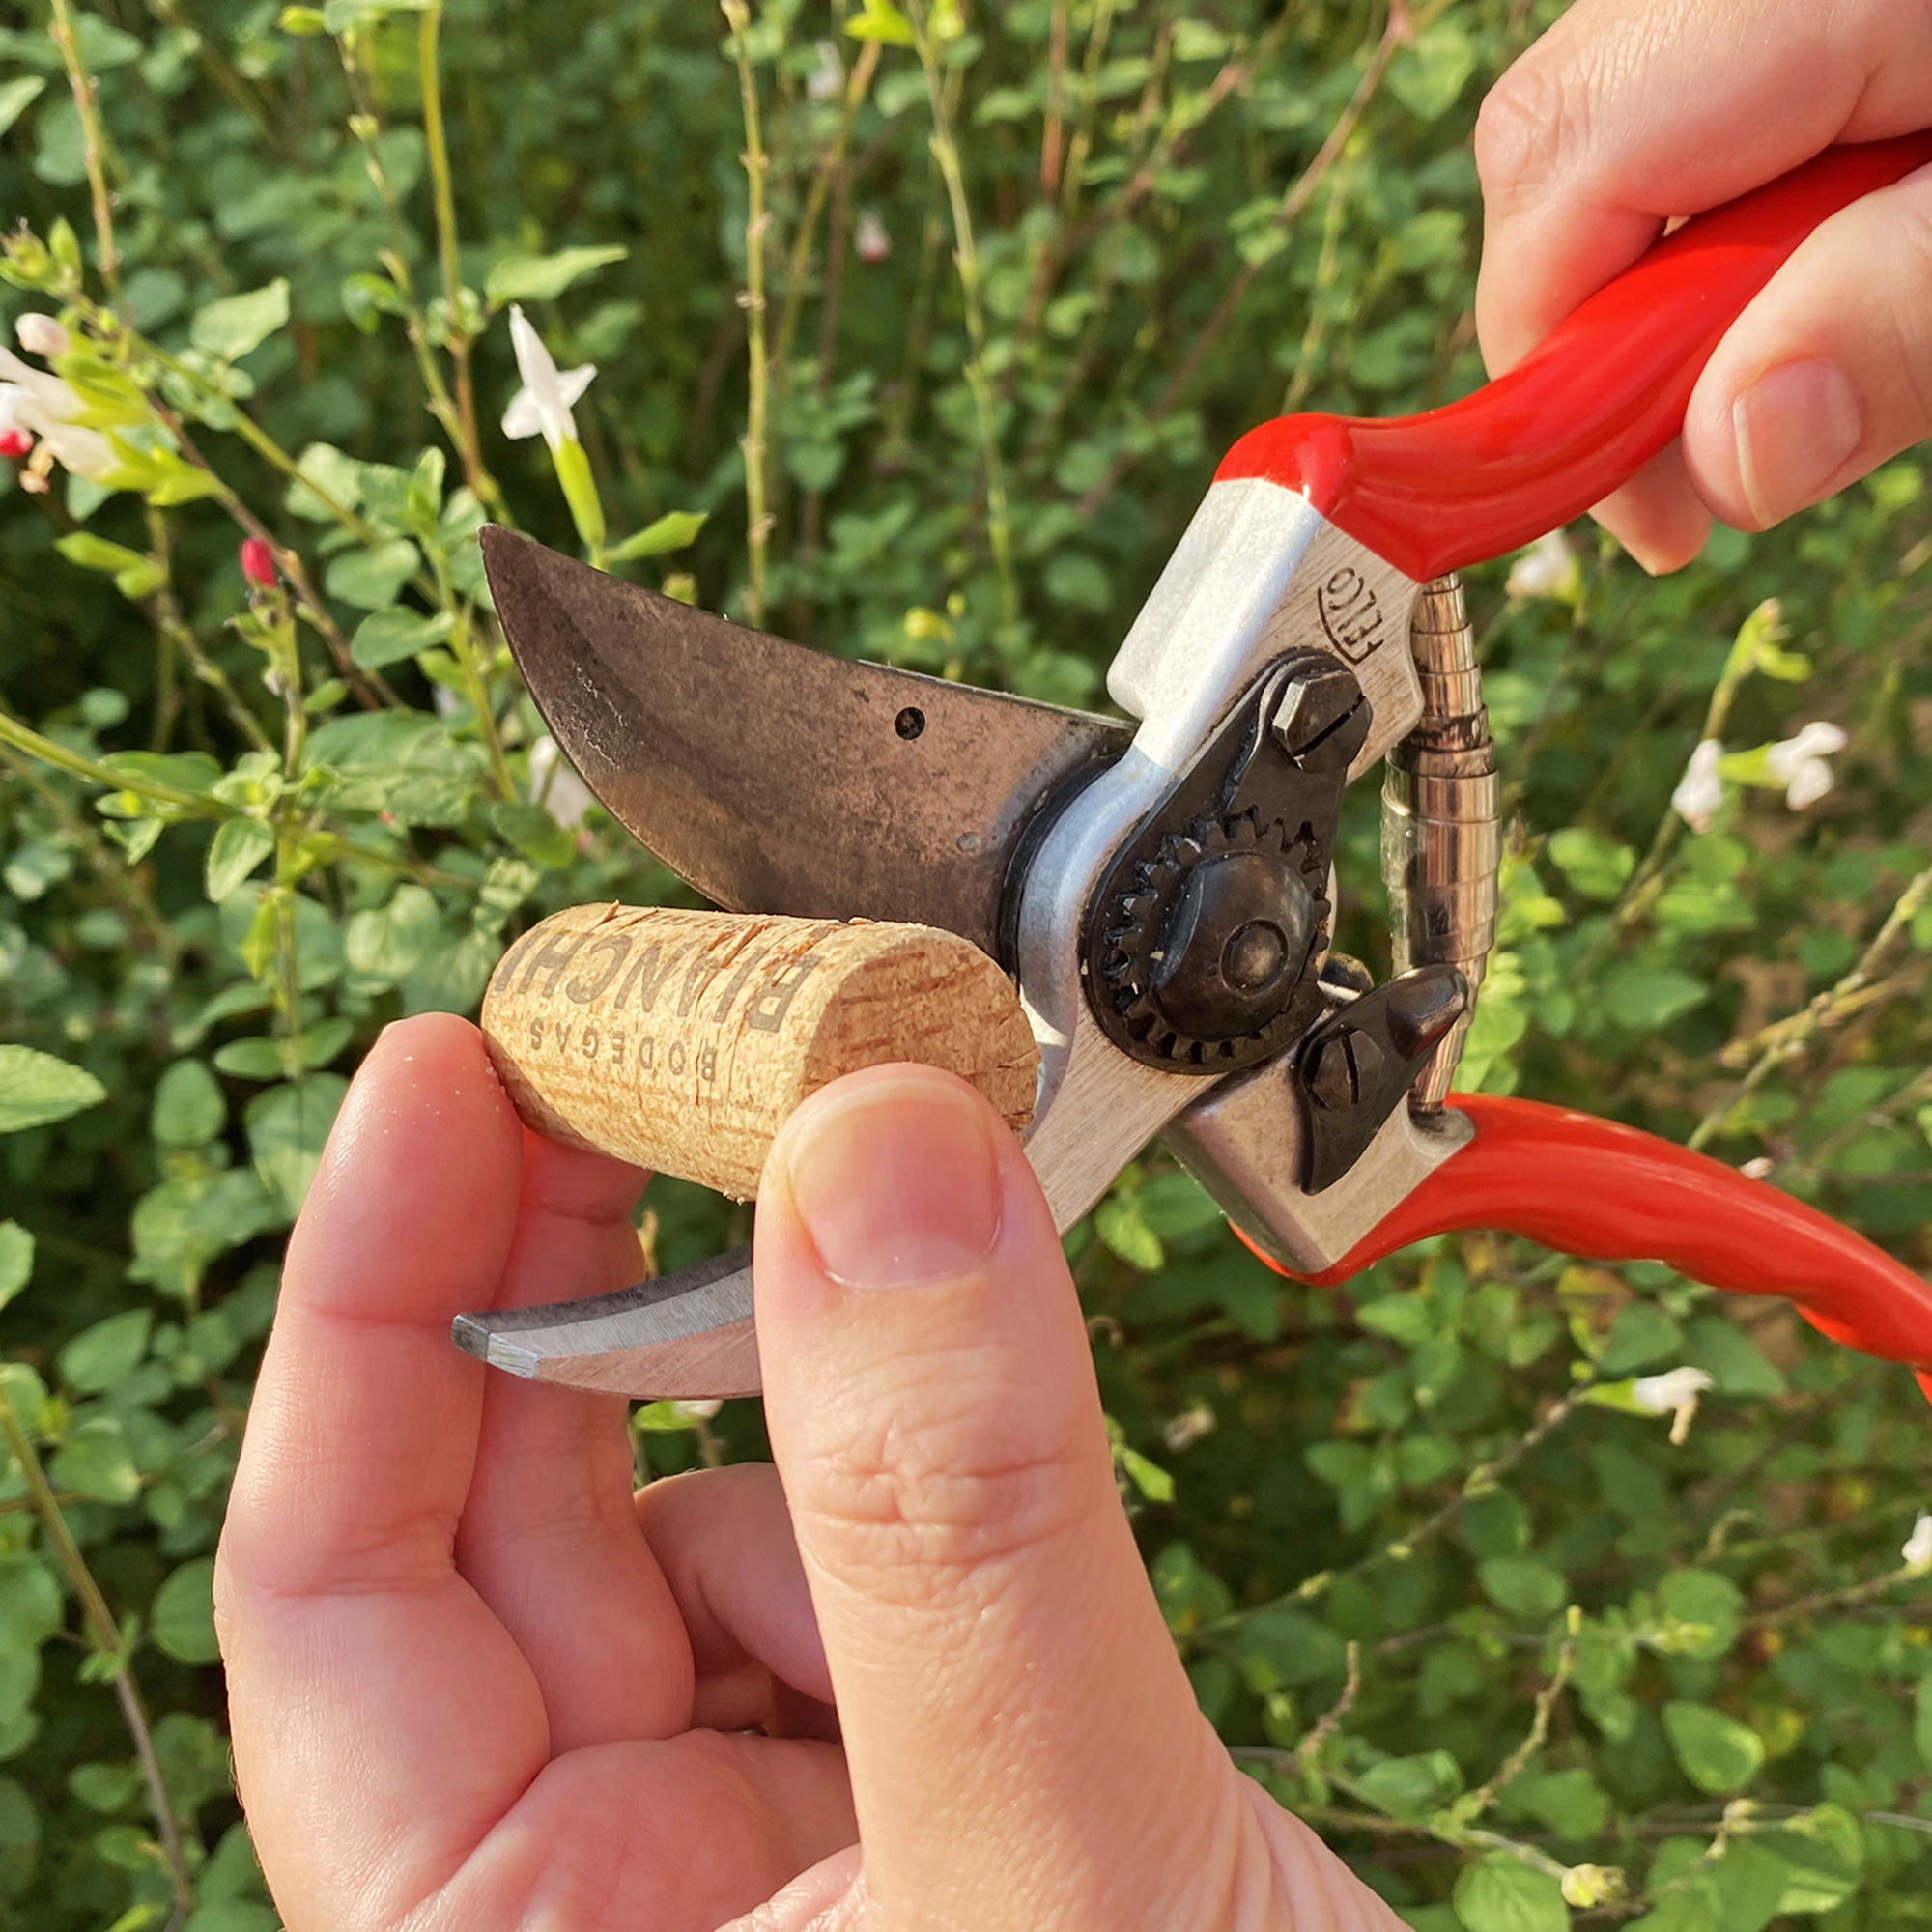
Removing Sap And Residue
Sap can stick to blades and make cutting hard. Use natural or household items to remove sticky residue without harming the tool.
| Item | How to Use |
| Rubbing Alcohol | Apply with cloth, wipe sap off |
| Vegetable Oil | Rub on blades, loosen sticky sap |
| Baking Soda Paste | Mix with water, scrub gently on blades |
| White Vinegar | Soak cloth, wipe residue away |
Sharpening The Blades
Keeping your pruning shears sharp helps you cut cleanly and easily. Sharp blades prevent damage to plants and make pruning safer.
Sharpening is simple with the right tools and steps. You only need a few minutes to restore your shears’ edge.
Choosing The Right Sharpener
Select a sharpener designed for pruning shears or garden tools. Using the wrong tool can damage the blades.
- Sharpening stones are gentle and effective for fine edges.
- Diamond files work fast and last long.
- Sharpening rods fit blade curves easily.
- Electric sharpeners are quick but may remove too much metal.
Step-by-step Sharpening Process
Follow these steps carefully to sharpen pruning shears safely and well.
- Clean the blades with warm soapy water and dry them fully.
- Secure the shears in a clamp or hold firmly on a flat surface.
- Match the sharpener angle to the blade bevel, usually 10-20 degrees.
- Slide the sharpener along the blade edge, moving from base to tip.
- Repeat the motion 5 to 10 times until the edge feels smooth and sharp.
- Wipe the blades clean to remove metal filings and apply oil to prevent rust.
| Tip | Sharpen only the beveled cutting blade, not the flat one. |
| Safety | Wear gloves and eye protection while sharpening. |
| Maintenance | Sharpen blades regularly to keep shears working well. |
Preventing Rust And Corrosion
Pruning shears can rust and corrode if not cleaned properly. Keeping them dry and clean helps them last longer.
Regular care stops rust from forming and keeps the blades sharp for easy cutting.
Applying Lubricants
Lubricants protect metal parts by creating a thin, water-resistant layer. This layer stops moisture from causing rust.
Use oil or spray lubricants made for garden tools. Apply them after cleaning and drying your shears.
- Open the shears to expose all moving parts.
- Put a few drops of lubricant on the pivot point.
- Spread oil along the blades with a clean cloth.
- Wipe off extra oil to avoid dirt build-up.
Proper Storage Tips
Storing pruning shears in a dry place stops rust and corrosion. Avoid damp or humid areas.
Keep shears clean and lubricated before storing. Use a sheath or wrap them in cloth to protect blades.
- Store shears in a dry shed or garage.
- Use a tool rack to keep shears off the ground.
- Cover blades with a protective case or cloth.
- Check shears regularly for rust or damage.
Credit: www.gardeningknowhow.com
Maintaining Shears For Longevity
Keeping your pruning shears in good condition helps them last longer. Well-maintained shears make gardening easier and more enjoyable.
Regular care prevents rust and keeps blades sharp. Follow these steps to ensure your shears remain in top shape.
Regular Inspection
Inspect your pruning shears often to catch problems early. Look for signs of wear and tear that might affect performance.
- Check for rust on the blades
- Examine the handle for cracks
- Ensure the pivot bolt is tight
- Look for blade alignment issues
When To Replace Parts
Sometimes, parts need replacing to keep shears working well. Knowing when to replace parts can extend the life of your tools.
| Part | Signs of Wear | Replacement Frequency |
| Blades | Dull or chipped | Every 1-2 years |
| Springs | Loose or broken | As needed |
| Handles | Cracked or splintered | When damage appears |
Credit: www.gardeningknowhow.com
Frequently Asked Questions
How Often Should I Clean Pruning Shears?
Clean pruning shears after every use to prevent rust and disease spread. Regular cleaning extends tool life and ensures sharp cuts.
What Materials Do I Need To Clean Pruning Shears?
You need warm soapy water, a brush, rubbing alcohol, a cloth, and lubricant. These materials remove sap, dirt, and disinfect blades effectively.
Can I Use Household Disinfectants On Pruning Shears?
Yes, rubbing alcohol or a bleach solution works well to disinfect pruning shears. Avoid harsh chemicals that may damage the blades.
How Do I Remove Sap From Pruning Shears?
Use a cloth dipped in rubbing alcohol or soapy water to wipe off sap. A gentle scrub with a brush helps remove stubborn residue.
Conclusion
Cleaning pruning shears keeps them sharp and lasts longer. Regular care stops rust and removes plant sap. Wipe blades after each use to stay safe. Use soap, water, and oil for best results. Clean tools help plants stay healthy and grow strong.
Simple steps save money and time on replacements. Take a few minutes to clean your shears often. Good habits lead to better gardening results every season.
