
Are you trying to find the best way to test your soil but feeling overwhelmed by the options? Choosing between a DIY soil test and a lab soil test can be confusing.
You want accurate results without spending too much time or money. This guide will help you understand the key differences, benefits, and drawbacks of each method. By the end, you’ll know exactly which soil test is right for your garden or farm.
Keep reading to make the smartest choice for your soil and get the most from your plants.
Types Of Soil Tests
Soil tests help you understand your soil’s health. They tell you what nutrients your soil has and what it needs.
There are two main ways to test soil: doing it yourself or sending it to a lab. Each method has its own process and benefits.
Diy Soil Test Methods
DIY soil tests are simple tests you can do at home. They give quick results and help you check basic soil properties.
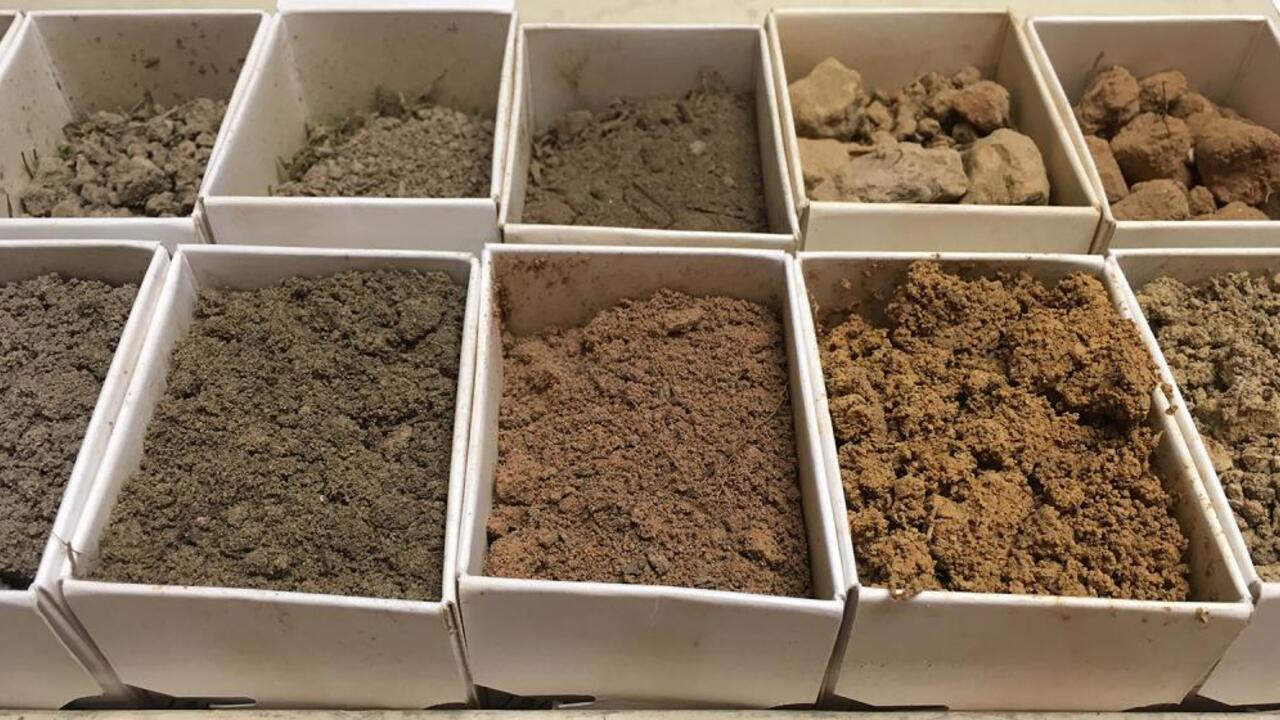
- Soil Texture Test:Feel the soil to see if it is sandy, clay, or loamy.
- pH Test:Use a pH test kit or strips to measure soil acidity or alkalinity.
- Drainage Test:Dig a hole and fill it with water to check how fast it drains.
- Soil Color Test:Look at soil color to guess organic matter and moisture.
Lab Soil Test Procedures
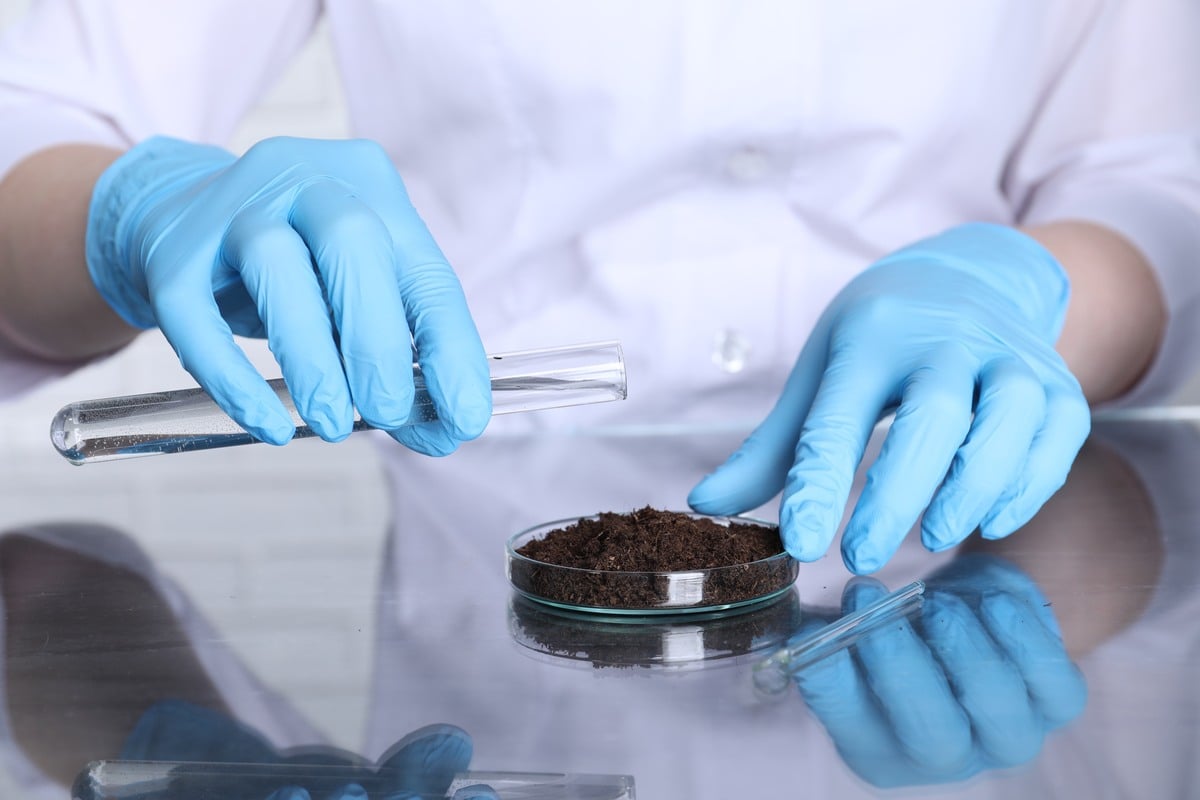
Lab soil tests are done by professionals. They use machines to give detailed results about soil nutrients and contaminants.
| Test Type | Description | What It Measures |
| Nutrient Analysis | Measures key nutrients | Nitrogen, Phosphorus, Potassium |
| pH Test | Checks soil acidity | Soil pH level |
| Organic Matter Test | Measures organic content | Soil organic material |
| Contaminant Test | Detects harmful substances | Heavy metals, pesticides |
Credit: extension.msstate.edu
Accuracy And Reliability
Testing soil helps growers know what their soil needs. There are two common ways to test soil: do-it-yourself (DIY) kits and lab tests.
Accuracy and reliability are important to get good results. These results guide your soil care and plant growth.
Precision Of Diy Tests
DIY soil tests give quick results. They are easy to use and affordable. But their precision can vary a lot.
These tests often measure pH and basic nutrients. The color changes in test strips or tablets may be hard to read.
- DIY kits may miss small differences in nutrient levels
- Results depend on how carefully you follow instructions
- Some kits do not test all nutrients or soil properties
- Environmental factors can affect test accuracy
Lab Test Accuracy
Lab soil tests use advanced tools and trained staff. They check many soil parts, like nutrients, pH, and organic matter.
Labs give precise and reliable results. They use strict methods and controls to avoid errors.
- Lab tests detect small nutrient changes
- They provide detailed reports with clear numbers
- Results help make accurate soil treatment plans
- Lab tests are best for complex or large projects
Cost Comparison
Testing soil helps you know its quality and nutrients. You can do tests yourself or send samples to a lab. Both choices have different costs.
Comparing costs will help you decide which test fits your budget. Let’s look at the expenses for DIY and lab soil tests.
Diy Test Expenses
DIY soil test kits cost less upfront. You buy the kit once and test many times. Kits include tools and instructions.
Costs vary by kit type. Basic kits check pH and nutrients. Advanced kits test more elements but cost more.
- Basic kits range from $10 to $30
- Advanced kits cost $30 to $60
- No extra fees after buying the kit
- Time spent testing is free but needed
Lab Test Fees
Lab tests are more accurate but cost more per test. You send soil samples to a lab and wait for results.
Prices depend on the number of tests done. Labs charge for sample analysis and report preparation.
- Basic lab tests start at $20 per sample
- Complete nutrient analysis costs $50 to $100
- Fees increase with more test types
- Shipping soil samples may add costs
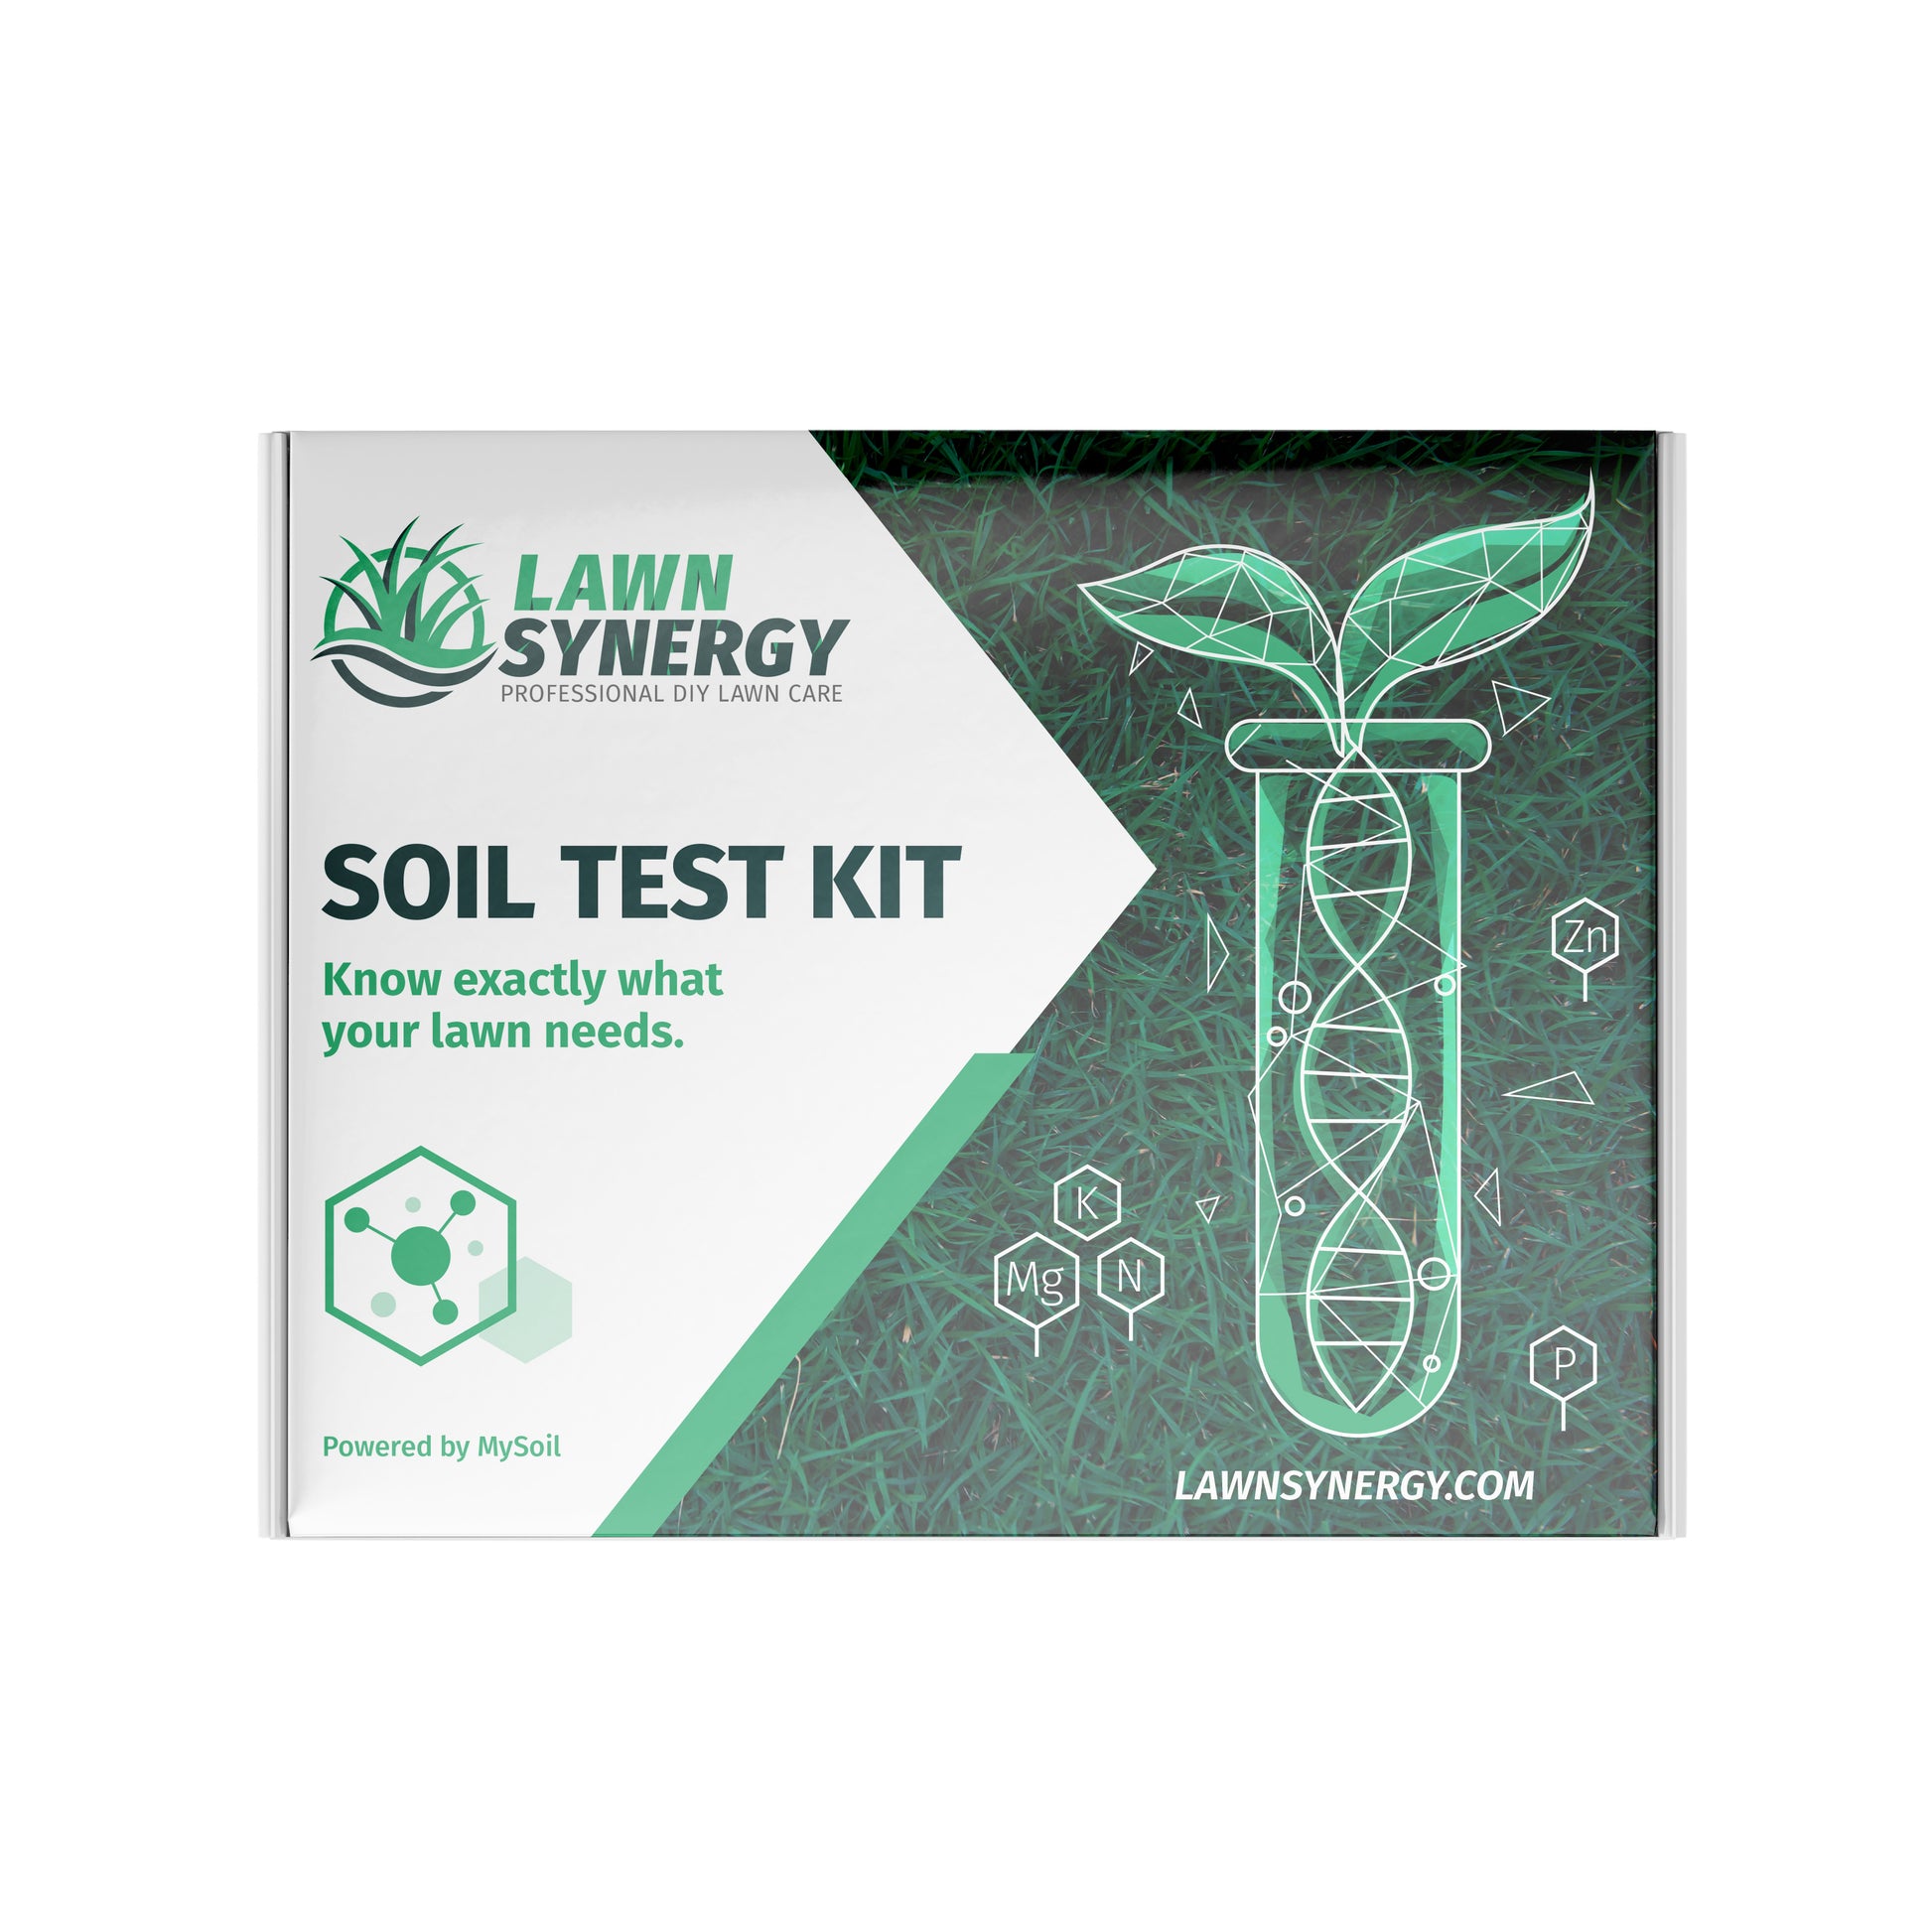
Credit: lawnsynergy.com
Time Required
Testing soil helps you understand its health and needs. Knowing the time needed for each test type is important. This helps you plan your gardening or farming activities well.
There are two main ways to test soil: do-it-yourself (DIY) tests and lab tests. Each takes a different amount of time to get results.
Diy Test Duration
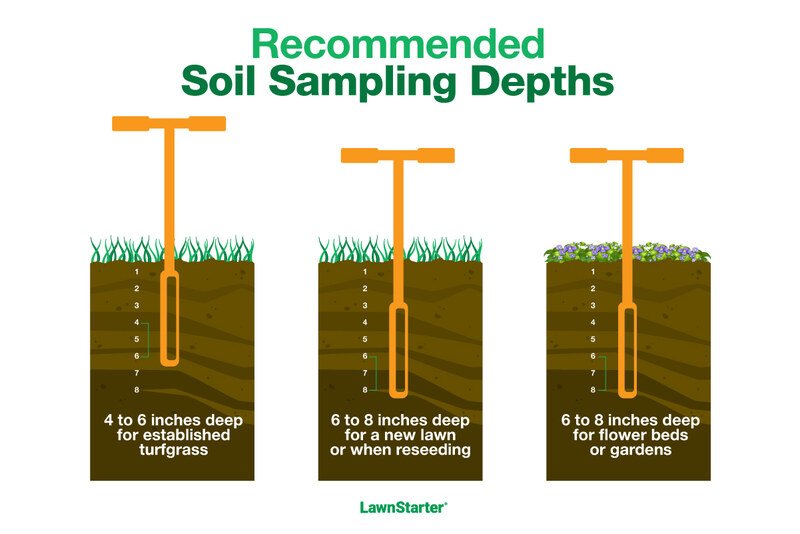
DIY soil tests give quick results. You collect a soil sample and use a test kit at home. These kits usually measure pH, moisture, or nutrient levels.
- Collect soil from different spots in your garden
- Mix and prepare the sample
- Apply the soil to the test kit
- Wait for the reaction, usually 5 to 15 minutes
- Read the results from color charts or strips
Overall, DIY tests take about 10 to 30 minutes. This makes them useful for quick checks and small gardens.
Lab Test Turnaround
Lab soil tests take longer but provide detailed information. You send your soil sample to a lab. Specialists analyze it for many nutrients and contaminants.
| Step | Time Required |
|---|---|
| Sample collection and packaging | 15-30 minutes |
| Shipping to lab | 1-3 days |
| Lab analysis | 2-7 days |
| Report delivery | Same day or next day after analysis |
Lab tests usually take about 3 to 10 days in total. The exact time depends on the lab and the tests ordered.
Ease Of Use
Testing soil is important for healthy plants. You can choose a DIY soil test or a lab soil test. Both have different ease of use.
Understanding how easy each test is can help you pick the right one for your needs.
Diy Test Accessibility
DIY soil tests are easy to start. You buy a kit and follow the instructions. Most kits have clear steps that anyone can do at home.
- Simple tools included in the kit
- Quick results in minutes
- No need to send samples away
- Affordable for most people
- Can test in your own time
Lab Test Convenience
Lab soil tests require sending soil samples to a lab. The process is more involved but offers detailed results.
| Step | Lab Test Process | Ease Level |
| 1 | Collect soil sample | Easy |
| 2 | Package and mail sample | Moderate |
| 3 | Wait for lab analysis | Requires patience |
| 4 | Receive detailed report | Very easy to understand |
Data Interpretation
Understanding soil health is vital for growing healthy plants. Comparing DIY and lab soil tests helps us choose the right one for our needs.
Both methods provide insights, but their clarity and depth differ. Let’s explore how each test presents its data.
Diy Test Results Analysis
DIY soil tests often use color charts to show results. Users match test colors to a chart to interpret nutrient levels.
- Easy to use at home
- Quick results
- Less precise than lab tests
Lab Test Report Clarity
Lab tests provide detailed reports. They often include graphs and tables for clearer understanding.
| Nutrient | Level | Recommendation |
| Nitrogen | Medium | Add compost |
| Phosphorus | High | No addition needed |
| Potassium | Low | Use potassium-rich fertilizer |
Lab reports are comprehensive, making it easier to plan soil amendments. They help in making informed decisions for better soil management.
When To Choose Diy Tests
DIY soil tests are easy and quick. They help you understand your garden’s needs without much hassle.
You can learn about your soil’s pH level and nutrients. DIY tests are perfect for home gardeners.
DIY soil tests come with simple instructions. You do not need special skills to use them.
Follow the steps in the kit. You will get results in minutes. This is ideal for busy gardeners.
Cost-effective
DIY soil tests are cheaper than lab tests. They are a good choice for those on a budget.
You can buy these kits at garden stores. They save you money and provide essential soil information.
Quick Results
DIY soil tests give you fast results. You do not have to wait for days.
This helps you make quick decisions about your garden. You can address soil issues promptly.
Regular Monitoring
DIY tests allow you to check your soil often. You can test your soil whenever you need.
This helps you keep track of soil changes over time. Regular monitoring improves your gardening results.
Basic Soil Information
DIY tests provide basic soil data. They show pH levels and primary nutrients.
For simple gardening needs, this information is enough. It helps you understand your soil better.
When To Opt For Lab Tests
Soil testing helps you understand what your soil needs. You can choose between DIY tests and lab tests. Both have their uses, but lab tests give detailed results.
Knowing when to pick lab tests can save time and money. It also ensures you get the right information for healthy plants.
Complex Soil Problems
Lab tests are best for tricky soil issues. They check for many elements and toxins that DIY kits cannot detect. This helps you find hidden problems.
- Heavy metal contamination
- Soil pH imbalances
- Nutrient deficiencies and excesses
Large Gardens Or Farms
Lab tests are useful for big areas. They provide accurate results for different soil zones. This helps you manage soil health on a large scale.
DIY tests may miss variations in soil quality over a big area. Lab tests give detailed maps of soil needs.
Before Planting High-value Crops
If you plan to grow expensive or sensitive plants, lab tests are a smart choice. They ensure the soil has the right nutrients and no harmful substances.
Good soil conditions help these crops grow well and avoid diseases.
Accurate Nutrient Analysis
Lab tests measure exact amounts of nitrogen, phosphorus, potassium, and other nutrients. This detail helps with precise fertilizing and soil care.
- Know exact nutrient levels
- Avoid over or under fertilizing
- Improve soil and plant health
Verification Of Diy Test Results
Sometimes DIY tests give unclear or unexpected results. Lab tests can confirm or correct these findings. This helps you trust your soil data before taking action.
Use lab tests to double-check when you need confidence in your soil health decisions.
Combining Both Methods
Testing soil helps you understand what your plants need. You can test soil at home or send samples to a lab.
Using both DIY and lab tests gives a clearer picture of soil health. Each method has strengths that work well together.
Start With A Diy Soil Test
DIY soil tests are quick and easy. They give you basic info on pH and nutrients.
Doing this first helps you spot major problems. You can decide if a lab test is needed.
- Check soil pH with test strips
- Test for nitrogen, phosphorus, and potassium
- Use color charts to read results
Confirm Details With A Lab Test
Lab tests give detailed and accurate soil information. They measure many nutrients and contaminants.
Send samples to a lab after your DIY test if you want precise data. Labs use advanced tools for analysis.
- Test for micronutrients and organic matter
- Detect soil contaminants and toxins
- Get recommendations for soil improvement
Use Both Results Together
Compare your DIY results with the lab report. Look for matching and different findings.
This helps you understand soil better. Use DIY tests for quick checks and labs for deep analysis.
- DIY tests help monitor soil regularly
- Lab tests provide detailed baseline info
- Both guide better decisions for soil care
Credit: www.lawnstarter.com
Frequently Asked Questions
What Are The Main Differences Between Diy And Lab Soil Tests?
DIY soil tests are quick and cost-effective but less accurate. Lab tests offer precise, detailed results but require more time and cost. Labs analyze nutrient levels and contaminants thoroughly, while DIY kits provide basic pH and nutrient estimates.
How Reliable Is A Diy Soil Test Compared To Lab Testing?
DIY tests offer general insights but lack precision. Lab tests are highly reliable, providing exact nutrient levels and soil composition. For critical gardening or farming decisions, lab testing is preferred for accuracy.
How Much Does A Lab Soil Test Typically Cost?
Lab soil tests usually range from $20 to $100. Prices vary based on the number of parameters tested. DIY kits generally cost less but provide limited data.
How Long Does It Take To Get Lab Soil Test Results?
Lab results typically take 1 to 2 weeks. The time depends on the lab’s workload and test complexity. DIY tests provide immediate results at home.
Conclusion
Choosing between DIY soil tests and lab tests depends on your needs. DIY tests offer quick, simple insights at a low cost. Lab tests provide detailed, accurate results but take more time and money. Both methods help you understand soil health and improve plant growth.
Think about how much detail you want and your budget. Testing soil is key to a healthy garden or farm. Try a method that fits your situation best. Soil knowledge leads to better crops and greener spaces.
