

Are you ready to take your meat-cooking skills to the next level? Using a rotisserie can transform ordinary cuts into juicy, flavorful masterpieces with a crispy, golden crust.
Imagine biting into perfectly cooked meat that’s tender inside and evenly roasted all around. If you’ve ever wondered how to use a rotisserie to achieve this, you’re in the right place. This guide will walk you through simple steps to make your meals unforgettable and impress everyone at your table.
Keep reading to discover the secrets that will change the way you cook meat forever.
Choosing The Right Meat
Choosing the right meat is the foundation of a great rotisserie experience. The cut and quality you pick will directly affect flavor, texture, and cooking time. Understanding which meats work best and how their condition impacts your results can make your rotisserie meals stand out.
Best Cuts For Rotisserie
Rotisserie cooking works best with cuts that stay juicy and hold together during slow, even cooking. Look for meats with good marbling and a bit of fat to keep them moist.
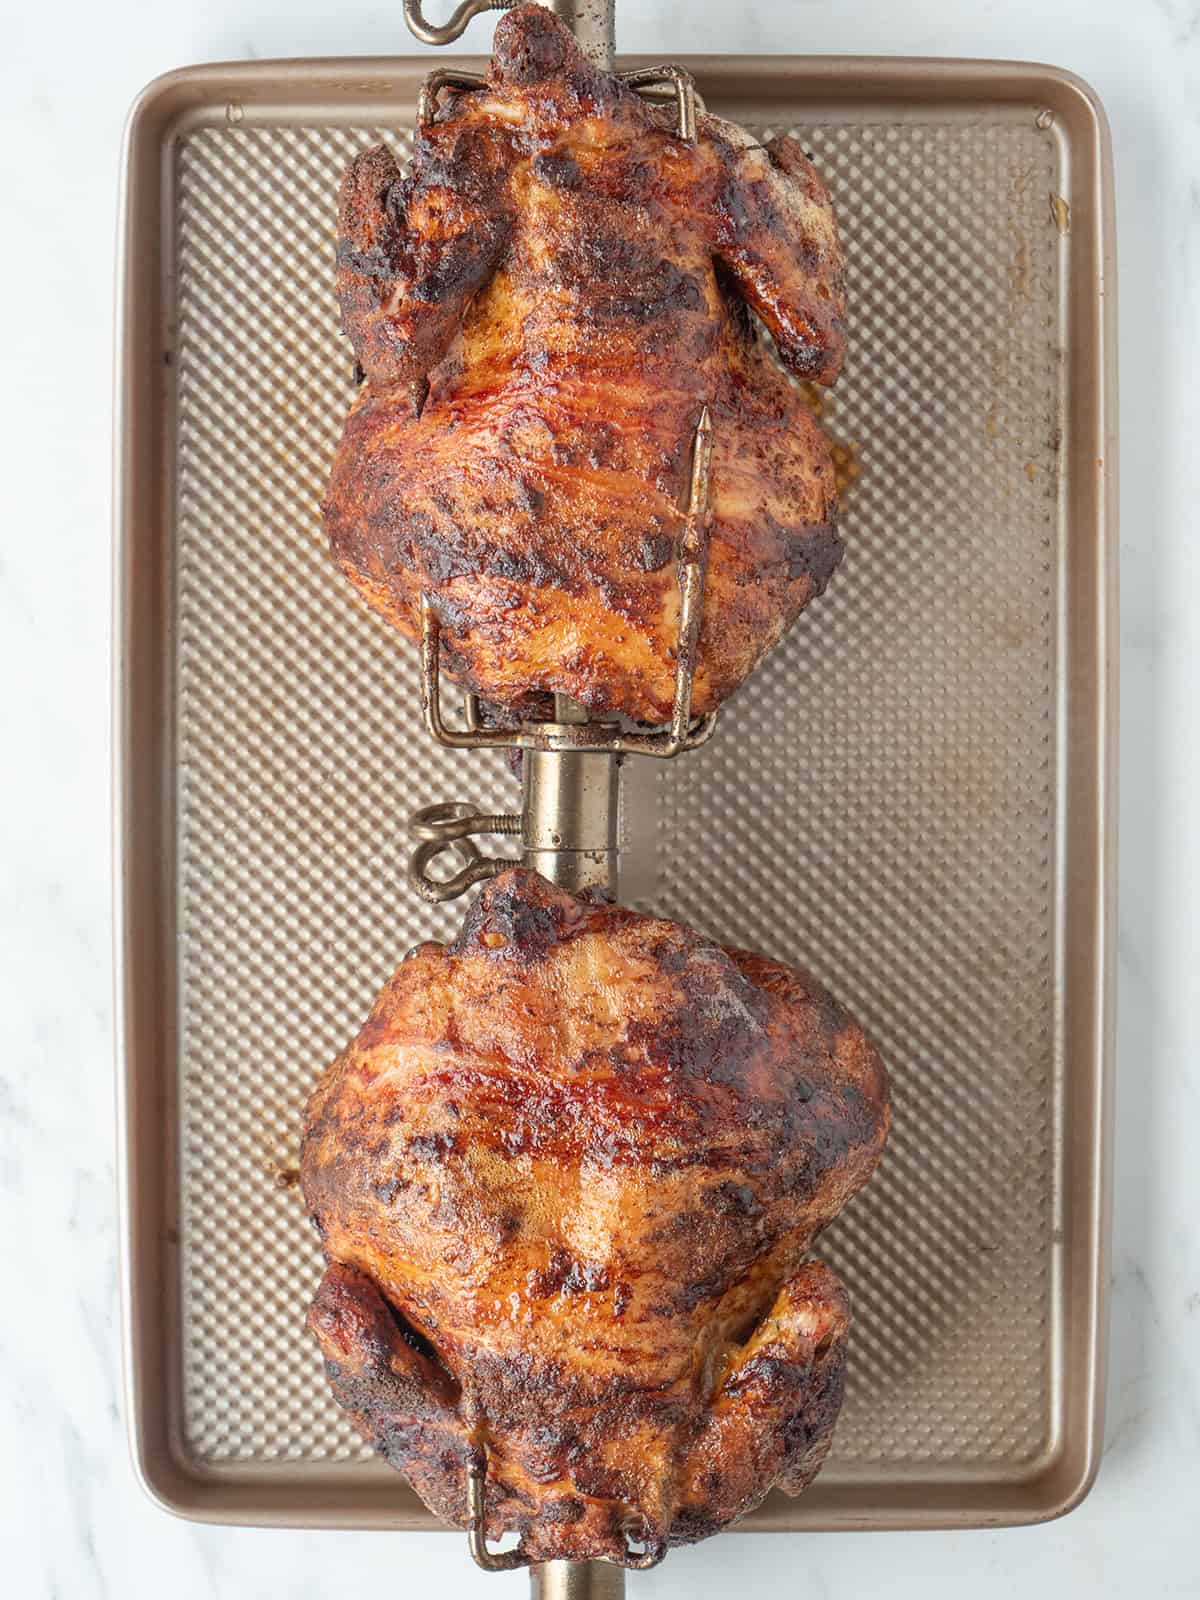
- Chicken:Whole chickens or spatchcocked work perfectly, giving you crispy skin and tender meat.
- Pork:Pork shoulder and pork loin are excellent choices that stay tender and flavorful.
- Beef:Ribeye roast, sirloin, and prime rib provide rich taste and juicy texture.
- Lamb:Leg of lamb or lamb shoulder offers a nice balance of tenderness and robust flavor.
Think about the size and shape too. Uniform cuts rotate evenly, ensuring consistent cooking. Have you ever ended up with dry edges because your roast was uneven? Choosing the right cut can prevent that frustration.
Fresh Vs. Frozen Meat
Fresh meat generally gives you better flavor and texture when using a rotisserie. It retains more natural juices and cooks more predictably.
Frozen meat can still work, but it requires proper thawing. Thawing slowly in the fridge helps maintain moisture and prevents uneven cooking. Avoid rushing this step, or you risk a dry, tough result.
If you’re short on time and must use frozen, consider marinating or brining to add moisture back in. Have you noticed how some frozen meats turn out bland or rubbery? That’s why fresh often wins for rotisserie cooking.
Preparing Meat For Rotisserie
Preparing meat correctly makes a big difference in rotisserie cooking. It ensures even cooking and better flavor. Good preparation helps the meat stay juicy and tender during the slow rotation.
Focus on trimming and tying the meat first. Then, use marinating and seasoning to add taste and tenderness.
Trimming And Tying
Remove excess fat and silver skin from the meat. This prevents flare-ups and uneven cooking. Trim the meat evenly to keep it balanced on the spit.
Tie the meat with kitchen twine to hold its shape. Secure loose parts to avoid wobbling. This helps the meat cook evenly and look good when served.
Marinating And Seasoning
Marinate the meat to add moisture and flavor. Use simple ingredients like oil, vinegar, herbs, and spices. Let it sit for at least 2 hours or overnight for best results.
Season the meat well with salt and pepper before cooking. Rub spices evenly to cover all sides. This builds a tasty crust during the rotisserie process.
Setting Up The Rotisserie
Setting up your rotisserie correctly is essential for juicy, evenly cooked meat. The process starts with securely attaching the meat and ensuring it is balanced. These steps might seem simple, but getting them right can make a huge difference in your cooking results.
Attaching Meat Securely
Make sure your meat is fastened tightly to the spit rod. Use the rotisserie forks to hold the meat firmly in place.
- Insert the forks into thick parts of the meat, avoiding bones where possible.
- Tighten the screws on the forks to prevent any movement during cooking.
- If your meat has loose skin or flap, tuck or tie it down to avoid flapping.
Have you noticed how even a slight wobble can cause uneven cooking? Securing the meat well keeps it stable and allows heat to circulate evenly.
Balancing The Load
Balance is key. If the meat is unevenly placed, the rotisserie motor will struggle, and the cooking won’t be consistent.
- Check the weight distribution by spinning the spit by hand before starting.
- If one side is heavier, adjust the forks or add small weights like foil balls on the lighter side.
- Proper balance reduces stress on the motor and ensures smooth rotation.
Think about how a car wheel feels when unbalanced—it vibrates and wears out faster. Your rotisserie works the same way. Taking a moment to balance your meat saves you from uneven cooking and equipment damage.

Credit: www.youtube.com
Cooking Techniques
Cooking meat on a rotisserie requires skill and attention. Proper techniques ensure juicy, evenly cooked results. Understanding temperature, timing, and moisture control is key. These elements work together to deliver tender, flavorful meat that impresses every time.
Ideal Temperature Settings
Set the rotisserie temperature to maintain steady heat. Most meats cook well between 300°F and 350°F (150°C to 175°C). This range allows slow, even cooking. Avoid high heat to prevent burning outside while inside stays raw. Use a meat thermometer to check doneness accurately.
Managing Cooking Time
Cooking time varies by meat type and size. Larger cuts like whole chickens or roasts take longer. Smaller pieces cook faster. Rotate the meat consistently for even exposure to heat. Do not rush the process; slow cooking preserves moisture and flavor. Plan at least 20 minutes per pound as a general guide.
Using Basting For Moisture
Basting adds moisture and enhances flavor during cooking. Use a brush or spray to apply marinades or melted butter. Baste every 15 to 20 minutes to keep the surface moist. This prevents drying and adds a golden, appetizing crust. Choose simple basting liquids to complement the meat’s natural taste.
Checking Doneness
Checking doneness is crucial when using a rotisserie to cook meat. It ensures your meal is safe to eat and perfectly juicy. Relying solely on cooking time can be risky because different cuts and sizes cook unevenly. Instead, use reliable techniques to confirm your meat is cooked just right.
Using Meat Thermometers
A meat thermometer is your best friend for checking doneness. Insert it into the thickest part of the meat, avoiding bones or fat, which can give false readings.
Each type of meat has a safe internal temperature:
- Chicken: 165°F (74°C)
- Beef (medium rare): 135°F (57°C)
- Pork: 145°F (63°C)
Many thermometers now come with digital displays and preset temperature alerts, making it easier to know when your meat is ready. Have you ever cut into a roast only to find it undercooked? Using a thermometer helps you avoid that disappointment every time.
Visual And Texture Cues
Thermometers aren’t the only way to check doneness. Visual and texture cues provide valuable clues, especially when you don’t have a thermometer handy.
Look for these signs:
- Color: Properly cooked chicken should be white throughout, while beef’s color varies depending on desired doneness.
- Juices: Clear juices usually indicate that meat is cooked, while pink or red juices mean it needs more time.
- Texture: Firmness changes as meat cooks. Press the meat gently; soft and squishy feels rare, while firm and springy indicates well done.
These cues take practice but improve your intuition over time. What has your experience taught you about trusting your eyes and hands in the kitchen?
Credit: whatsgabycooking.com
Resting And Serving
Resting and serving rotisserie meat is a vital step for a juicy and tender result. After cooking, the meat needs time to relax. This helps the juices settle inside instead of spilling out when carved. Proper resting enhances flavor and texture. Serving the meat right after resting brings out its best taste and appearance.
Importance Of Resting
Resting allows meat fibers to reabsorb juices. Cutting too soon causes juices to escape, making meat dry. Let the meat rest for 10 to 20 minutes. Cover it loosely with foil to keep warmth. This short wait keeps the meat moist and flavorful. Resting also makes carving easier and safer.
Carving Tips
Use a sharp knife for clean cuts. Slice against the grain to keep meat tender. Cut in thin, even slices for better texture. Hold the meat steady with a fork or tongs. Arrange slices on a warm plate for serving. Garnish with herbs or lemon slices for a fresh look. Serve immediately to enjoy full flavor and warmth.
Cleaning And Maintenance
Clean the rotisserie parts after each use to prevent grease buildup. Regularly check and oil moving parts to keep the machine working smoothly. Dry all components well before storing to avoid rust and damage.
Cleaning and maintaining your rotisserie ensures its longevity and keeps your meals tasting fresh. A well-cared-for rotisserie not only enhances the flavor of your meat but also prevents any unwanted residue from tainting your next culinary masterpiece. Let’s dive into some practical tips to keep your rotisserie in top-notch condition.Cleaning The Rotisserie Parts
After a delicious meal, the last thing on your mind might be cleaning up. However, a quick clean-up can save you from dealing with stubborn grease later. Start by disassembling the rotisserie. Remove the spit and forks, and soak them in warm, soapy water. This helps to loosen any grease or food particles stuck on the surfaces. Use a non-abrasive sponge or cloth to scrub the parts. A gentle approach is key to preventing scratches. For any stubborn spots, a paste made from baking soda and water can work wonders. Rinse each piece thoroughly under running water. Ensure no soap residue lingers, as this can affect the taste of your next meal. Finally, dry the parts with a clean towel to prevent rusting. Avoid air drying, especially if your rotisserie is made of metal.Storage Tips
Proper storage of your rotisserie can prevent unnecessary wear and tear. Once cleaned and dried, reassemble the parts to ensure nothing gets misplaced. Store the rotisserie in a dry area. Moisture is a common enemy of metal parts and can lead to rust. Consider keeping it in a protective cover or container. This adds an extra layer of protection against dust and accidental damage. Do you have kids or pets around? Store it out of their reach to avoid any accidents. By following these simple steps, you ensure your rotisserie is always ready for your next cooking adventure. How do you keep your kitchen tools in top shape?
Credit: www.youtube.com
Frequently Asked Questions
What Meats Are Best For Rotisserie Cooking?
Chicken, pork, beef, and lamb work best for rotisserie cooking. These meats stay juicy and cook evenly on the spit. Choose cuts with some fat for better flavor and moisture during roasting.
How Long Does Meat Take On A Rotisserie?
Cooking time varies by meat type and size. Generally, small chickens take 1 to 1. 5 hours. Larger cuts like roasts can take 2 to 3 hours. Always use a meat thermometer to check doneness.
How Do You Prepare Meat For Rotisserie?
Season meat with dry rubs or marinades before cooking. Truss the meat tightly to ensure even rotation. Make sure the meat is securely attached to the spit for safe cooking.
Can I Cook Frozen Meat On A Rotisserie?
No, always thaw meat completely before rotisserie cooking. Cooking frozen meat can result in uneven cooking and food safety risks. Plan ahead to properly thaw meat in the refrigerator.
Conclusion
Rotisserie cooking gives meat a juicy and tender texture. It cooks evenly and locks in flavor. Using a rotisserie is simple and fun. Just prepare the meat, set the timer, and enjoy the process. This method suits many types of meat, from chicken to beef.
You can try different spices and marinades too. The slow rotation helps create a crispy outside and soft inside. Give rotisserie cooking a try for your next meal. It brings tasty results with little effort.
