
Are you ready to enjoy perfectly cooked, juicy meals right in your backyard or on your camping trip? Learning how to assemble a portable rotisserie can turn your cooking game up a notch.
It might seem tricky at first, but with the right steps, you’ll have your rotisserie ready in no time. This guide will walk you through each part clearly and simply, so you can focus on what really matters – savoring delicious food.
Keep reading, and you’ll be spinning your way to mouthwatering meals before you know it!
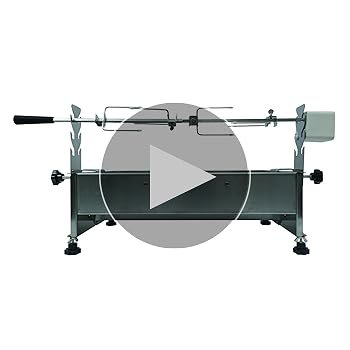
Choosing The Right Portable Rotisserie
Choosing the right portable rotisserie sets the foundation for great cooking outdoors. The perfect rotisserie fits your needs and space. It makes assembly easier and cooking more enjoyable. Consider the type, features, and budget to get the best option. This helps avoid frustration and wasted money.
Types Of Portable Rotisseries
Portable rotisseries come in different styles. Some attach to existing grills. Others stand alone for full mobility. Electric models offer convenience with steady heat. Manual rotisseries use hand-cranks for control. Choose the style that matches your cooking habits.
- Grill-mounted rotisserie
- Freestanding rotisserie
- Electric rotisserie
- Manual crank rotisserie
Key Features To Look For
Look for features that improve ease and cooking quality. A sturdy frame ensures stability during cooking. Adjustable height or width fits different foods. Motor power affects rotation speed and consistency. Heat resistance materials increase durability. Easy-to-clean parts save time after use.
- Strong, stable construction
- Adjustable size settings
- Reliable motor with smooth rotation
- Heat-resistant, durable materials
- Removable, washable components
Budget Considerations
Set a budget before buying a rotisserie. Basic models cost less but may lack features. Mid-range options offer better build and motor quality. Premium rotisseries provide advanced features and longer life. Balance cost with needed functions for best value.
| Price Range | Features | Best For |
|---|---|---|
| Under $50 | Basic, manual or simple motor | Casual use, small meals |
| $50 – $150 | Improved motor, adjustable parts | Regular outdoor cooking |
| Above $150 | High power motor, durable materials | Frequent use, larger meals |

Credit: www.ebay.com
Preparing Your Workspace
Before you begin assembling your portable rotisserie, setting up your workspace properly can save you time and frustration. A well-prepared area helps you stay focused and makes the process smoother. Let’s look at how to get your space ready for assembly.
Selecting A Safe Location
Choose a flat, stable surface with plenty of room to move around. Avoid crowded or slippery areas where parts could fall or get lost. If you’re working outdoors, make sure the spot is sheltered from wind and direct sunlight to keep components clean and easy to handle.
Have you considered how lighting affects your work? Good lighting helps you see small screws and connectors clearly, reducing mistakes. Position yourself near a window or bring in a bright lamp to eliminate shadows.
Gathering Necessary Tools
Before you start, collect all the tools you’ll need. Common tools include screwdrivers, pliers, and adjustable wrenches. Check your rotisserie’s manual for any specific tools required.
Gathering tools ahead prevents interruptions. Imagine stopping midway because you can’t find a wrench—that breaks your focus and slows progress. Keep tools within arm’s reach to maintain a steady workflow.
Cleaning And Organizing Parts
Take a few minutes to clean any dusty or greasy parts before assembly. Wiping them down with a damp cloth improves grip and ensures better fitting. Organize all components by type and size on a clean surface.
Sorting parts can reveal if anything is missing or damaged before you start. I once began assembling without checking, only to find a crucial piece missing halfway through. That experience taught me the value of organization—don’t skip it!
Assembling The Frame
Begin by laying out all parts on a flat surface. Connect the main frame pieces securely using the provided bolts. Ensure the frame stands firm before attaching additional components.
Assembling the frame of a portable rotisserie is an essential step. This ensures a stable and functional cooking experience. A well-assembled frame provides support and safety during operation. Follow these instructions to get your rotisserie ready for use.Connecting Base Components
Start with the base components of the frame. These pieces form the foundation. Locate the main base bar. Attach it to the side bars. Ensure all connections are tight. Use screws or bolts to secure the joints. This prevents movement during cooking. A firm base is crucial.Securing Support Legs
Next, attach the support legs. These legs hold the frame upright. Align each leg with the designated slots. Insert bolts through the holes. Tighten them using a wrench. This keeps the legs steady. Check for any wobbling. Adjust if necessary. The frame should stand firm.Ensuring Stability
Finally, check the entire frame for stability. Press down on each corner gently. The frame should not tilt or shift. If it does, recheck the connections. Tighten any loose screws. Stability is key for safe cooking. Ensure the ground is even. This provides additional support. Your rotisserie should now be stable. Ready for the next steps.
Credit: www.amazon.ca
Installing The Motor And Spit Rod
Installing the motor and spit rod is a crucial part of assembling your portable rotisserie. This step ensures that your meat rotates evenly and cooks perfectly. Paying close attention here will save you time and frustration during cooking.
Mounting The Motor Unit
Start by securing the motor unit to the rotisserie frame. Most portable models have a designated bracket or slot—make sure it fits snugly to avoid any wobbling. Tighten the screws firmly but avoid over-tightening, which can damage the motor casing.
Check that the motor’s power cord is positioned away from heat sources. You don’t want it to melt or get caught during rotation. Have you ever noticed a motor slowing down because it’s overheating? Proper placement prevents this issue.
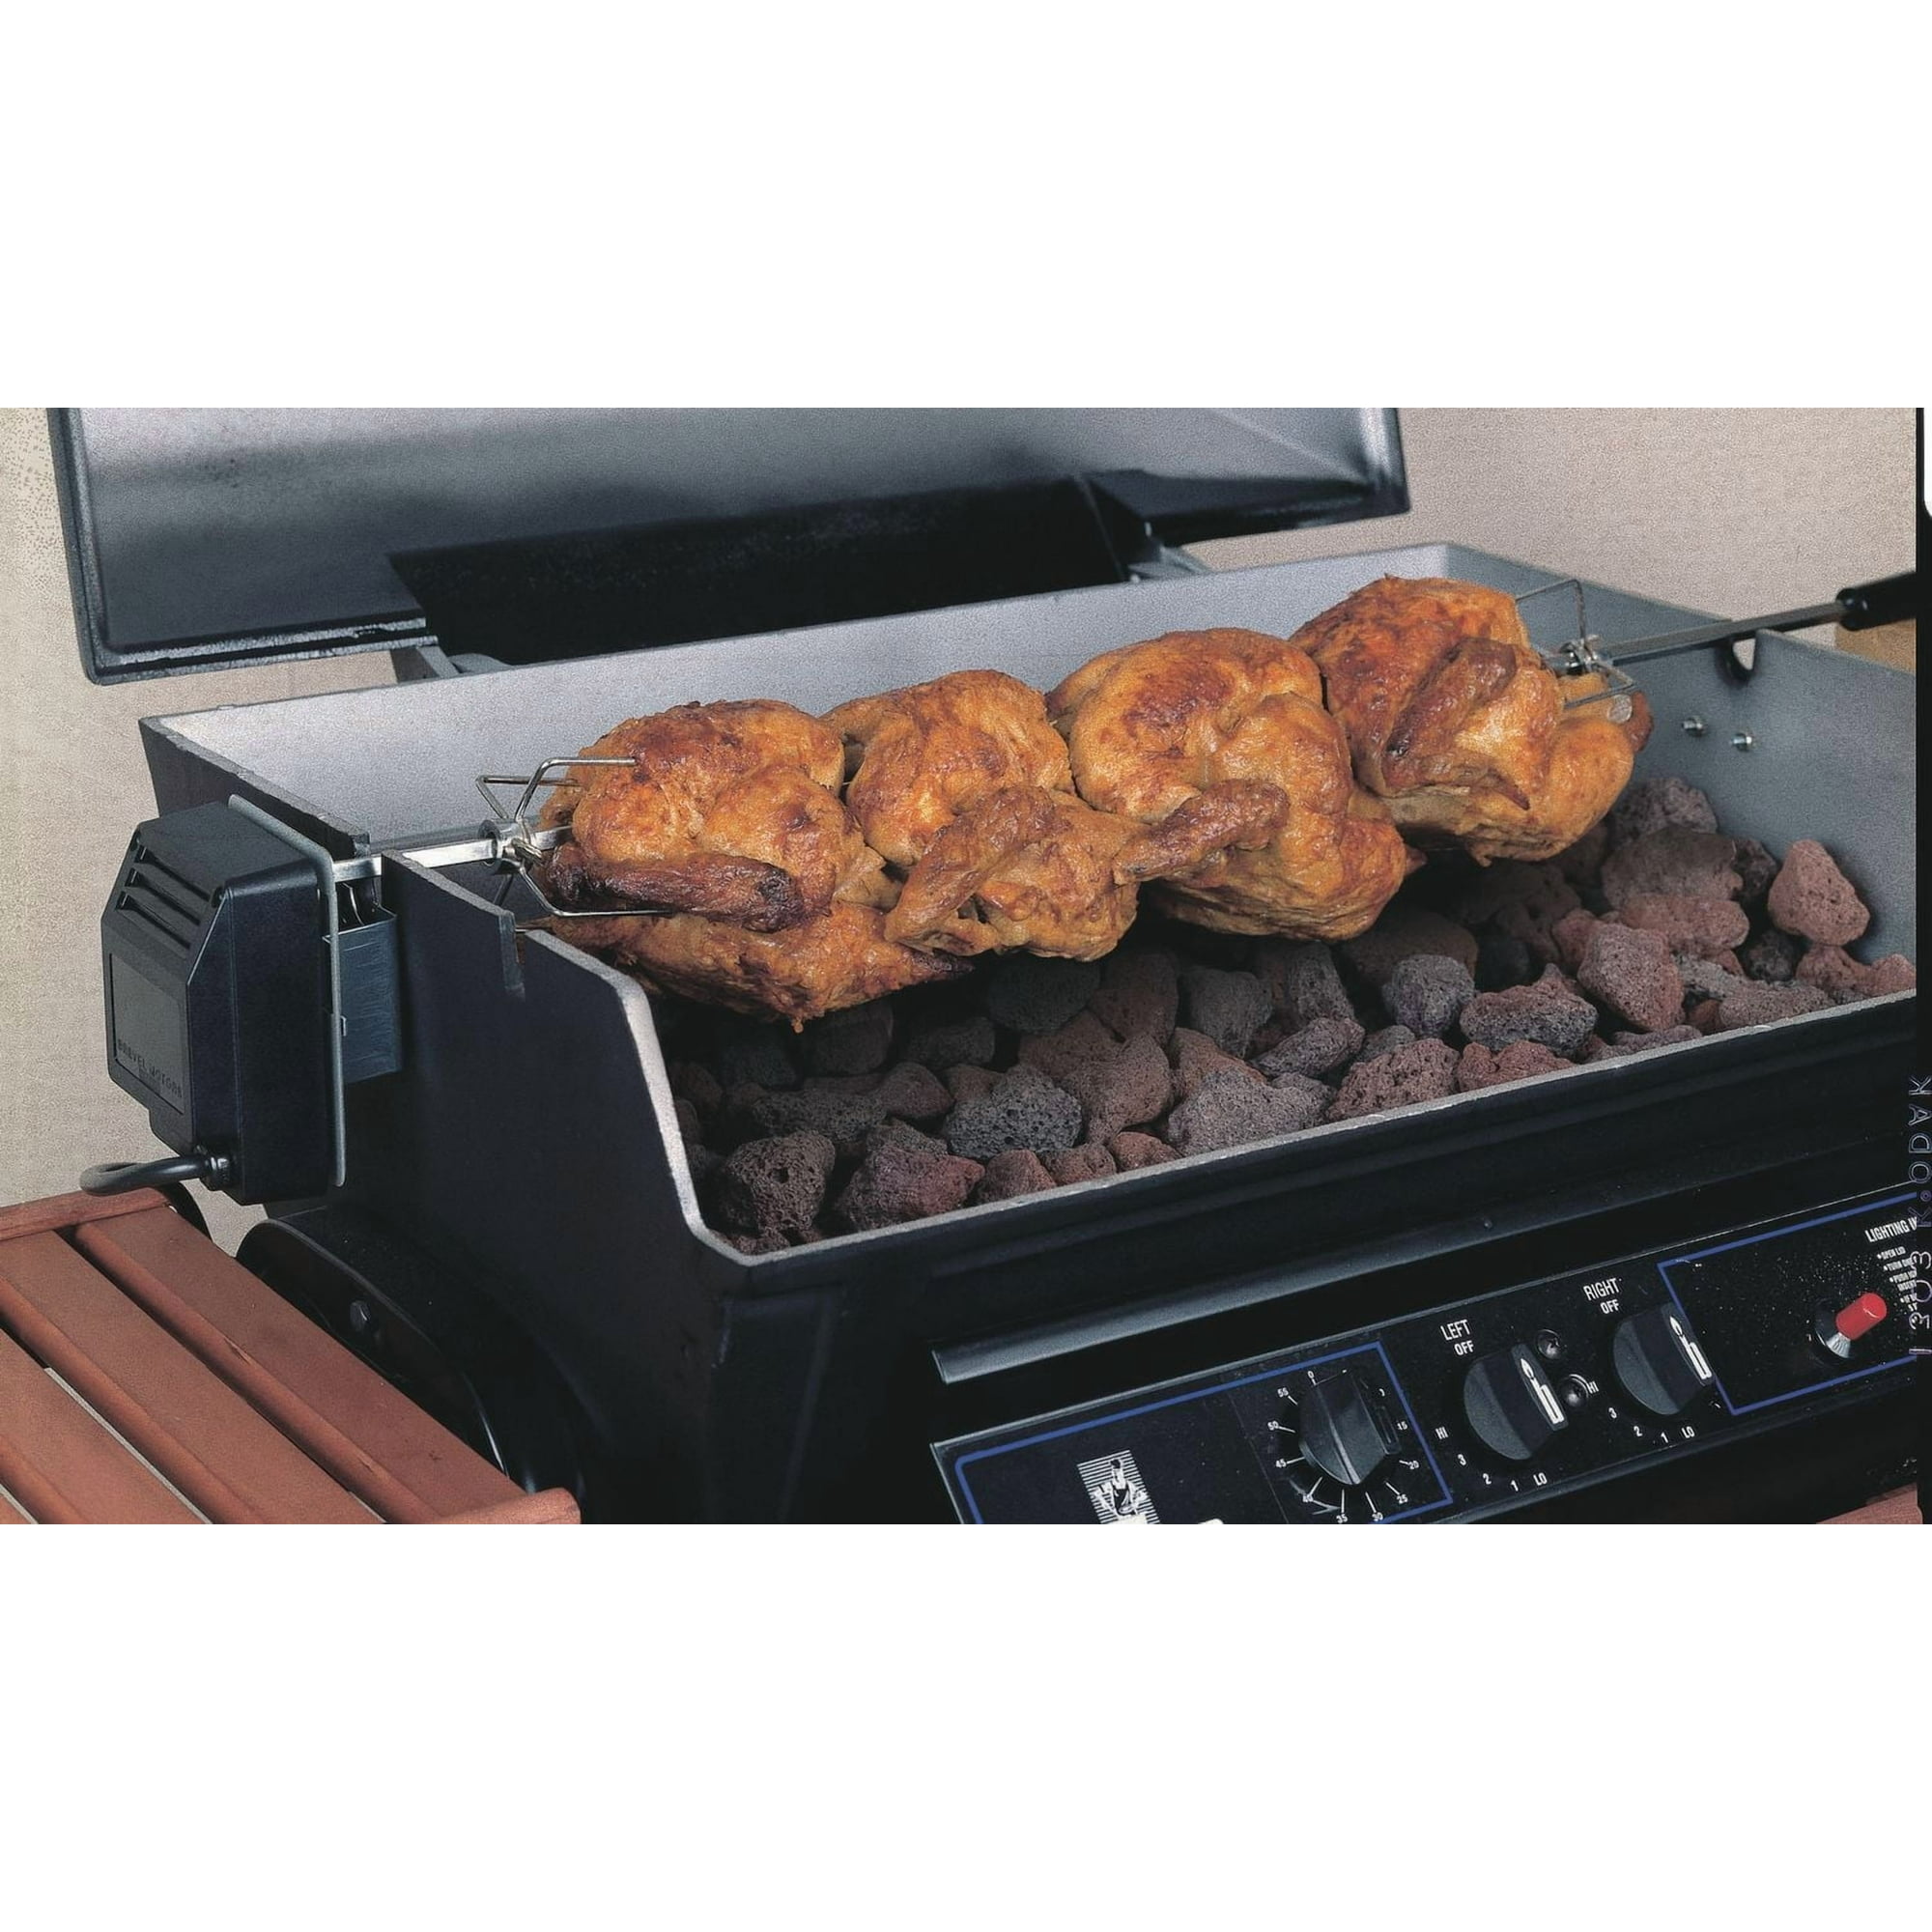
Attaching The Spit Rod
Slide the spit rod through your meat or food items, ensuring it’s centered for even cooking. Attach the rod securely to the motor’s rotating head—this connection needs to be tight to avoid slipping during rotation. Use any locking pins or clips provided for extra stability.
When skewering food, remember to keep pieces close together but not overcrowded. This allows heat to circulate and cook your food uniformly. Have you ever had a meal partially raw because the load was uneven? This step helps prevent that.
Balancing The Load
Balance is key to a smooth rotisserie turn. If the load is uneven, the motor will work harder and might burn out faster. Try placing heavier pieces opposite each other on the spit rod to distribute weight evenly.
Spin the rod by hand before turning on the motor to test balance. If it feels off-center or wobbles, adjust the placement of the food. Balancing your load not only extends the motor’s life but also improves cooking results.
Adding Accessories And Safety Features
Adding accessories and safety features improves the performance and security of your portable rotisserie. These parts protect the unit and enhance cooking quality. Proper installation is essential for safe and efficient operation.
Attaching Heat Shields
Heat shields protect the rotisserie from excessive heat. They prevent damage to sensitive parts and reduce flare-ups. Attach the heat shields using the screws or clips included with your kit. Position them between the heat source and the rotisserie motor.
Make sure the shields are secure and do not block airflow. Proper placement helps maintain even cooking temperatures.
Installing Drip Pans
Drip pans catch grease and juices that fall during cooking. They keep the cooking area clean and reduce flare risks. Slide the drip pan under the rotisserie spit, aligning it with the meat’s drip path.
Choose a drip pan made of heat-resistant material for safety. Empty the pan regularly to avoid overflow and fire hazards.
Checking Safety Locks
Safety locks hold the rotisserie parts firmly in place. They prevent accidental disassembly or movement during cooking. Test all locks before use by gently shaking the rotisserie.
Tighten or adjust any loose locks to ensure stability. Reliable safety locks protect both the user and the equipment.
Testing And Adjustments
Testing and adjusting your portable rotisserie ensures smooth operation and even cooking. This step helps identify motor function and rotation speed. It also reveals any mechanical or electrical issues that need fixing. Proper testing guarantees safety and efficiency before cooking.
Powering On The Motor
Connect the rotisserie to a power source. Switch on the motor using the designated power button. Listen for a steady humming sound. It shows the motor runs without interruption. Watch the spit rod to confirm it starts turning.
If the motor does not start, check the power connection. Ensure the plug fits securely. Inspect the power cord for damage. Make sure the battery is charged if your model uses one.
Adjusting Rotation Speed
Most portable rotisseries offer speed settings. Use the control dial or buttons to change speed. Start with a slow rotation for even cooking. Increase speed if the meat needs faster turning.
Monitor the rotation closely. The spit should turn smoothly without jerks. Adjust until the speed matches your cooking needs. Avoid speeds that cause wobbling or noise.
Troubleshooting Common Issues
- Motor won’t start:Check power supply and connections.
- Uneven rotation:Balance the meat evenly on the spit.
- Noise or vibration:Tighten loose parts and bolts.
- Speed control unresponsive:Reset the device or consult the manual.
- Overheating motor:Allow cooling breaks and avoid overloading.
Maintenance Tips For Longevity
Keeping your portable rotisserie in top shape takes a bit of attention after each use. Proper maintenance not only ensures it works smoothly but also extends its life significantly. You might be surprised how simple habits can save you from costly repairs or replacements down the road.
Cleaning After Use
After every cookout, clean your rotisserie thoroughly. Remove food scraps and grease before they harden and become tough to clean. Use warm soapy water and a soft brush to scrub the spit rod and forks.
Never soak electrical parts or the motor. Instead, wipe them gently with a damp cloth. If you notice stubborn grease, a mild degreaser can help, but test it on a small area first to avoid damage.
Storing Properly
Where you keep your rotisserie matters a lot. Store it in a dry place to prevent rust and corrosion, especially if you live in a humid area. Cover it with a breathable cloth or a fitted cover designed for grills.
Disassemble any removable parts before storing. This prevents unnecessary strain on components and makes it easier to clean before the next use. Have you checked if your storage spot is free from pests or moisture?
Regular Inspections
Inspect your rotisserie regularly to catch any wear and tear early. Check the motor, spit rod, and forks for signs of rust, cracks, or loose connections. Tighten screws and bolts to keep everything secure.
Testing the motor before each use can save you from unexpected breakdowns. If you hear unusual noises or notice inconsistent rotation, it’s time to troubleshoot or replace parts. Do you keep a maintenance log? It can help track when to service your equipment.
Credit: www.walmart.ca
Frequently Asked Questions
What Tools Are Needed To Assemble A Portable Rotisserie?
You typically need a screwdriver, pliers, and sometimes a wrench. Most portable rotisseries come with necessary tools included. Check the instruction manual for specific tool requirements before starting assembly.
How Long Does It Take To Assemble A Portable Rotisserie?
Assembly usually takes between 15 to 30 minutes. It depends on your experience and the complexity of the model. Following the manual carefully helps speed up the process.
Can I Assemble A Portable Rotisserie Without Prior Experience?
Yes, most portable rotisseries are designed for easy assembly. Clear instructions and labeled parts make the process straightforward for beginners. Take your time and follow steps carefully to avoid mistakes.
How Do I Ensure The Rotisserie Is Securely Assembled?
Make sure all screws and bolts are tightly fastened. Check that the spit rod is properly balanced and locked. A stable setup prevents accidents and ensures even cooking.
Conclusion
Assembling a portable rotisserie is simple and quick. Follow each step carefully for the best results. Use the right tools and parts to avoid problems. Check that all pieces fit tightly before cooking. Practice makes the process easier every time.
Enjoy tasty, evenly cooked meals outdoors or at home. This guide helps you cook like a pro with ease. Now, your rotisserie is ready for delicious grilling fun. Keep it clean and store it safely after use.
