
Ready to enjoy a delicious meal under the open sky? Knowing how to assemble your portable grill for camping can make all the difference.
Imagine the smell of sizzling food, the warmth of the fire, and the joy of sharing a meal with friends or family. But first, you need to get your grill set up quickly and safely. In this guide, you’ll find simple, step-by-step instructions that anyone can follow.
By the end, you’ll be confident and ready to start cooking in no time. Keep reading to make your next camping trip even better!
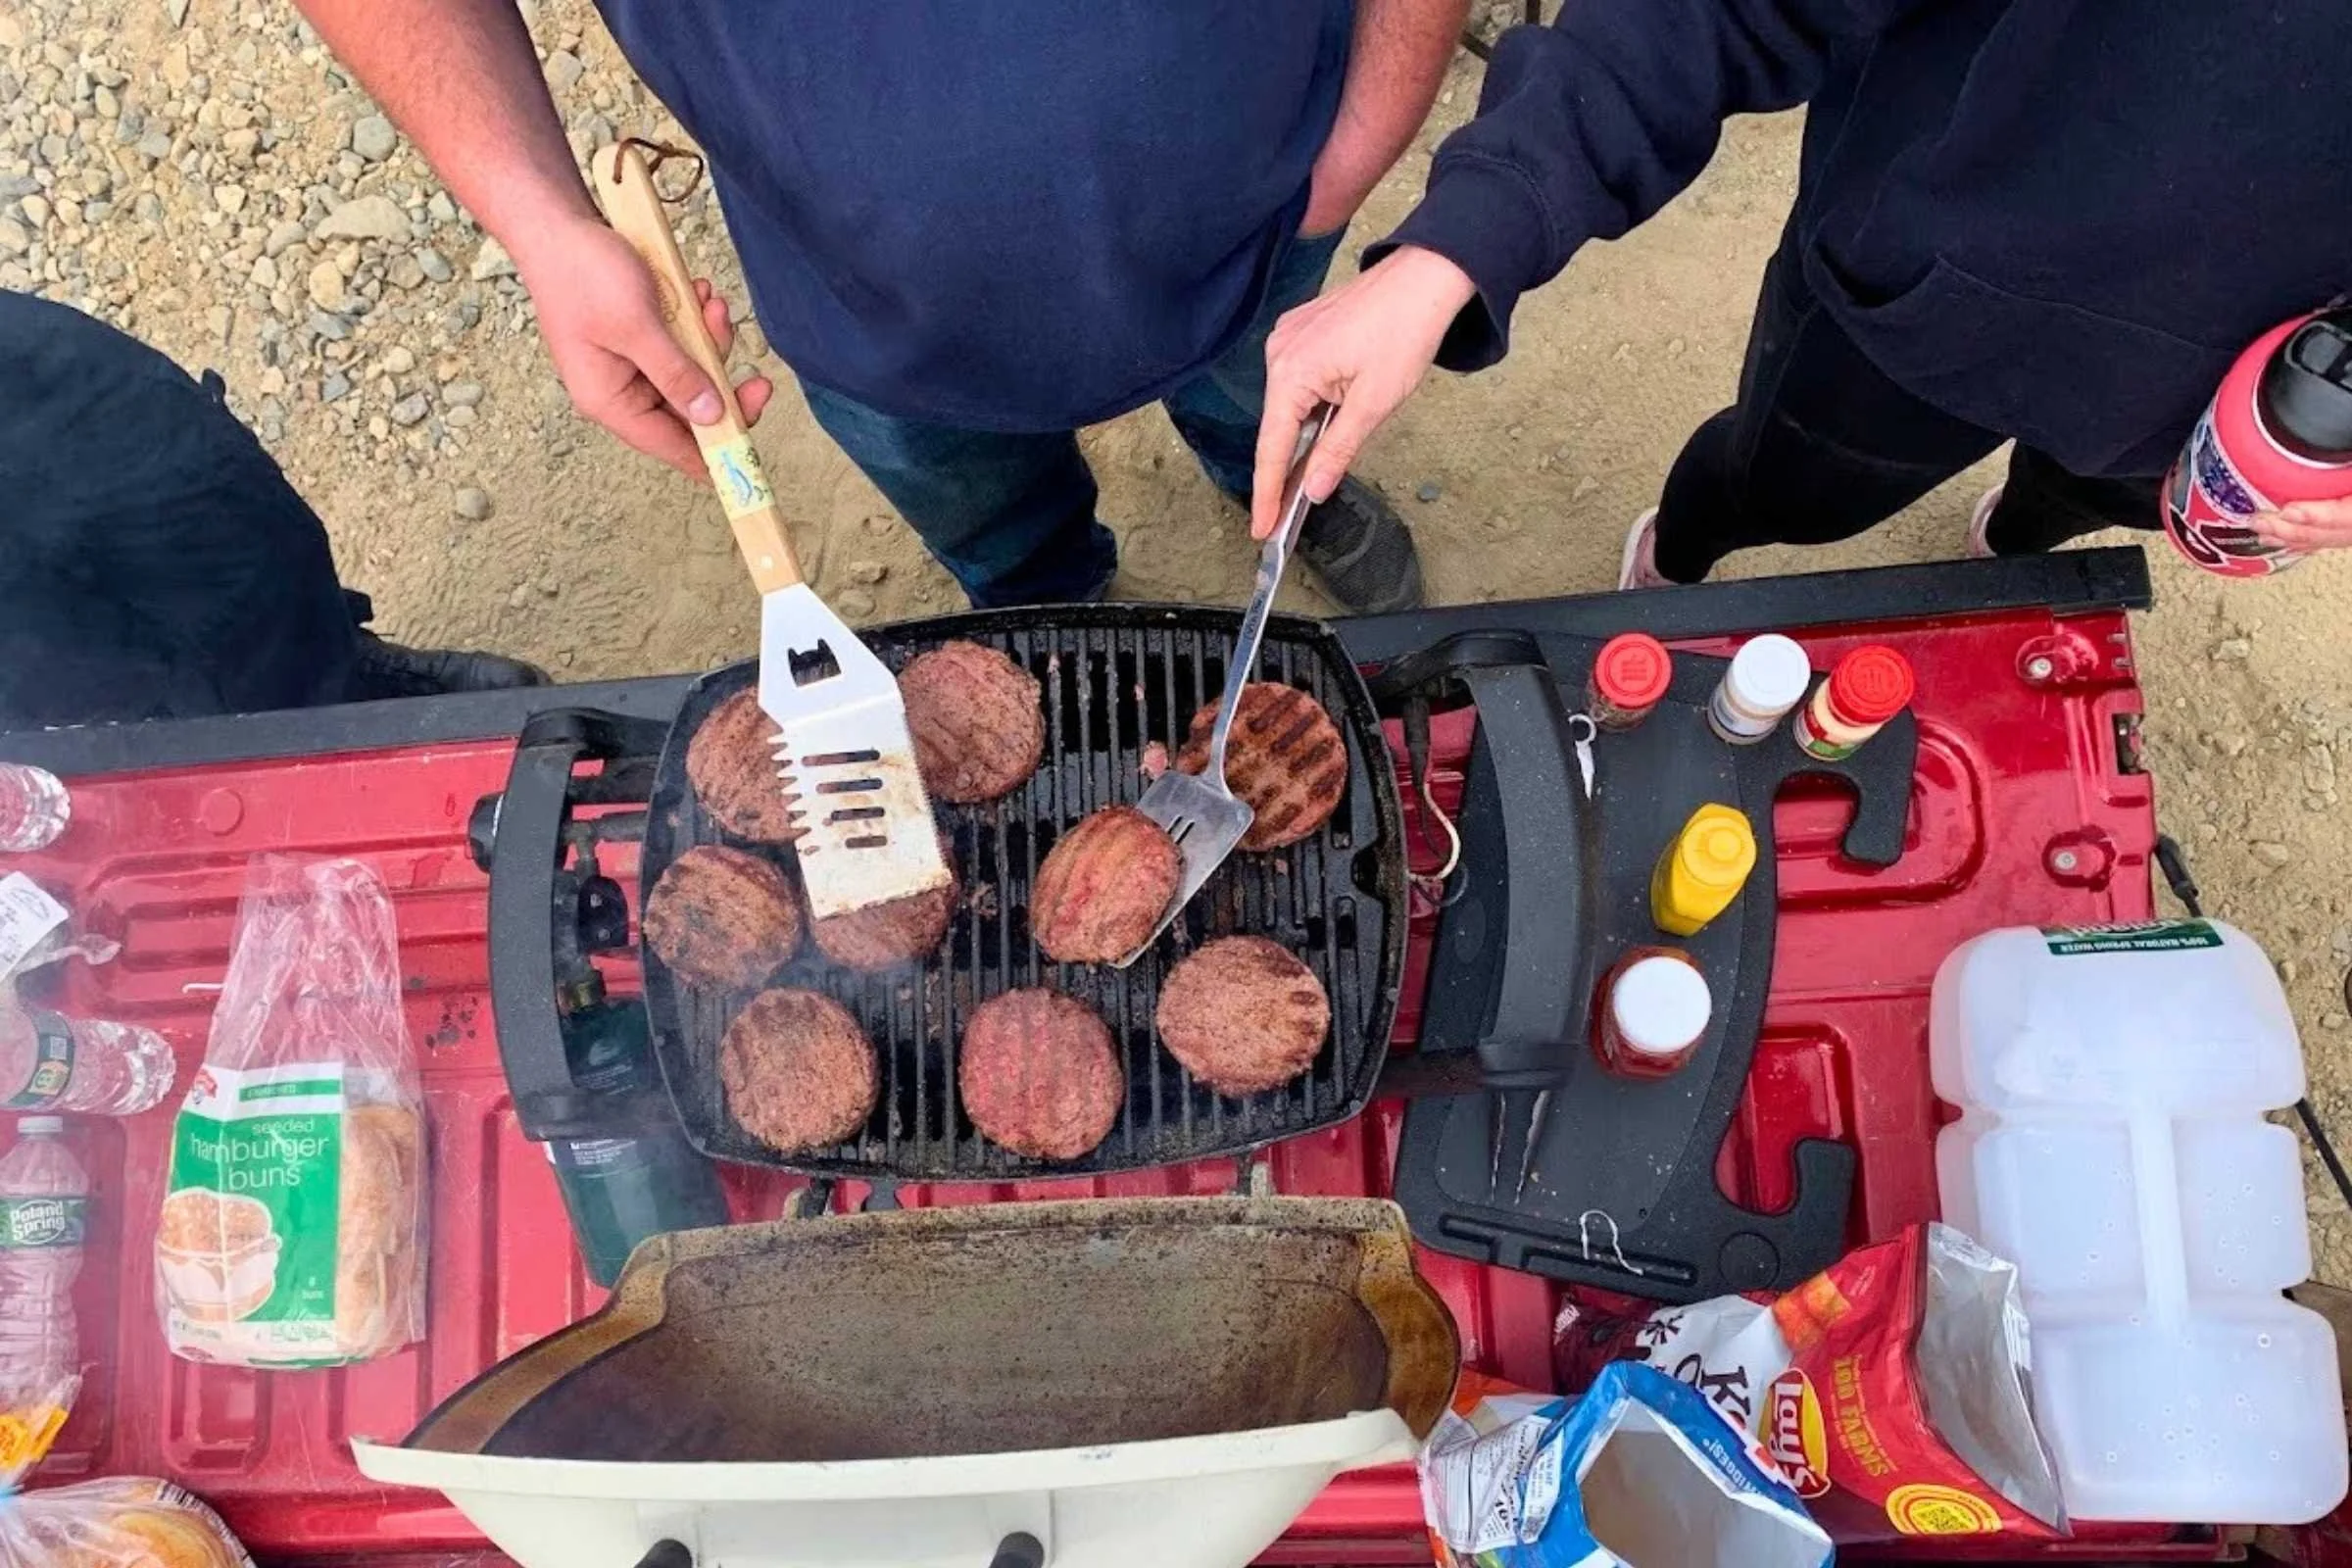
Credit: www.vevor.ca
Choosing The Right Portable Grill
Choosing the right portable grill is essential for a great camping experience. The right grill makes cooking easy and fun. It also fits your needs and camping style. Consider different types, features, size, and weight before buying. This helps you pick a grill that works best for you.
Types Of Portable Grills
There are several types of portable grills. Each has different fuel sources and designs. Charcoal grills give food a smoky flavor. Gas grills heat up quickly and are easy to control. Electric grills work well in places with power. Pellet grills use wood pellets for a unique taste. Choose a type that suits your cooking style and camping spot.
Key Features To Look For
- Easy ignition system for quick start
- Adjustable heat control for cooking variety
- Durable materials for long-lasting use
- Easy to clean surfaces
- Wind guards to protect flames
- Stable legs or base for safety
- Compact design for transport
These features improve your cooking and make the grill more reliable outdoors.
Size And Weight Considerations
Size matters for packing and storage. Small grills fit in backpacks but have less cooking space. Larger grills cook more food but are heavier. Weight affects how easy the grill is to carry. Think about how far you will carry it. Balance size and weight with your cooking needs.
Unpacking And Organizing Parts
Before you start assembling your portable grill, taking time to unpack and organize its parts can save you a lot of hassle. Knowing exactly what you have and arranging everything within reach makes the build smoother. This step sets the foundation for a successful grilling experience during your camping trip.
Checking The Components
Open the box carefully and lay out all the parts on a clean surface. Look for key pieces like the grill body, cooking grate, legs, fuel tray, and any screws or tools included. Double-check the parts list in the manual to ensure nothing is missing.
Missing a crucial piece can stop your assembly mid-way and leave you frustrated outdoors. Have you ever reached a critical step only to realize you don’t have the right screws? Catching these issues early lets you fix them before you hit the campsite.
Preparing Your Workspace
Choose a flat, stable area with enough room to spread out all parts comfortably. A picnic table or a cleared patch of ground works well. Make sure the surface is clean to avoid scratching or dirtying the grill components.
Organize the parts by type or assembly order to keep things tidy. Use small containers or trays for screws and bolts so they don’t roll away. This simple step keeps your focus on building, not hunting for lost pieces.
Tools Needed For Assembly
Having the right tools ready before you start assembling your portable grill can save you a lot of time and frustration. Knowing which tools are essential and which ones are optional will help you prepare better. This way, you can focus on setting up quickly and enjoy your camping experience without unnecessary delays.
Essential Tools
Some basic tools are necessary to get your portable grill assembled correctly. Most portable grills come with a few parts that need tightening or fitting together, and these tools make the process smooth.
- Screwdriver:A Phillips or flathead screwdriver is often needed for screws and bolts.
- Wrench or Spanner:Useful for tightening nuts and bolts securely.
- Allen Key (Hex Key):Many grills use hex screws, so having the right size Allen key is important.
- Pliers:Handy for gripping small parts or bending metal pieces if necessary.
Keep these tools handy in your camping toolkit. I once tried assembling a grill without a wrench and ended up spending extra time hunting for one. Don’t let this happen to you.
Optional Accessories
Some additional tools and accessories can make your assembly process easier or enhance your grilling setup. These aren’t always required but can improve your experience.
- Rubber Mallet:Useful for gently tapping parts into place without damaging them.
- Work Gloves:Protect your hands from sharp edges and hot surfaces during assembly and use.
- Level:Ensures your grill is set up evenly, which can improve cooking performance.
- Portable Workbench or Table:Provides a stable surface to assemble your grill comfortably.
Have you ever struggled to assemble a grill on uneven ground? A simple level can prevent wobbling and make your cooking safer. Think about what will make your setup more convenient before you start.

Credit: www.amazon.ca
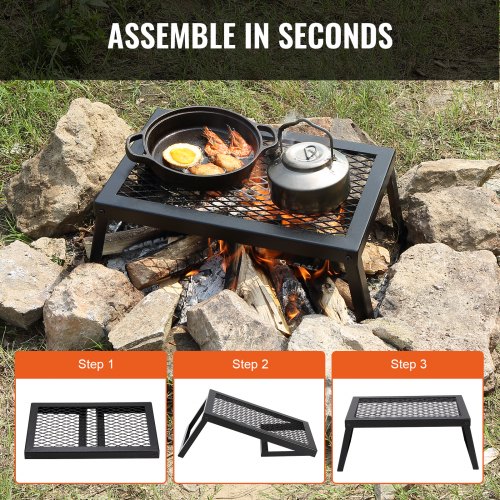
Step-by-step Assembly Guide
Embarking on a camping trip with a portable grill? Assembling it correctly ensures an enjoyable cooking experience. This guide breaks down the process into simple steps. Follow along to set up your grill quickly and safely.
Setting Up The Frame
Unpack the grill components carefully. Identify the frame pieces. Look for the main body and legs. Connect the legs to the main body. Ensure they click into place securely. Check the stability of the frame. Adjust if necessary.
Attaching The Grill Grate
Locate the grill grate in your package. Align it with the support brackets. Lower it gently onto the brackets. Make sure it sits evenly. Press down to secure it. The grate should not wobble. Ensure it is firm and stable.
Installing Fuel Source
Choose the correct fuel for your grill. Insert the fuel canister into its holder. Twist it to lock in place. Ensure there are no leaks. Check the connection is tight and secure. Your grill is now ready for ignition.
Securing The Legs And Handles
Inspect the legs for any loose parts. Tighten any screws if needed. Attach the handles to the grill body. They should click into place. Test the handles for strength. Make sure the grill is easy to carry. Your portable grill is now fully assembled.
Safety Tips During Assembly
Assembling a portable grill for camping needs careful attention to safety. Handling the parts with care prevents injuries. Following safe practices reduces risks during setup. Being cautious helps ensure a smooth and safe assembly process.
Handling Parts Safely
- Wear gloves to protect your hands from sharp edges.
- Keep parts organized to avoid losing small pieces.
- Lift heavy parts using proper posture to avoid strain.
- Use tools as instructed to prevent accidents.
- Check for damaged parts before assembly and replace if needed.
Avoiding Common Mistakes
- Do not rush the assembly; take your time for accuracy.
- Follow the instruction manual step-by-step without skipping.
- Ensure all screws and bolts are tightened securely but not over-tightened.
- Assemble the grill on a flat, stable surface to prevent tipping.
- Keep children and pets away during assembly to avoid distractions.

Credit: www.treelinereview.com
Testing Your Portable Grill
Testing your portable grill is key to a safe and enjoyable camping cookout. This step confirms the grill works well and prevents problems during cooking. Take your time to check its heat and stability before you start grilling your food.
Initial Heat-up
Light the grill outdoors in a safe, open space. Allow it to heat for 10 to 15 minutes. This clears any dust or residues from storage. Watch the flame or heat source carefully. Make sure the heat spreads evenly across the grill surface.
If the grill uses charcoal, wait until the coals turn gray and hot. For gas grills, ensure the burners ignite quickly and burn with a steady blue flame. Avoid high flames that could burn your food too fast.
Checking Stability And Function
Place the grill on a flat, stable surface. Test by gently pushing it from different sides. It should not wobble or tip easily. Check all legs and locks to ensure they are tight and secure.
Open and close any lids or vents to make sure they move smoothly. Confirm that trays or shelves hold weight without bending. Look for any loose screws or parts. Tighten anything that feels weak to avoid accidents.
Maintaining Your Grill On The Go
Keeping your portable grill in good shape during your camping trips is key to enjoying hassle-free cookouts every time. Proper maintenance not only extends your grill’s life but also ensures safer and tastier meals. Let’s look at how you can care for your grill while on the move without needing a full workshop or special tools.
Cleaning After Use
Cleaning your grill right after cooking prevents food residue from hardening and becoming a pain to remove later. Use a grill brush or a scrub pad to clear off leftover bits while the grill is still warm—but not hot enough to burn you.
Don’t forget to wipe down surfaces with a damp cloth and mild soap to remove grease. Avoid harsh chemicals that can damage your grill’s finish or leave behind toxins.
Have you tried using aluminum foil as a scrubbing tool? It’s a lightweight and effective option that you can easily pack for camping.
Storage Tips
Storing your grill properly between trips keeps it ready for action and protects it from the elements. Make sure all parts are dry before packing to prevent rust and mold.
Keep smaller components in labeled bags or containers to avoid losing them. If your grill came with a carrying case, use it—it’s designed to fit perfectly and shield your grill during transport.
Consider where you store your grill at home too. A cool, dry place away from direct sunlight will help preserve its condition over time.
Frequently Asked Questions
How Do I Start Assembling A Portable Grill?
Begin by unpacking all parts and checking the instruction manual. Identify key components like legs, grill grate, and fuel tray. Attach legs firmly to the base. Secure the grill grate on top. Ensure all parts fit tightly before use.
What Tools Are Needed To Assemble A Portable Grill?
Most portable grills require a screwdriver or wrench, usually included. Some models need no tools, using snap-fit parts. Always check the instruction manual for specific tool requirements. Having basic tools ensures easy and safe assembly at your campsite.
How To Maintain Stability Of A Portable Grill?
Place the grill on a flat, sturdy surface. Tighten all screws and bolts securely. Use leg locks or stabilizers if available. Avoid uneven or soft ground to prevent tipping. Proper setup ensures safe cooking during camping.
Can I Assemble The Grill Without Instructions?
It’s possible but not recommended. Instructions provide step-by-step guidance for correct assembly. Without them, you risk improper setup, causing safety hazards. Always keep or download the manual before camping for a smooth assembly process.
Conclusion
Assembling a portable grill for camping is simple and quick. Follow each step carefully for the best results. Check all parts before starting to avoid problems. Keep your tools close and work on a flat surface. Once assembled, test the grill for stability and safety.
This will help you enjoy your outdoor cooking without worries. Practice makes perfect, so try assembling it a few times. Soon, it will become an easy part of your camping routine. Happy grilling and safe camping!
