
Are you ready to enjoy delicious grilled meals wherever you go? Learning how to assemble a portable grill is the first step to making that happen.
You might feel overwhelmed by all the parts and instructions, but don’t worry—this guide breaks it down into simple, clear steps just for you. By the end, you’ll have your grill ready in no time, so you can focus on what matters most: cooking great food and making memories.
Keep reading to discover how easy it really is to put your portable grill together, even if you’re a complete beginner.
Choosing The Right Portable Grill
Choosing the right portable grill sets the stage for great outdoor cooking. It affects ease of use, flavor, and how often you will grill. Picking a grill that fits your needs saves time and frustration.
Think about where and how you plan to grill. A good choice balances size, fuel type, and features. Keep your grilling style and space in mind. This helps you enjoy every cookout.
Types Of Portable Grills
Portable grills come in various types. Each uses different fuel and offers unique benefits.
- Charcoal grills: Classic taste, smoky flavor, simple design.
- Gas grills: Fast heating, easy temperature control, clean burning.
- Electric grills: Works indoors, no smoke, easy to clean.
- Pellet grills: Use wood pellets, add smoky flavor, precise heat control.
Choose a type that suits your cooking style and location.
Key Features To Consider
Look for features that improve your grilling experience.
- Weight: Lighter grills are easier to carry and move.
- Size: Small grills fit backpacks, larger ones cook for groups.
- Fuel efficiency: Longer cooking time with less fuel saves money.
- Temperature control: Allows cooking different foods perfectly.
- Ease of cleaning: Removable parts make cleanup simple.
- Durability: Strong materials last through many trips.
Setting A Budget
Decide how much money you want to spend. Portable grills come in many price ranges.
Basic models cost less but may lack features. Higher-end grills offer better heat control and build quality.
Balance cost with needed features. A good grill fits your budget and lasts long.

Credit: www.amazon.ca
Tools And Materials Needed
Gathering the right tools and materials is key to assembling a portable grill easily. Having everything ready saves time and reduces frustration. It also ensures the assembly process goes smoothly.
Below is a list of basic tools and safety gear to prepare before starting your grill setup.
Basic Tools Checklist
- Screwdriver (Phillips and flathead)
- Adjustable wrench or spanner
- Allen wrench (hex key), often included with the grill
- Pliers for gripping and twisting
- Hammer or rubber mallet for gentle taps
- Measuring tape to check parts alignment
- Cleaning cloth to wipe surfaces before assembly
Safety Gear Essentials
- Protective gloves to prevent cuts and scratches
- Safety glasses to guard eyes from dust or debris
- Closed-toe shoes to protect feet from dropped items
- Work apron or old clothes to keep clean
- Clear workspace to avoid tripping hazards
Preparing The Workspace
Preparing the workspace is a crucial step before assembling your portable grill. A tidy and well-organized area helps you work faster and avoid losing parts. It also keeps the grill clean and ready for use.
Choosing A Clean Area
Select a flat, stable surface with enough space around it. Avoid dusty or damp places. Grass, concrete, or a picnic table works well. Make sure the spot has good lighting to see small parts clearly.
Keep the area free from clutter. Clear away toys, tools, or anything that might get in your way. A clean space makes assembly easier and safer.
Organizing Parts And Tools
Lay out all grill parts on a clean cloth or mat. Group similar pieces together to find them quickly. Check the instruction manual to confirm all parts are present.
Gather tools needed for assembly, such as screwdrivers or wrenches. Place them nearby within easy reach. Organizing tools saves time and reduces frustration during assembly.
Step-by-step Assembly Process
Assembling a portable grill might seem tricky at first, but breaking it down into simple steps makes the task manageable. Each component fits together to create a reliable, easy-to-use grill that’s perfect for your outdoor adventures. Let’s walk through the assembly process so you can get grilling without hassle.
Unpacking And Inspecting Parts
Start by carefully unpacking all the parts from the box. Lay them out on a clean surface where you can easily see everything. Check the parts list in your manual to ensure nothing is missing or damaged.
Missing screws or bent grill grates can slow you down, so spotting issues early saves frustration. Have you ever started a project only to realize you’re missing a key piece? This step prevents that problem.
Assembling The Frame
Begin assembling the frame by connecting the legs and support bars. Most portable grills use simple bolts or clips—no advanced tools needed. Tighten connections firmly but avoid overtightening to prevent stripping screws.
Pay attention to the orientation of each piece to ensure stability. The frame is the foundation, so a solid setup means your grill won’t wobble during cooking. Would you prefer a steady grill or one that shifts while you flip your food?
Installing The Grill Grate
Next, place the grill grate onto the frame. It usually rests on ledges or hooks inside the grill body. Make sure it fits snugly and sits level to avoid uneven cooking.
Some grills have a removable grate for easy cleaning—check if yours does, and familiarize yourself with how it detaches. Imagine the difference between scraping stuck-on food from a stable grate versus one that moves under your hands.
Connecting Fuel Components
If your grill uses propane or another fuel source, carefully connect the fuel components. Attach the fuel hose or tank according to the instructions, ensuring all connections are secure to avoid leaks.
Test for leaks by applying soapy water to connections and looking for bubbles when the fuel is turned on. Safety here isn’t optional—it’s essential. How confident do you feel about handling fuel connections safely?
Attaching Handles And Accessories
Finally, add any handles, side tables, or accessory hooks that came with your grill. These usually attach with screws or clips and improve your grilling experience by offering convenience and control.
Think about how often you’ll need to move or adjust your grill—comfortable handles make a big difference. What accessories would make your grilling easier and more enjoyable?
Safety Tips During Assembly
Wear gloves to protect your hands from sharp parts during assembly. Keep the work area clean and well-lit for better visibility. Always follow the instruction manual carefully to avoid mistakes and injuries.
Assembling a portable grill can be an exciting task. But safety should always come first. Understanding safety tips ensures a smooth experience. Especially for beginners.Handling Sharp Edges
Be cautious with grill components. Many parts have sharp edges. Use gloves to protect your hands. Avoid rushing. Take your time while handling each piece. Keep a first aid kit nearby. Accidents can happen.Working With Fuel Safely
Choose the right fuel for your grill. Ensure the fuel container is sealed. Keep it away from open flames. Check for leaks before use. Use in a well-ventilated area. Never leave fuel unattended. Follow the manufacturer’s instructions for safety.Testing The Portable Grill
Testing the portable grill after assembly ensures safety and performance. It helps find any issues before cooking. This step gives confidence that the grill works well. Spend time checking key parts and running a test burn. This prevents accidents and poor cooking results later.
Checking Stability
Place the grill on a flat surface. Gently shake it to check for wobbling. All legs should touch the ground firmly. Tighten any loose screws or bolts. The grill must not tip or move easily. Stability keeps the grill safe during use.
Performing A Test Burn
Open the grill lid and remove any packaging. Add charcoal or connect the gas source as needed. Light the grill according to the instructions. Watch the flames closely for even heat and no flare-ups. Let the grill burn for 10 to 15 minutes. This burns off any residues and checks airflow. After the test, turn off the grill and let it cool. Confirm no strange smells or smoke remain.
Maintenance And Storage Tips
Maintaining and storing your portable grill properly ensures it stays in good shape for many cookouts to come. Neglecting these simple steps can lead to rust, grease buildup, and even damage that shortens your grill’s life. Let’s look at easy ways to keep your grill clean and ready for the next time you fire it up.
Cleaning After Use
Cleaning your grill right after cooking is key to preventing grease and food residue from hardening. Use a grill brush to scrape off burnt bits while the grill is still warm, but not hot enough to burn you. This simple habit makes deep cleaning much easier later on.
Empty the drip tray or grease catcher regularly to avoid flare-ups and unpleasant smells. Wiping down the exterior with a damp cloth keeps dirt and dust away. Have you noticed how a clean grill cooks food more evenly? That’s because buildup can block heat flow.
Proper Storage Methods
Where you store your grill matters just as much as how you clean it. Keep your grill in a dry, sheltered place to prevent rust and damage from weather. A garage or covered patio works great.
If you don’t have indoor space, invest in a sturdy grill cover made from waterproof material. Make sure the grill is completely cool and dry before covering it to avoid moisture buildup. Have you ever found mold inside a covered grill? That usually happens because it was stored damp.
Disassemble small parts like grates and burners and store them separately if possible. This prevents warping and makes them easier to clean before the next use. Proper storage helps your grill last longer and perform better every time you use it.

Credit: www.youtube.com
Credit: www.youtube.com
Frequently Asked Questions
How Do I Start Assembling A Portable Grill?
First, unpack all parts and check the instructions. Attach legs or stand securely. Connect the grill body and lid. Ensure all screws are tightened properly before use.
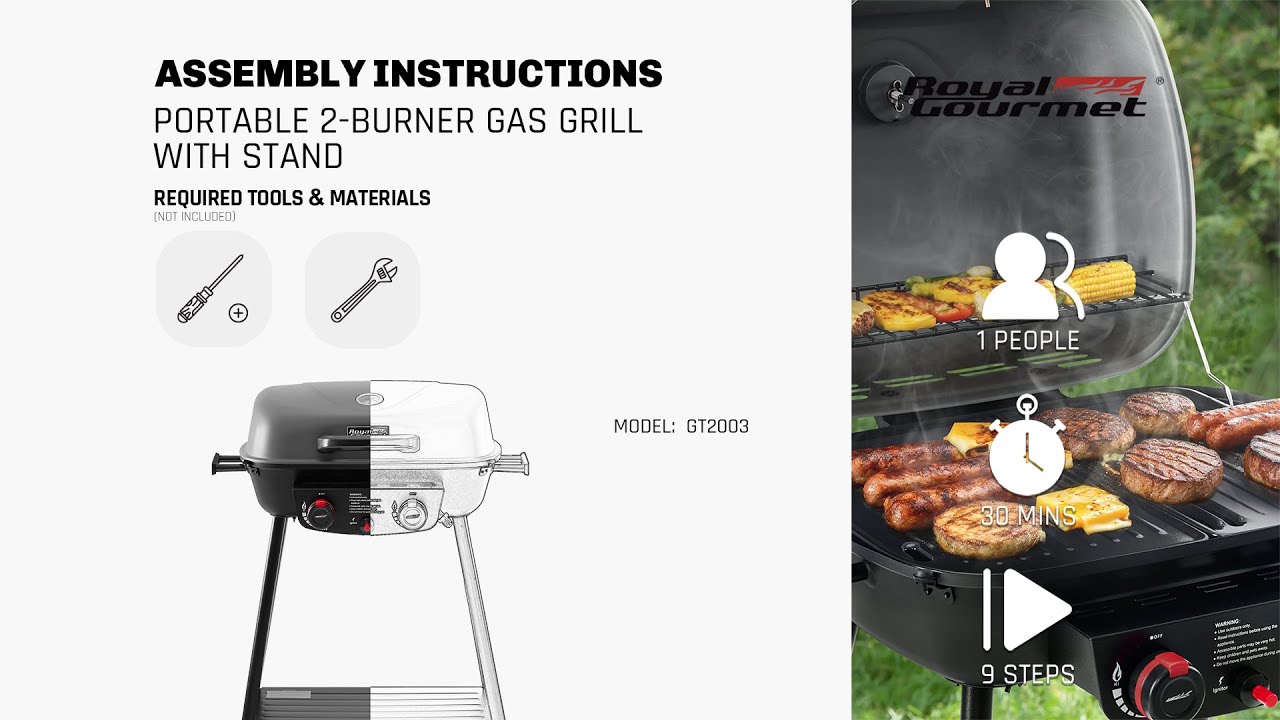
What Tools Do I Need To Assemble A Portable Grill?
Usually, you need a screwdriver and wrench. Some grills include tools in the package. Always check the manual for specific tool requirements.
How Long Does It Take To Assemble A Portable Grill?
Assembly typically takes 20 to 40 minutes. It depends on your experience and grill complexity. Following instructions carefully speeds up the process.
How Do I Maintain My Portable Grill After Assembly?
Clean the grill grates regularly with a brush. Check for loose screws before each use. Store it in a dry place to prevent rust.
Conclusion
Assembling a portable grill can be simple and quick. Follow each step carefully and take your time. Use the right tools and read the instructions well. Double-check all parts fit securely before use. Practice will make the process easier every time.
Soon, you will enjoy cooking outdoors with confidence. Happy grilling!
