
You’ve just enjoyed a cookout, and then the rain hits. Now your gas grill is wet, dirty, and you’re wondering how to get it ready for the next time.
If you leave water and grime sitting on your grill, it can cause rust and affect the taste of your food. But don’t worry—cleaning your gas grill after rain doesn’t have to be a chore. In this guide, you’ll learn simple, effective steps to protect your grill and keep it cooking perfectly every time.
Keep reading, and you’ll discover easy tips that save you time and money while extending the life of your grill.

Credit: www.reddit.com
Assess Grill Condition
Assessing your gas grill’s condition after rain is crucial. It helps spot issues early and keeps your grill safe to use. Start by checking for any water accumulation and signs of rust. This ensures your grill stays in good shape and lasts longer.
Check For Standing Water
Look inside the grill for pools of water. Water can collect on the grates, burners, or inside the grill body. Standing water causes rust and damages parts. Use a cloth or paper towel to soak up any water. Also, check under the grill to see if water has pooled there.
Inspect Rust And Debris
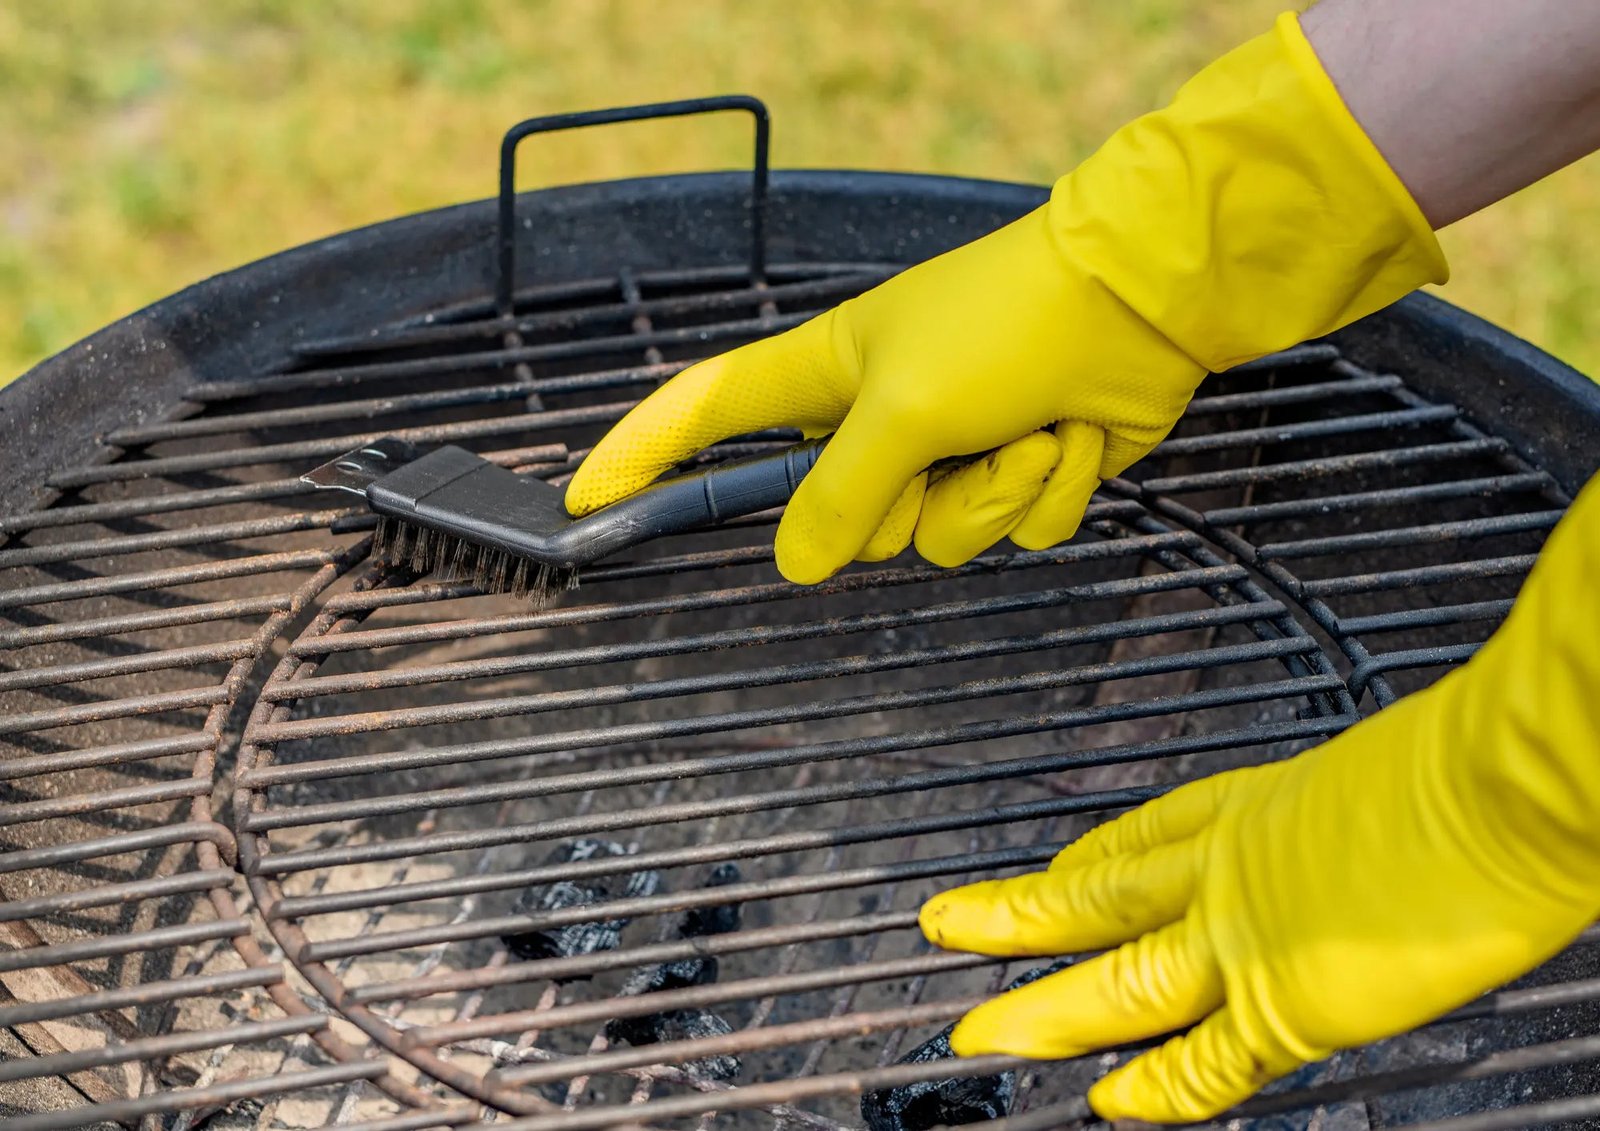
Rust often appears after rain if water stays on metal parts. Check the grates, burners, and exterior for rust spots. Remove any debris like leaves or dirt. Debris can trap moisture and speed up rusting. Use a wire brush to clean rust and wipe the grill down to remove dirt.
Gather Cleaning Supplies
Before you start scrubbing your gas grill after a rainy day, gathering the right cleaning supplies is crucial. The right tools and cleaning agents make the job easier and more effective, saving you time and frustration. Have you ever tried cleaning without the proper supplies and ended up just pushing dirt around?
Essential Tools
Start with a sturdy grill brush. A wire brush with strong bristles works best to remove stuck-on grime and rust. If you want to protect your grill’s finish, consider a nylon brush instead.
Next, have a putty knife or scraper handy. This helps you clear away hardened grease and food residue that the brush can’t handle. Don’t forget a bucket or spray bottle to hold your cleaning solution.
Also, keep microfiber cloths or old rags nearby. They’re perfect for wiping down surfaces and drying the grill after rinsing. Gloves are a smart addition, too, to protect your hands from harsh cleaners and grime.
Recommended Cleaning Agents
Simple dish soap mixed with warm water is a great starting point. It’s gentle yet effective for removing dirt and grease. You can mix a few drops in a bucket or spray bottle for easy application.
For tougher grime, consider a grill-specific cleaner. These products are designed to break down carbon buildup without damaging your grill’s components. Just check the label to ensure it’s safe for your grill’s material.
Vinegar and baking soda are excellent natural options. Vinegar cuts through grease, while baking soda acts as a mild abrasive. Together, they can refresh your grill without harsh chemicals.
Pre-cleaning Preparation
Before diving into the actual cleaning of your gas grill after a rain shower, setting up the right environment is crucial. Preparing your grill properly ensures safety and makes the cleaning process much smoother. You’ll want to take a few careful steps to protect both yourself and your equipment.
Disconnect Gas Supply
Start by turning off the gas supply completely. This means shutting off the valve on your propane tank or the natural gas line. It’s a simple action that prevents any accidental leaks or hazards while you work on the grill.
Have you ever tried cleaning your grill and felt unsure if the gas was still on? Avoid that risk by physically disconnecting the hose if possible. This adds an extra layer of safety and peace of mind.
Remove Grill Grates And Accessories
Next, take out the grill grates, flavorizer bars, and any other removable parts. These components trap most of the grime and moisture after rain, so they need separate attention. Removing them allows you to clean each piece thoroughly without missing hidden dirt.
Lay the grates and accessories on a flat surface where you can scrub them easily. Using warm, soapy water at this stage can loosen stuck-on debris and make your job much easier. Have you noticed how much cleaner your grill gets when you treat these parts individually?
Clean Grill Grates
Cover the grill to protect it from rain. Wet grates can be scrubbed with a grill brush. Remove leftover grease and food particles to ensure a clean cooking surface.
After a rainy day, your gas grill grates need attention. Rainwater can leave residue and rust. Cleaning them ensures a better grilling experience. Clean grates mean tastier food and a longer-lasting grill.Soak And Scrub Grates
Remove the grates from the grill. Find a large container that fits them. Fill it with warm, soapy water. Soak the grates for 30 minutes. This softens grime and stuck food bits. Use a stiff-bristled brush for scrubbing. Scrub both sides of the grates. Pay special attention to tough spots.Rinse And Dry Thoroughly
Rinse the grates with clean water. Remove all soap residue. Shake off excess water. Dry the grates with a clean towel. Leave them to air dry completely. Proper drying prevents rust formation. Once dry, place them back on the grill. Your grates are now ready for the next barbecue session.Clean Grill Interior
Cleaning the grill interior after rain keeps your gas grill in top shape. Moisture and dirt can cause rust and affect cooking quality. Taking time to clean inside protects the grill’s parts and extends its life.
Remove Debris And Ash
Start by opening the grill lid and removing the cooking grates. Use a grill brush or scraper to clear leftover food and soot. Check the bottom of the grill for ash or wet debris. Scoop out all the debris with a small brush or vacuum. Dispose of it properly to avoid moisture build-up. Dry the inside with a cloth to remove any damp spots.
Wipe Down Surfaces
Use a damp cloth and mild soap to clean all interior surfaces. Pay attention to the burner tubes and heat shields. Avoid soaking these parts; moisture can cause rust. Wipe gently to remove dirt and grime. Dry each surface thoroughly with a clean cloth. Leave the grill open for a while to air dry completely before closing.

Credit: www.grillersspot.com
Check Burners And Gas Lines
After a heavy rain, your gas grill’s burners and gas lines need a thorough check to keep your grill safe and efficient. Moisture can cause blockages or rust, which affects the flame and overall performance. Taking time to inspect and clean these parts can save you from uneven cooking or dangerous gas leaks later.
Inspect For Blockages
Start by removing the grill grates and heat shields to access the burners. Look closely for any debris, spider webs, or rust that might clog the burner tubes or gas lines. Even a small obstruction can disrupt gas flow and cause weak or uneven flames.
Use a flashlight and a thin wire or pipe cleaner to gently probe each burner tube. If you spot any black soot buildup or dirt, it’s a sign the burner ports are blocked. Don’t forget to check the gas line connections for cracks or signs of wear—these can become safety hazards after exposure to rain.
Clean Burner Ports
Once you identify blockages, clean the burner ports carefully to restore proper gas flow. A soft brush or a toothbrush works well to remove grime without damaging the metal. Avoid using anything too abrasive that could enlarge or deform the ports.
If you have stubborn debris, a thin wire or toothpick can help clear each tiny hole. After cleaning, wipe the burners with a damp cloth and let them dry completely before reassembling. Have you noticed your grill’s flame flickering or uneven after rain? This cleaning step often fixes that issue.
Reassemble And Test Grill
After thoroughly cleaning your gas grill post-rain, it’s time to put everything back together and make sure it’s ready to fire up safely. This stage is crucial because improper reassembly or missed safety checks can lead to poor grill performance or even dangerous situations. Taking your time here ensures your next barbecue goes smoothly and safely.
Reinstall Components
Start by carefully placing all grill parts back in their original positions. This includes the grates, heat shields, burners, and drip pans. Check each piece for any leftover moisture or dirt before reinstalling—it’s easy to miss spots when you’re eager to finish.
Make sure every component fits snugly. Loose parts can cause uneven heating or flare-ups. If you noticed any rust or damage during cleaning, consider replacing those parts now to avoid problems later.
Perform Safety Check
Once reassembled, inspect your grill for gas leaks before turning it on. Apply soapy water to the connections and watch for bubbles, which indicate leaks. Never skip this step; gas leaks can be hazardous.
Test the ignition system next. If the grill doesn’t ignite on the first try, double-check the connections and look for blockages. Your grill should light quickly and burn evenly—anything less means further troubleshooting is needed.
Have you ever felt unsure about your grill’s safety after rain? Taking a few extra minutes here can save you from accidents and extend your grill’s life. What’s your routine to ensure safety before cooking?

Credit: themeatstick.com
Prevent Future Rain Damage
Protecting your gas grill from rain damage is key to keeping it in top shape and ready for your next cookout. After cleaning, think about how you can avoid repeated exposure to water and moisture. Taking simple precautions now can save you time, effort, and money later.
Use Grill Covers
A sturdy grill cover is one of the easiest and most effective ways to shield your grill from rain. Choose a cover made of waterproof material with secure straps or elastic edges to keep it snug during windy weather.
When you put the cover on, make sure the grill has cooled completely. This prevents moisture from getting trapped inside and causing rust. If you’ve ever left a wet cover on, you know how quickly mold can start to form—don’t let that happen to your grill.
Store Grill In Shelter
If you have a garage, shed, or covered patio, storing your grill there during bad weather can provide excellent protection. Even a simple canopy or awning can reduce the amount of water your grill faces.
Consider the space carefully—your grill needs good ventilation to avoid moisture buildup. Do you have a place where rain rarely reaches but air still circulates? That spot can extend your grill’s lifespan significantly.
Frequently Asked Questions
How Soon Should I Clean My Gas Grill After Rain?
Clean your gas grill within 24 hours after rain to prevent rust. Prompt cleaning removes moisture and debris, protecting grill parts and ensuring better cooking performance.
What Tools Are Needed To Clean A Gas Grill Post-rain?
Use a grill brush, mild soap, sponge, and cloth. These tools help remove rust, grime, and water residues effectively and safely without damaging the grill surface.
Can Rainwater Damage My Gas Grill Permanently?
Rainwater can cause rust and corrosion if left untreated. Regular cleaning and drying after rain protect your grill and extend its lifespan, preventing permanent damage.
Should I Check Gas Connections After Rain Exposure?
Yes, always inspect gas connections for leaks or damage after rain. Moisture can affect hoses and fittings, so safety checks ensure proper grill function and prevent hazards.
Conclusion
Cleaning your gas grill after rain keeps it safe and ready to use. Wet grills can rust and cause flare-ups. Wipe down surfaces and check burners carefully. Remove debris and dry every part well. Regular care extends your grill’s life.
A clean grill means better tasting food. Spend a few minutes after rain to protect your grill. Simple steps make grilling safe and fun again. Keep your grill in top shape for many cookouts ahead.
