
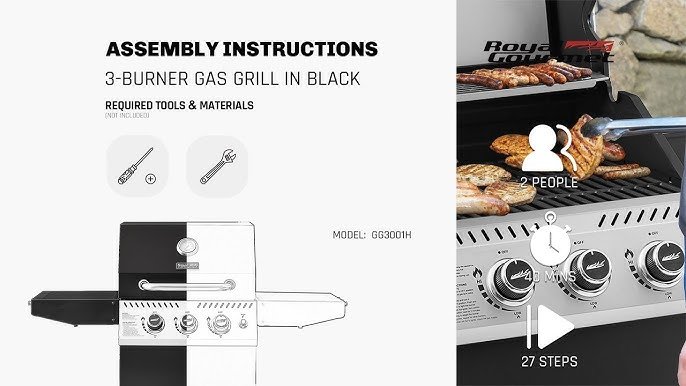
Are you ready to enjoy mouth-watering grilled meals but stuck wondering how to put your 3-burner gas grill together? You’re not alone.
Assembling a grill might seem tricky at first, but with the right steps, you can have it ready in no time. Imagine firing up your grill this weekend and impressing your family and friends with perfectly cooked dishes. Keep reading, and you’ll discover simple, clear instructions that make assembly easy—even if you’re not a DIY expert.
Let’s get your grill set up so you can start cooking delicious meals outdoors!
Preparing Your Workspace
Preparing your workspace is key before assembling your 3-burner gas grill. A clean, organized area helps make the process faster and safer. It reduces frustration and prevents lost parts. Taking time to prepare ensures a smooth build from start to finish.
Choosing A Suitable Location
Select a flat, stable surface outdoors. Avoid areas with strong wind or heavy foot traffic. Ensure there is enough room to move around freely. Keep the space clear of obstacles, pets, and children. Good lighting helps you see small parts clearly.
Gathering Necessary Tools
Check the grill’s instruction manual for required tools. Common tools include:
- Screwdrivers (Phillips and flathead)
- Adjustable wrench
- Allen keys
- Pliers
- Work gloves
Having tools ready prevents interruptions. Lay them out neatly within reach.
Unpacking The Grill Components
Open the box carefully to avoid damaging parts. Remove all pieces and place them on a clean surface. Group similar parts together for easy access. Check the parts list to ensure nothing is missing. Handle heavy items with care.
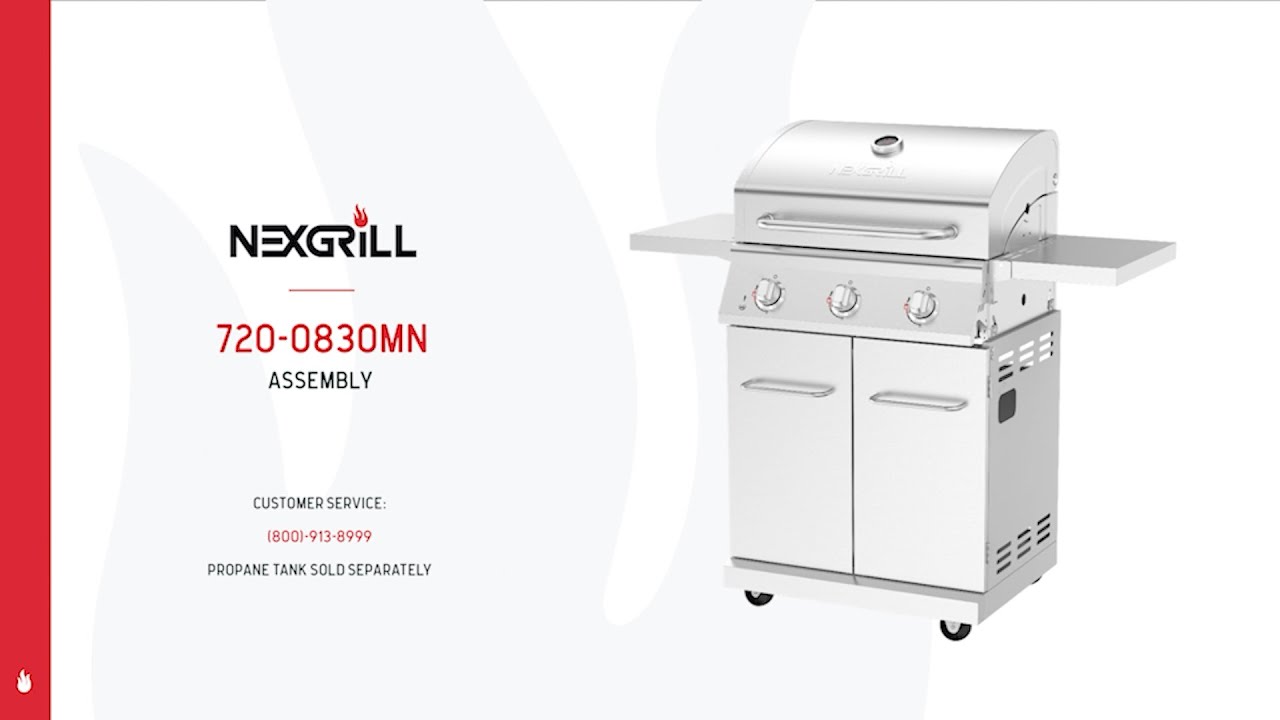
Credit: www.youtube.com
Assembling The Grill Frame
Assembling the grill frame sets the foundation for your 3-burner gas grill. Taking your time here ensures stability and safety for every cookout. Let’s break down the key parts you need to put together to build a strong and reliable frame.
Attaching The Legs
Start by identifying the legs and the main frame. Align each leg with its designated slot or holes on the frame. Use the bolts and washers provided to secure them tightly, ensuring the grill stands firm without wobbling.
Don’t rush tightening the bolts; check the balance by gently shaking the frame after attaching each leg. If you notice any looseness, adjust the bolts before moving on. A solid base means your grill won’t tip over during use, which is crucial for safety.
Securing The Side Shelves
Side shelves add convenience, so attaching them properly makes your grilling experience smoother. Position the shelves alongside the grill frame where the holes line up.
Use the screws and brackets included to fasten the shelves. Tighten the screws evenly to avoid any sagging. Imagine placing your tools or plates on these shelves—would they feel stable or shaky? If shaky, reassess the screws.
Installing The Bottom Shelf
The bottom shelf offers extra storage and enhances the grill’s sturdiness. Slide the shelf into place between the legs, usually near the base of the frame.
Secure it with bolts or clips as specified in your instruction manual. This shelf not only holds grilling accessories but also helps distribute weight evenly, boosting the overall balance of your grill.
Have you ever set up a grill that felt unstable? Fixing the frame before adding burners saves you from frustration later. Taking these small steps seriously can make your outdoor cooking setup safer and more enjoyable.
Installing The Burners
Installing the burners is a critical part of assembling your 3-burner gas grill. This step ensures that your grill heats evenly and functions safely. Paying close attention to positioning, connections, and alignment will save you time and prevent common grilling frustrations.
Positioning The Burners
Start by placing each burner in its designated slot inside the grill body. Make sure they sit securely on the support brackets without wobbling.
Each burner should line up with the corresponding gas valve underneath. If you notice any gaps or misalignment, adjust the burners gently until they fit snugly.
Think about how the heat will spread. Even spacing between burners helps avoid hot spots and cold patches on your cooking surface.
Connecting The Gas Lines
Once the burners are positioned, connect the gas lines carefully. These lines carry fuel from the control valves to each burner.
Check that the connections are tight but avoid overtightening, which can damage the fittings. Use a wrench if necessary, but a firm hand is often enough.
- Double-check for any cracks or wear in the gas hoses before attaching.
- Match each gas line to its burner to prevent cross-connection.
- Seal the connections with thread tape if recommended by the manufacturer.
Testing Burner Alignment
After installation, test the burners to confirm proper alignment. Turn on the gas and ignite each burner one at a time.
Watch the flame: it should burn blue and steady. Yellow or flickering flames may indicate misalignment or gas flow issues.
If flames are uneven or weak, revisit the burner positioning and gas line connections. Sometimes a small adjustment can improve performance dramatically.

Credit: www.youtube.com
Mounting The Grill Grates And Lid
Place the grill grates carefully onto the burner frame, ensuring they fit securely. Attach the lid by aligning its hinges and tightening screws for stability. This setup keeps your grill ready for cooking.
Assembling a 3-burner gas grill is an exciting endeavor that promises countless delicious meals in your backyard. Once the base structure is set, mounting the grill grates and lid is crucial for ensuring even cooking and protecting your grill’s inner components. This part of the assembly is often overlooked, but it’s where your grill truly comes to life. With a few thoughtful steps, you can ensure your grill is ready to impress at your next barbecue.Placing The Grill Grates
Begin by carefully positioning the grill grates over the burners. Ensure each grate is aligned with the corresponding slots or notches on the grill frame. This alignment is vital for stability and even heat distribution. Check for any wobbling and adjust accordingly. A secure fit prevents food from slipping through and ensures an even cooking surface. If your grill came with a warming rack, now is a great time to install it above the primary grates.Attaching The Lid
The grill lid not only traps heat but also adds a sleek look to your setup. To attach it, align the hinge points of the lid with those on the grill body. This may require an extra pair of hands for steadiness. Secure the hinges using the bolts provided, ensuring they are tight but not overly so. A properly attached lid should open and close smoothly without wobbling. Test it a few times to ensure smooth operation—there’s nothing like the satisfying sound of a well-fitted lid closing.Installing Temperature Gauge
A temperature gauge is your best friend for mastering the art of grilling. Locate the pre-drilled hole on the lid, usually at the center. Insert the stem of the gauge through this hole. Secure it with the nut provided, ensuring it’s tight enough to prevent any movement but not so tight that it damages the lid. Regularly check the gauge’s accuracy to ensure your grill’s temperature readings are reliable. Is your grilling game ready to reach new heights with precise temperature control? Taking these steps ensures your grill is not only functional but also primed for peak performance. Enjoy the confidence of knowing your grill is assembled with care and attention to detail.Connecting The Gas Supply
Connecting the gas supply is a key step in assembling your 3-burner gas grill. It ensures safe and efficient fuel delivery for your cooking. Take time to follow each task carefully to avoid leaks or malfunctions. Proper connection helps the grill work smoothly and safely every time you use it.
Attaching The Regulator
Start by attaching the regulator to the gas tank valve. Align the regulator’s connector with the tank valve. Turn the regulator clockwise to tighten it firmly. Avoid over-tightening to prevent damage. The regulator controls gas flow and pressure, making it vital for safety.
Securing The Gas Hose
Next, connect the gas hose between the regulator and the grill. Push the hose onto the grill’s gas inlet securely. Use hose clamps or screws to hold it tightly in place. Check that the hose is not twisted or kinked. A secure hose prevents gas leaks and ensures steady fuel flow.
Checking For Gas Leaks
Always check for gas leaks before lighting the grill. Mix water with a small amount of dish soap. Apply this mixture along the hose and connections using a brush or spray bottle. Look for bubbles forming, which indicate a leak. If bubbles appear, tighten connections and test again. Never use an open flame to check for leaks.
Final Adjustments And Safety Checks
Final adjustments and safety checks are essential to ensure your 3-burner gas grill works smoothly and safely. Taking time to fine-tune the grill after assembly can prevent accidents and improve cooking performance. These last steps can save you from future headaches and keep your grilling experience enjoyable.
Leveling The Grill
Start by placing your grill on a flat surface. Use a spirit level to check if the grill sits evenly. An uneven grill can cause grease to pool on one side or affect how heat distributes across the cooking surface.
If your grill isn’t level, adjust the legs or add shims under them until it balances perfectly. This small adjustment can make a big difference in your grilling results. Have you noticed uneven cooking before? Leveling might be the fix you need.
Tightening All Screws And Bolts
Go over every screw and bolt with a wrench or screwdriver to make sure they are tight. Loose parts can cause instability and even dangerous gas leaks. Pay special attention to connections near the burners and gas lines.
Don’t overtighten, though—you don’t want to strip the threads or damage the parts. A firm, snug fit is what you’re aiming for. How often do you check your grill’s screws before cooking? Making this a habit can extend your grill’s life.
Performing A Test Burn
Before your first cook, do a test burn to check for leaks and proper ignition. Open the grill lid, turn on the gas, and ignite each burner one at a time. Watch for a steady blue flame with minimal yellow tips—this shows good combustion.
If you smell gas or see irregular flames, turn everything off immediately and inspect the connections again. Test burns also help burn off any residue left from manufacturing. Are you ready to fire up your grill with confidence?
Maintenance Tips For Longevity
Proper maintenance keeps a 3-burner gas grill working well for years. Regular care prevents rust, blockages, and damage. Simple habits extend the life of your grill and improve cooking safety.
Cleaning After Use
Clean the grill after every cook. Use a grill brush to remove food scraps from grates. Wipe down surfaces with a damp cloth to clear grease and dirt. Empty the drip tray to avoid buildup. This stops flare-ups and keeps flavors fresh.
Storing The Grill Properly
Store the grill in a dry place to prevent rust. Cover it with a weatherproof grill cover. Keep the propane tank disconnected and stored safely. Avoid leaving the grill outside during bad weather. Proper storage protects the grill’s parts and finish.
Inspecting For Wear And Tear
Check the grill regularly for signs of damage. Look at burners, hoses, and connections for cracks or leaks. Replace worn or damaged parts immediately. Tighten loose screws and bolts. Regular inspection ensures safe and efficient grilling.

Credit: www.youtube.com
Frequently Asked Questions
How Long Does It Take To Assemble A 3-burner Gas Grill?
Assembly usually takes between 1 to 2 hours depending on your experience. Following instructions carefully ensures a smooth process.
What Tools Are Needed To Assemble A 3-burner Gas Grill?
You typically need screwdrivers, a wrench, and pliers. Some grills include necessary tools in the package.
How Do I Ensure Safety During Gas Grill Assembly?
Work in a well-ventilated area and check for gas leaks. Follow manufacturer safety guidelines strictly to avoid accidents.
Can One Person Assemble A 3-burner Gas Grill Alone?
Yes, but having a helper speeds up the process and improves safety. Some steps may require two people.
Conclusion
Assembling your 3-burner gas grill is easier than it seems. Follow each step carefully, and take your time. Use the right tools and check all parts before starting. Tighten screws securely, but don’t force anything. Once done, test the grill safely outdoors.
Enjoy cooking with your new grill soon. A little patience brings great results. Ready for your next barbecue?
