
If you want your hopper extension to work smoothly and last longer, keeping it clean is a must. Dirt, dust, and leftover materials can build up quickly, causing jams and reducing efficiency.
But don’t worry—cleaning your hopper extension isn’t as hard as it sounds. You’ll discover simple, step-by-step tips that anyone can follow to get your equipment running like new again. Ready to save time and avoid costly repairs? Let’s dive in and make your hopper extension shine!
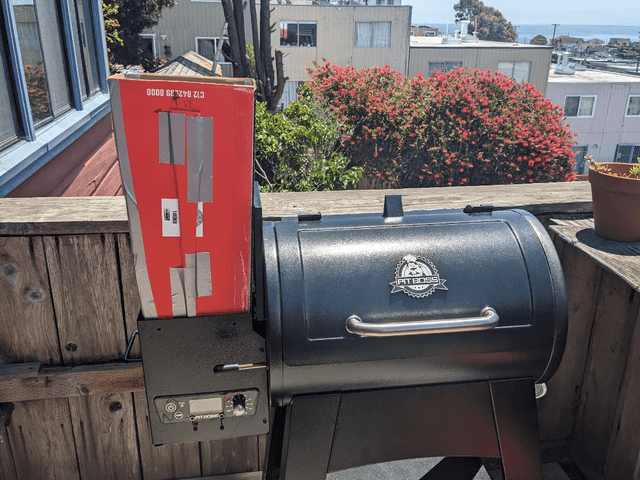
Credit: www.choruscall.co.nz
Tools You’ll Need
Having the right tools on hand makes cleaning your hopper extension faster and more effective. You don’t need a long list—just a few essentials that work well together. These tools help you reach tight spots, remove buildup, and keep the hopper running smoothly.
Soft Brush Or Paintbrush
A soft brush is perfect for sweeping away dust and debris without scratching the surface. I’ve found that a clean paintbrush with firm bristles works great to get into corners and crevices. It’s gentle yet effective for delicate parts.
Microfiber Cloth
Microfiber cloths trap dirt and moisture better than regular rags. You’ll want one to wipe down surfaces after brushing. I keep a couple of these handy because they’re reusable and easy to clean.
Mild Detergent Or Soap
Using a mild detergent helps break down grease and grime without damaging the hopper material. You only need a small amount mixed with water. Avoid harsh chemicals that could wear down the finish or cause corrosion.
Small Vacuum Cleaner Or Compressed Air
Removing loose particles is easier when you use a vacuum or compressed air. This tool can suck up dust that brushes might miss. If you don’t have a vacuum, a can of compressed air works just as well for blowing debris out.
Protective Gloves
Gloves keep your hands clean and protect you from any sharp edges or cleaning agents. I always wear gloves to avoid irritation and maintain a good grip on tools. It’s a simple step that makes the process more comfortable.
Do you have all these tools ready? Taking a moment to gather them before you start makes the whole cleaning process smoother and less frustrating.

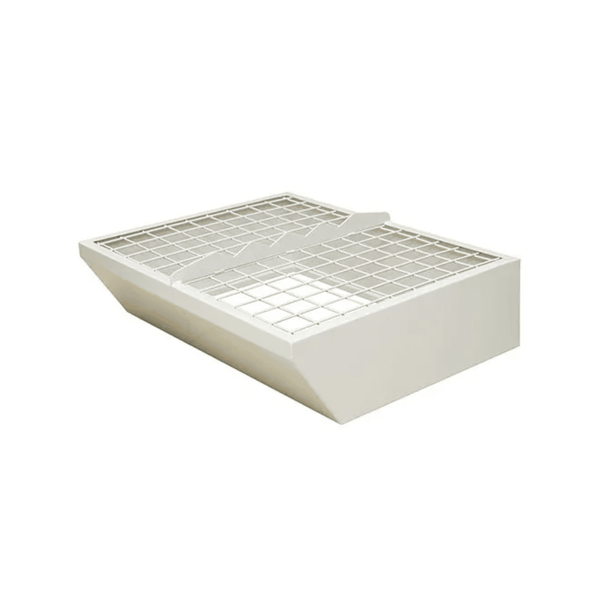
Credit: www.vsslgear.com
Preparing The Hopper Extension
Preparing the hopper extension properly sets the foundation for a thorough and effective cleaning. It ensures you avoid common pitfalls like missing hidden dirt or damaging delicate parts. Taking a few moments to get everything ready can save you time and frustration later.
Gathering The Right Tools And Materials
Start by collecting all necessary cleaning supplies. You’ll need a soft brush, mild detergent, warm water, and a clean cloth. Having everything within reach helps keep the process smooth and focused.
Don’t forget gloves if you prefer to protect your hands. Sometimes, small tools like a toothbrush or cotton swabs come in handy for tight spots. Think about what worked well the last time you cleaned similar equipment and bring those along.
Removing The Hopper Extension Safely
Before you clean, detach the hopper extension carefully. Check the user manual or manufacturer’s guidelines to avoid breaking clips or seals. If unsure, gently wiggle it loose rather than forcing it.
Once removed, inspect it for any cracks or damage that could worsen during cleaning. This step also gives you a chance to see how dirty it really is—sometimes what looks clean actually hides residue in corners.
Setting Up A Comfortable Cleaning Area
Choose a well-lit, flat surface to work on. Use a towel or mat to prevent parts from rolling away or getting scratched. Good lighting helps spot stubborn dirt and ensures you don’t miss any spots.
Keep a trash bin nearby for disposing of debris and used wipes. Would you want to clean and then realize you don’t have a place to put dirty water or waste? Planning your space reduces interruptions and keeps you focused.
Step-by-step Cleaning Process
Cleaning the hopper extension properly keeps it working well and extends its life. This step-by-step process helps you clean it safely and thoroughly. Follow each part carefully for the best results.
Disassemble The Hopper Extension
Start by taking apart the hopper extension carefully. Remove all detachable parts to access every area. Keep track of small pieces so you don’t lose them.
Remove Residue And Debris
Clear out any leftover material from inside the hopper. Use a soft brush or cloth to wipe away dust and dirt. Check corners and crevices for hidden debris.
Wash With Cleaning Solution
Prepare a mild cleaning solution with warm water and soap. Soak the parts in the solution for a few minutes. Gently scrub with a soft brush to remove stubborn residue.
Rinse Thoroughly
Rinse all parts under clean running water to remove soap and dirt. Make sure no cleaning solution remains on the surfaces. This prevents damage and contamination later.
Dry Completely
Use a clean cloth to dry each piece carefully. Let the parts air dry fully before reassembling. Moisture can cause rust or mold if not removed.
Credit: ewistore.co.uk
Tips For Maintaining Cleanliness
Regularly wipe the hopper extension with a damp cloth to remove dust and debris. Use mild soap and water for deeper cleaning, then dry thoroughly. Keeping it clean prevents clogging and ensures smooth operation.
Keeping your hopper extension clean is crucial for optimal performance and longevity. A clean hopper extension ensures smooth operation, reduces the risk of contamination, and minimizes downtime. By following a few practical tips, you can maintain its cleanliness effectively and efficiently.Regular Cleaning Schedule
Establishing a regular cleaning schedule is key. Consistency prevents build-up and makes each cleaning session quicker and easier. Consider setting a reminder on your phone or calendar so you never miss a cleaning session. Use a soft brush and mild detergent for gentle scrubbing. Avoid harsh chemicals that can damage the surface. Rinse thoroughly to remove any soap residue.Avoiding Common Mistakes
One common mistake is neglecting the small parts. These can accumulate debris and cause malfunctions. Always disassemble the hopper extension to clean these components separately. Another frequent error is using abrasive materials. These can scratch and weaken the structure. Opt for a microfiber cloth to protect the finish.Using Proper Storage
Proper storage is often overlooked but vital for maintaining cleanliness. Store your hopper extension in a dry, dust-free area. This prevents unwanted particles from settling inside. Consider using a cover to shield it from dust and moisture. If you don’t have a cover, a clean cloth works just as well. Ensure it’s completely dry before storing to avoid mold or rust. Have you ever noticed how a little effort in maintenance can save hours of trouble later? By following these tips, you not only keep your hopper extension clean but also extend its lifespan. So, why not start implementing these today?When To Replace Your Hopper Extension
Knowing when to replace your hopper extension is just as important as keeping it clean. A worn-out or damaged extension can affect the performance of your equipment and even cause safety issues. Paying attention to signs of wear helps you avoid unexpected breakdowns and keeps your work smooth.
Signs Of Visible Damage Or Cracks
Look closely at your hopper extension for any cracks, dents, or broken parts. Even small cracks can grow larger under pressure, leading to failure during use. If you spot any damage, it’s time to swap out the extension before it causes bigger problems.
Performance Issues During Use
Notice if your hopper extension isn’t feeding materials properly or if it causes jams. These problems often signal that the extension is worn or misshapen. Ignoring these issues can slow down your work and increase frustration.
Age And Frequency Of Use
Consider how long you’ve been using the same hopper extension. If it’s been in use for several seasons or has handled heavy loads frequently, replacement might be necessary even if it looks okay. Older extensions lose durability and can fail unexpectedly.
Material Build-up And Cleaning Challenges
If cleaning your hopper extension becomes a constant battle and residue won’t come off, the surface may be too worn or damaged. This build-up can affect the quality of materials passing through and signal that it’s time for a new extension.
Compatibility With Your Equipment
Sometimes, newer models of your equipment require updated hopper extensions for optimal performance. Using an outdated extension can cause compatibility problems, so check if a replacement fits better with your current setup.
Frequently Asked Questions
How Often Should I Clean My Hopper Extension?
Clean your hopper extension every 2-4 weeks to maintain optimal performance. Frequent cleaning prevents clogging and buildup. Regular maintenance ensures smooth operation and prolongs the lifespan of your equipment. Adjust cleaning frequency based on usage and material type.
What Tools Do I Need To Clean A Hopper Extension?
You need a soft brush, mild detergent, water, and a cloth. Avoid harsh chemicals and abrasive tools that can damage the surface. Use a vacuum for dry debris and a damp cloth for sticky residue to keep the hopper extension clean and functional.
Can I Use Water To Clean The Hopper Extension?
Yes, use water with mild detergent for cleaning. Avoid soaking the hopper extension to prevent rust or damage. Dry it thoroughly after cleaning to avoid moisture buildup. Use minimal water to remove dirt and debris effectively without harming the material.
How Do I Prevent Clogging In Hopper Extensions?
Regularly clean the extension and inspect for blockages. Use dry, well-processed materials to reduce clogging risk. Adjust the feed rate to avoid material overflow. Proper maintenance and correct material handling keep your hopper extension clog-free and efficient.
Conclusion
Cleaning your hopper extension keeps it working well and lasting longer. Regular care stops dirt and clogs from causing trouble. Use simple tools and gentle cleaning steps to avoid damage. Keep your hopper extension clean to enjoy better performance every time.
Small efforts make a big difference in the long run. Stay consistent with cleaning, and your equipment will thank you. Easy and quick cleaning saves time and hassle later. Take care today for smooth use tomorrow.
