

If you love cooking with your rotisserie kit, keeping it clean is key to getting the best results every time. But let’s be honest—cleaning those parts can feel like a hassle.
What if there was a simple way to make the whole process quick and stress-free? You’ll discover easy steps to clean your rotisserie kit thoroughly, so it stays in top shape and ready for your next delicious meal. Stick with me, and you’ll never dread cleaning your rotisserie again.
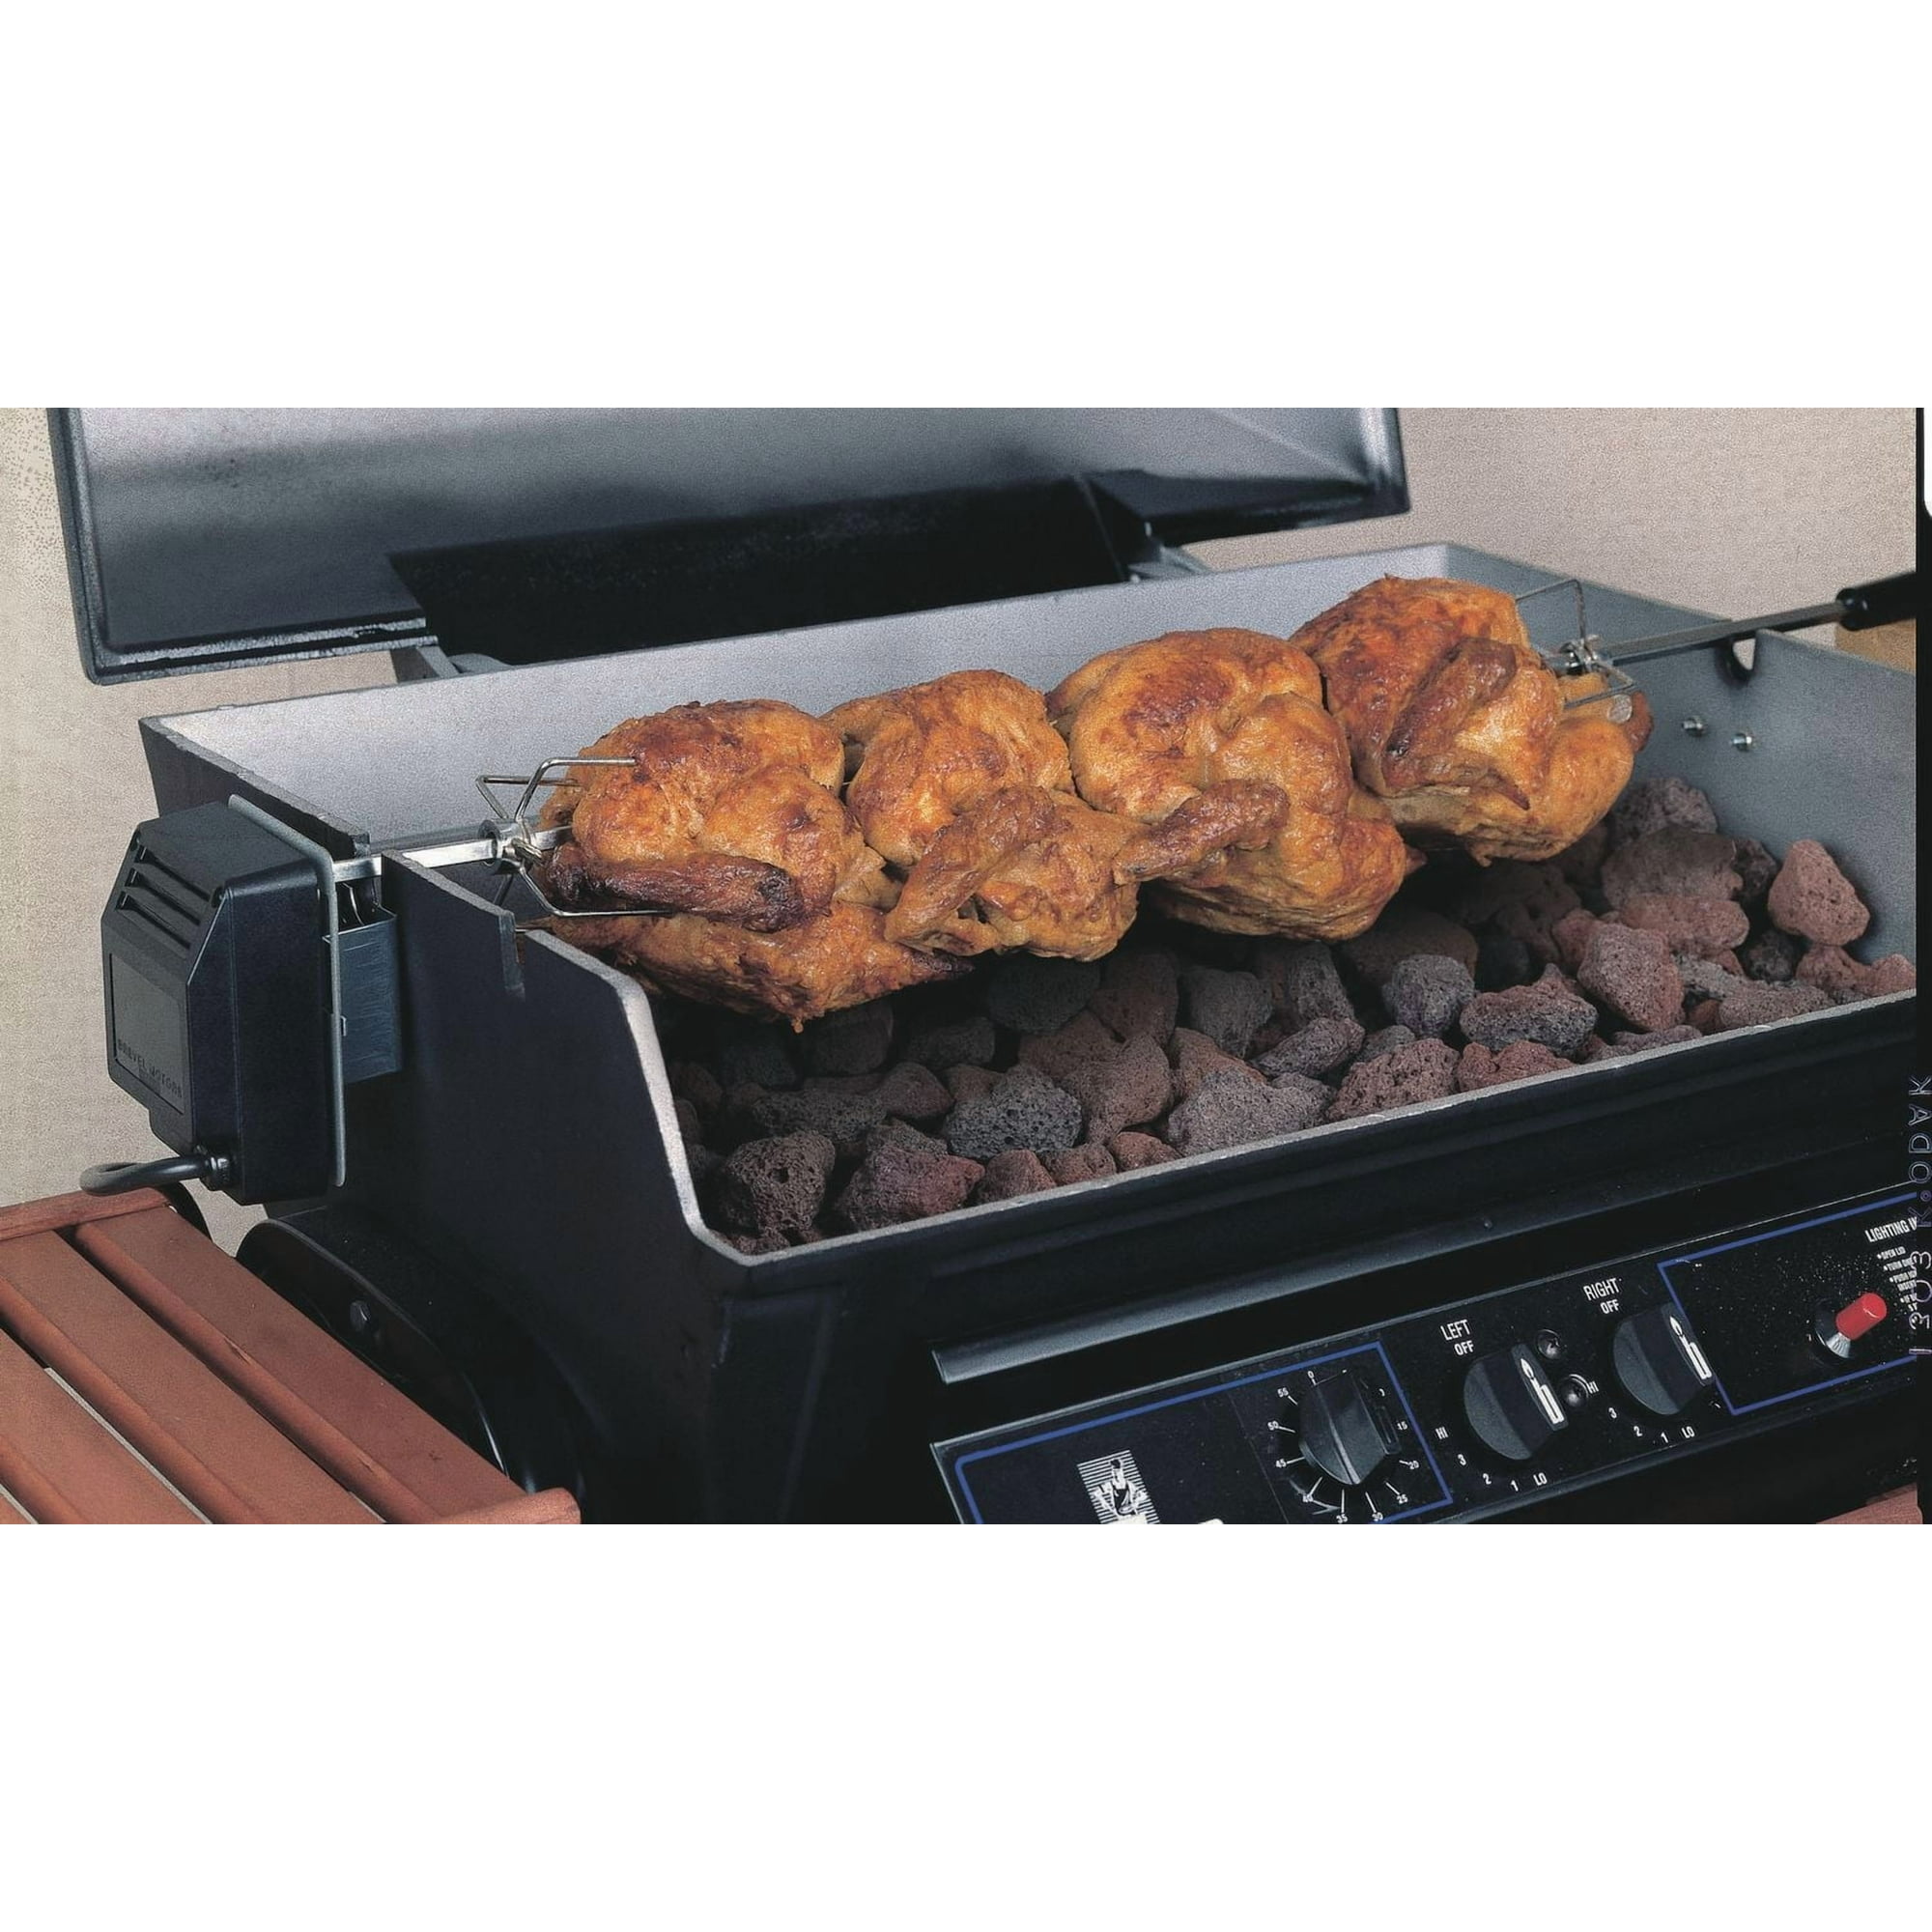
Credit: www.walmart.ca
Tools Needed
Having the right tools makes cleaning your rotisserie kit easier and faster. Proper supplies help remove grease and food bits without damaging parts. Gather everything before you start to avoid interruptions.
Essential Cleaning Supplies
- Warm water for rinsing and soaking
- Mild dish soap to cut through grease
- Soft sponge or cloth to avoid scratches
- Non-abrasive brush for tough spots
- Dry towel or cloth for drying parts
Optional Accessories
- Toothbrush for cleaning small crevices
- Rubber gloves to protect your hands
- Plastic scraper to remove stuck-on food
- Spray bottle for easy soap application
- Microfiber cloth for polishing metal surfaces

Credit: www.amazon.ca
Disassembling The Kit
Disassembling your rotisserie kit is the first crucial step toward a thorough clean. Taking it apart carefully helps you reach every nook and cranny where grease and food particles hide. This process also protects your kit from damage during cleaning, ensuring it lasts through many delicious meals.
Removing The Spit Rod
The spit rod is the long metal skewer that holds your food in place. Start by locating any locking mechanisms or screws that secure the spit rod to the motor or frame. Gently loosen these parts so you can slide the spit rod out without bending or scratching it.
Keep in mind that some rods have a detachable handle or tip. Removing these parts separately makes cleaning easier and prevents trapped grime. Have you checked if your spit rod has these features? It might save you time during cleaning.
Taking Apart The Forks
The forks clamp the food securely on the spit rod, so they often get covered in grease and bits of food. Most forks have screws or wing nuts holding them in place. Unscrew these carefully and remove each fork for individual cleaning.
Inspect the prongs closely—food can get stuck between them and be stubborn to remove. Soaking the forks in warm, soapy water before scrubbing can loosen stuck-on residue. Do you have a small brush handy? It works wonders for cleaning tight spaces.
Detaching Additional Components
Besides the spit rod and forks, your kit may have other parts like drip pans, motor covers, or mounting brackets. Check the manual or examine the kit to spot any removable pieces. Detaching these helps you clean thoroughly and prevents buildup that could affect performance.
Be careful not to force any parts off. Some components snap or twist off easily, while others need a gentle pull or unscrewing. Have you noticed any stubborn parts on your kit? Applying a bit of oil can sometimes loosen stuck joints before cleaning.
Pre-cleaning Tips
Before diving into the cleaning process of your rotisserie kit, preparing it properly can save you time and effort. Pre-cleaning helps loosen stubborn food particles and grease, making the main cleaning easier and more effective.
Soaking For Easier Cleaning
Soaking your rotisserie parts in warm, soapy water softens baked-on food and grease. Fill a basin or your kitchen sink with water and add a few drops of dish soap. Let the parts soak for at least 30 minutes to an hour.
Have you noticed how soaking cuts down scrubbing time? This simple step can prevent frustration and protect the metal from harsh scrubbing. If your kit has metal rods and forks, be sure they’re fully submerged to loosen all residues.
Handling Grease And Residue
Grease can be tricky to remove, especially when it’s thick and sticky. Use a degreaser or a mixture of baking soda and vinegar to break down tough grease spots. Apply the solution directly to greasy areas before scrubbing.
Wearing gloves can make this process cleaner and more comfortable. Also, using a soft-bristle brush helps you target crevices without scratching the metal. Have you tried these tricks? They often make a big difference in how quickly your kit looks like new again.
Cleaning Methods
Soak the rotisserie parts in warm, soapy water to loosen grease and food bits. Use a soft brush or cloth to scrub gently, then rinse with clean water and dry thoroughly. Avoid harsh chemicals to protect the metal finish.
Cleaning your rotisserie kit doesn’t have to be a daunting task. With the right methods, you can ensure your equipment stays in top-notch condition, ready for your next culinary adventure. Whether you prefer traditional hand washing, leveraging the convenience of a dishwasher, or using natural solutions, each method offers unique benefits. Let’s dive into the cleaning methods to find what works best for you.Hand Washing Steps
Hand washing your rotisserie kit can be simple and effective. First, disassemble the kit, ensuring all parts are separated. Fill your sink with warm water and add a mild dish soap. Use a soft sponge or cloth to clean each piece, paying special attention to areas with grease buildup. Rinse each part thoroughly under running water. Dry each component with a clean towel to prevent water spots. Remember, patience is key—this method allows you to inspect each piece closely for any damage or wear.Using A Dishwasher Safely
If you’re pressed for time, using a dishwasher can be a lifesaver. However, it’s important to check if your rotisserie parts are dishwasher-safe. Consult your kit’s manual to avoid any mishaps. Place smaller items in a cutlery basket to prevent them from moving around. Larger parts should be positioned securely to avoid damage during the wash cycle. Opt for a gentle cycle to preserve the integrity of the parts. Once done, inspect each piece to ensure all food residues are removed.Natural Cleaning Solutions
Natural cleaning solutions are both eco-friendly and effective. Combine baking soda and water to make a paste. Use this paste with a sponge to gently scrub stubborn stains. Vinegar is also a great alternative for cutting through grease. Mix equal parts vinegar and water in a spray bottle and apply it to the greasy areas. Wipe with a soft cloth and rinse well. These solutions are not just good for your rotisserie kit but also kind to the environment. What cleaning method resonates most with you? Would you try a new approach today? Keeping your rotisserie kit clean ensures not just hygiene but also better tasting meals.Drying And Reassembling
Drying and reassembling your rotisserie kit is an important step after cleaning. Proper drying stops rust and keeps the metal safe. It also helps avoid bacteria growth. Taking time to dry each part well makes your kit last longer and work better.
Reassembling the rotisserie kit carefully ensures it spins smoothly. Putting parts back in the right order avoids damage. It also makes cooking easier and safer next time you use it.
Proper Drying Techniques
Start by wiping all parts with a clean towel. Use a soft cloth to avoid scratches. Air dry the parts in a warm, dry place. Avoid damp areas or direct sunlight. Let the pieces sit for at least an hour. Make sure all water drops are gone.
- Use a drying rack or hang small parts.
- Pat dry with a microfiber cloth for best results.
- Check joints and crevices carefully for hidden moisture.
- Do not use heat sources like hair dryers; it can damage parts.
Reassembling The Kit Correctly
Lay out all pieces on a clean surface. Identify each part by size and shape. Match parts to your user manual or photos you took before cleaning.
- Attach the spit rod to the motor shaft first.
- Slide forks onto the rod and tighten screws securely.
- Place the drip pan under the rotisserie setup.
- Make sure all screws and clamps are tight but not overdone.
- Test rotation by turning the spit rod by hand.
Double-check everything fits snugly. Loose parts can cause wobbling or accidents. Keep your rotisserie kit ready for the next grilling session.

Credit: www.vevor.ca
Maintenance Tips
Keeping your rotisserie kit in top shape doesn’t have to be a chore. Regular maintenance not only extends its life but also ensures every roast tastes as delicious as the first. Let’s dive into some practical tips that make cleaning and caring for your kit straightforward and effective.
Regular Cleaning Schedule
Set a cleaning routine that fits how often you use your rotisserie kit. After each use, wipe down the spit rod and forks with warm, soapy water to remove grease and food bits. Letting residue build up can make future cleanings harder and affect the taste of your meals.
Once a month, give your entire kit a deep clean. Soak removable parts in a mixture of hot water and vinegar or baking soda to break down stubborn grime. You’ll find that consistent attention makes every cleaning session quicker and less tiring.
Preventing Rust And Damage
Rust is the enemy of your rotisserie kit. After washing, dry every part completely before storing. Moisture left on metal surfaces invites rust, which can ruin your equipment and food safety.
Consider lightly coating metal parts with cooking oil to create a protective layer. This simple step can make a big difference in preventing corrosion. Also, store your rotisserie kit in a dry, cool place away from harsh weather or humidity.
Have you ever found rust spots on your rotisserie and wondered how to fix it? Acting fast with a gentle scrub and oil can often save the parts before replacement becomes necessary.
Frequently Asked Questions
How Often Should I Clean My Rotisserie Kit?
Clean your rotisserie kit after every use. This prevents grease buildup and ensures safe, hygienic cooking. Regular cleaning maintains performance and extends the kit’s lifespan.
What Is The Best Way To Clean Rotisserie Forks?
Soak the forks in warm, soapy water for 15 minutes. Use a soft brush to remove food residue. Rinse and dry thoroughly before storing.
Can I Clean Rotisserie Parts In A Dishwasher?
Most rotisserie parts are dishwasher safe, but check the manufacturer’s instructions. Avoid washing motorized or electrical parts in the dishwasher to prevent damage.
How Do I Remove Stubborn Grease From Rotisserie Rods?
Use a mixture of baking soda and water to scrub stubborn grease. Let it sit for 10 minutes, then rinse with warm water and dry well.
Conclusion
Cleaning your rotisserie kit keeps it working well and safe to use. Regular care stops grease and food bits from building up. Use warm water, mild soap, and a soft brush to clean parts gently. Dry everything fully before storing to avoid rust.
Clean kits make cooking easier and tastier. A clean rotisserie kit lasts longer and cooks evenly. Keep your kit fresh for many meals to come. Simple steps make a big difference in the kitchen.
