

Are you tired of guessing if your steak is cooked just right? Using a grill thermometer can change the way you cook forever.
It helps you get perfect results every time, whether you’re grilling chicken, beef, or veggies. You’ll learn simple steps to use your grill thermometer effectively, avoid common mistakes, and impress your friends with juicy, flavorful meals. Keep reading to master this easy tool and take your grilling skills to the next level!
Choosing The Right Grill Thermometer
Choosing the right grill thermometer is key to mastering your grilling game. It ensures your meat hits the perfect temperature every time, avoiding overcooking or undercooking. But with so many options out there, how do you pick the best one for your needs?
Types Of Grill Thermometers
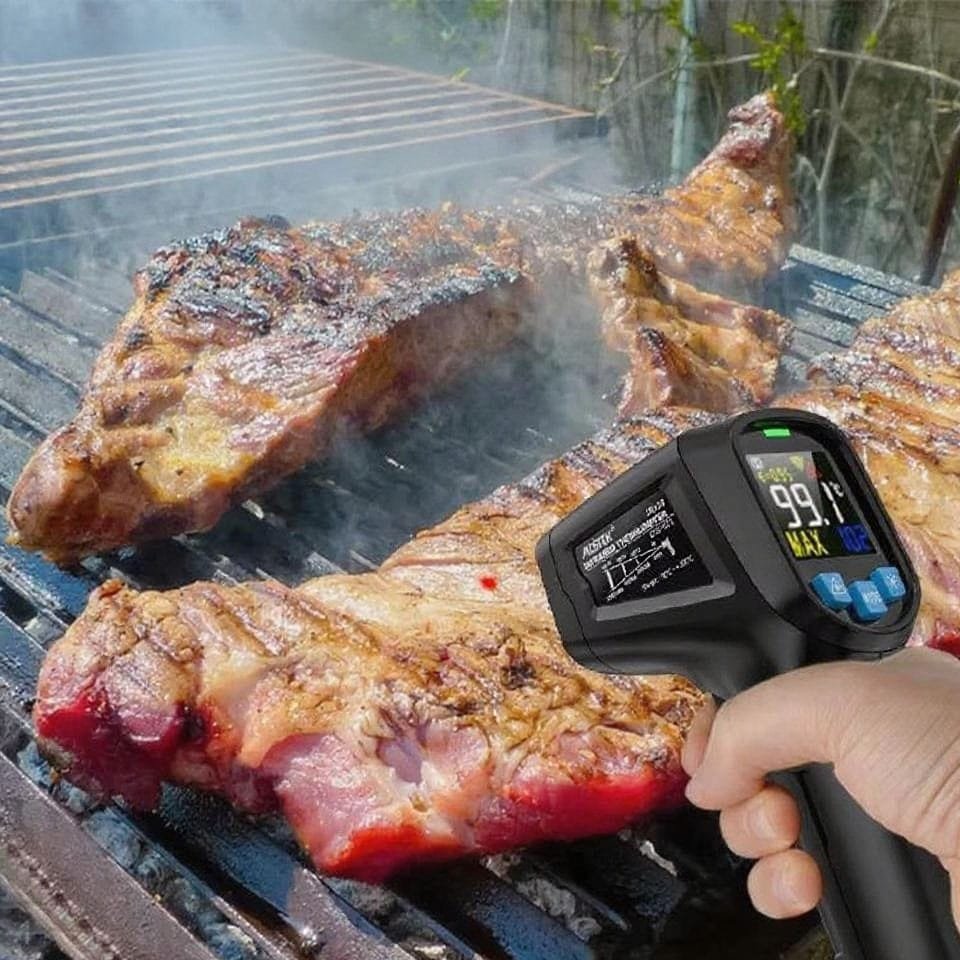
There are several types of grill thermometers, each designed for different grilling styles and preferences. Instant-read thermometers give quick temperature readings and are great for checking doneness right before serving.
Probe thermometers stay in the meat while it cooks, allowing you to monitor temperature without opening the grill lid. Wireless and Bluetooth models offer convenience by sending temperature updates directly to your phone, so you don’t have to hover by the grill.
Features To Look For
- Accuracy:A good thermometer should provide precise readings within a couple of degrees. This is crucial for food safety and achieving the right texture.
- Temperature Range:Make sure it covers the temperatures you usually cook at, from low-and-slow smoking to high-heat searing.
- Durability:Look for water-resistant or heat-resistant models that can withstand outdoor use and occasional splashes.
- Ease of Use:Clear displays, backlighting for night grilling, and simple controls make a big difference when you’re multitasking.
Budget Considerations
Grill thermometers come in a wide price range, so think about how often you grill and what features matter most to you. A basic instant-read thermometer can cost under $20 and works well for occasional grilling.
If you grill frequently or want to monitor multiple pieces of meat at once, investing in a wireless probe thermometer around $50-$100 might save time and stress.
Remember, the most expensive option isn’t always the best fit for your style. What’s your grilling routine like, and which features will truly add value?
Credit: mestekinstruments.com
Setting Up Your Thermometer
Setting up your grill thermometer correctly is the foundation for perfectly cooked meals. A well-placed and calibrated thermometer gives you accurate temperature readings, helping you avoid undercooked or overcooked food. Taking a few extra minutes to set it up properly can save you from guesswork and disappointing results.
Proper Placement On The Grill
Where you place the thermometer probe matters a lot. Insert the probe into the thickest part of the meat, avoiding bones or fat, since they can distort the temperature reading.
Also, position the probe away from direct flame or heat sources to get a true internal temperature. Placing it too close to the grill’s surface or heating element can cause false high readings.
Think about how the food cooks—does the heat circulate evenly? Placing the probe where the food cooks slowest will give you the most reliable temperature for doneness.
Calibrating Your Device
Calibration ensures your thermometer reads accurately. Test your thermometer by placing the probe in ice water; it should read close to 32°F (0°C). If it doesn’t, follow the manufacturer’s instructions to adjust the reading.
Another quick test is dipping the probe in boiling water. It should show about 212°F (100°C) at sea level. Calibration might seem tedious, but it prevents costly mistakes during cooking.
Have you ever trusted a thermometer that was off by a few degrees? That small error can mean the difference between juicy or dried-out meat.
Battery And Maintenance Tips
Always check the battery before grilling. A low battery can cause inconsistent or inaccurate temperature readings, ruining your cooking plans.
Keep the probe clean by wiping it with warm, soapy water after every use. Avoid submerging the entire device unless it’s waterproof.
Store your thermometer in a dry place to prevent damage. Simple maintenance extends its life and keeps your grilling on point every time.
Reading Temperature Accurately
Reading temperature accurately is vital for perfect grilling results. It ensures food is safe and cooked just right. A precise temperature reading prevents overcooking or undercooking. Understanding how to read your grill thermometer helps achieve consistent flavors and textures.
Understanding Temperature Zones
Grills have different heat zones. These zones range from low to high temperatures. Knowing these zones helps place food correctly for even cooking. Low zones work well for slow cooking or smoking. Medium zones suit most grilling tasks. High zones are best for searing or quick cooking.
Check your grill thermometer and compare readings across zones. This practice helps identify hot and cool spots. Adjust food placement based on these zones for better results.
Avoiding Common Mistakes
Do not rely on grill surface temperature alone. It does not show internal food temperature. Avoid opening the grill too often. This lets heat escape and changes temperature. Never place the thermometer probe near bones or fat. These areas give false high readings.
Clean your thermometer regularly. Residue can affect accuracy. Always calibrate your thermometer if possible. This step keeps readings reliable and consistent.
Using Probe Thermometers Correctly
Insert the probe into the thickest part of the meat. Avoid touching bone or grill grates. Keep the probe steady during cooking for stable readings. Use a digital probe thermometer for quick and clear results.
Allow a few seconds for the temperature to stabilize. Remove the probe carefully to prevent juice loss. Use the thermometer reading to decide when to remove food from the grill.
Grilling Techniques With Thermometer
Grilling is an art. A grill thermometer is a vital tool for perfection. It helps achieve the ideal doneness and flavor. This small tool can transform your grilling experience. Let’s explore some effective techniques.
Monitoring Different Meats
Each type of meat requires a unique approach. Beef, chicken, and pork have different optimal temperatures. A grill thermometer ensures each meat reaches its safe temperature. For beef, aim for 145°F for medium-rare. Chicken should reach 165°F. Pork is safe at 145°F as well. Insert the thermometer into the thickest part of the meat. Avoid bones for an accurate reading.
Timing For Perfect Doneness
Timing is crucial for a perfect grill. The thermometer helps track cooking progress. Check the temperature periodically. This prevents overcooking or undercooking. Remove the meat from heat just before it hits the target temperature. Meat continues to cook after removal. This practice ensures juicy and tender results.
Adjusting Heat Levels
A grill thermometer assists in managing heat levels. Too much heat can burn the outside while leaving the inside raw. Adjust grill settings based on temperature readings. For a steady heat, keep the grill covered. This retains heat and speeds up cooking. If the temperature is too low, increase the heat gradually. This maintains a consistent cooking temperature.
Advanced Tips For Expert Grilling
Advanced grilling demands more than just a basic thermometer. Using the right tools and techniques ensures perfectly cooked meat every time. Focus on smart technology and detailed tracking to improve your grilling skills. Solve temperature issues quickly to keep your food safe and tasty.
Using Wireless And Smart Thermometers
Wireless thermometers let you monitor meat without standing by the grill. They send temperature updates to your phone or device. Smart thermometers can alert you when the meat reaches the right temperature. This helps avoid overcooking or undercooking. Some models even suggest cooking times and temperature settings.
Recording And Tracking Temperatures
Keep notes of cooking times and temperatures for different meats. Use a notebook or a digital app to log your results. Tracking helps you learn how your grill heats and how long food takes to cook. Compare notes to improve your future grilling sessions. This habit leads to consistent and perfect results.
Troubleshooting Temperature Issues
Check your thermometer’s battery and sensor before grilling. Clean the probe properly to avoid false readings. If temperatures seem off, test the thermometer in boiling water. Adjust the grill vents to control heat better. Avoid opening the grill too often, which causes temperature drops.

Credit: www.goodhousekeeping.com

Credit: themeatstick.com
Frequently Asked Questions
How Do I Calibrate A Grill Thermometer Correctly?
Calibrate by placing the thermometer probe in ice water. Adjust the reading to 32°F (0°C). This ensures accurate temperature measurement during grilling.
Where Should I Insert The Grill Thermometer Probe?
Insert the probe into the thickest part of the meat. Avoid bones and fat for an accurate internal temperature reading.
What Temperature Is Ideal For Grilling Different Meats?
Chicken should reach 165°F, beef 145°F, and pork 160°F. Use these target temperatures to ensure safe and juicy results.
How Often Should I Check The Grill Thermometer Reading?
Check the temperature every 5 to 10 minutes. Frequent monitoring helps avoid overcooking and maintains perfect grilling results.
Conclusion
Using a grill thermometer makes cooking easier and safer. It helps you check the meat’s temperature quickly. You avoid guessing and overcooking food. This tool gives better results every time you grill. Remember to clean the thermometer after each use.
Keep practicing to get comfortable with it. Your meals will taste juicier and well-cooked. A small tool can make a big difference. Try it on your next barbecue and see. Happy grilling!
