
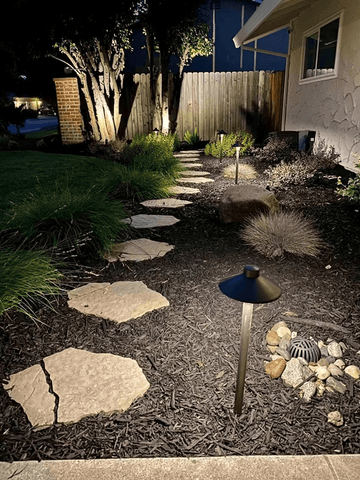
Lighting your garden path is more than just about seeing where you walk at night. It sets the mood, highlights your landscape, and adds safety to your outdoor space.
But do you know how to space garden path lights for the best effect? If your lights are too close or too far apart, you might end up with uneven lighting or wasted energy. You’ll discover simple tips and tricks to space your garden path lights perfectly.
By the end, your garden will look inviting, beautiful, and well-lit every evening. Ready to transform your outdoor path? Let’s get started!
Choosing The Right Path Lights
Choosing the right path lights can transform your garden into a welcoming, safe, and visually appealing space. The key is to pick lights that not only fit your garden’s style but also meet your functional needs. Let’s dive into what types of path lights are available and what features you should consider before making your choice.
Types Of Path Lights
Path lights come in several styles, each offering different benefits for your garden.
- Solar Path Lights:These are easy to install since they don’t require wiring. They charge during the day and light up at night, making them energy-efficient and eco-friendly.
- Low-Voltage Path Lights:These use a transformer and wiring, providing consistent, bright lighting. They are reliable even on cloudy days but require more setup.
- LED Path Lights:LED lights are long-lasting and consume very little energy. They come in various colors and intensities, allowing you to customize your lighting.
- Decorative Path Lights:These lights add a design element with unique shapes and styles, perfect if you want your garden lighting to stand out.
Which type suits your garden’s layout and your maintenance preference? Think about how much effort you want to spend on installation and upkeep.
Light Features To Consider
Choosing path lights isn’t just about style; the features they offer can make a big difference in their performance.
- Brightness:Look for lights with adjustable brightness so you can set the mood or increase visibility when needed.
- Color Temperature:Warm white lights create a cozy feel, while cool white lights offer a modern look. Decide which atmosphere fits your garden.
- Durability:Outdoor lights should be weather-resistant. Check for waterproof ratings and sturdy materials that can handle rain, snow, or heat.
- Power Source:Consider if you prefer solar, electric, or battery-operated lights based on your garden’s access to power and your energy goals.
- Motion Sensors and Timers:These features add convenience and security, turning lights on only when needed and saving energy.
Have you thought about how these features will affect your garden’s safety and ambiance? Choosing wisely can enhance your outdoor experience and reduce future headaches.
Planning The Layout
Planning the layout of your garden path lights is key to creating a safe and inviting walkway. Thoughtful placement enhances both the beauty and functionality of your outdoor space. Before you start digging or installing, take time to map out exactly where each light should go.
Assessing Pathway Dimensions
Begin by measuring the length and width of your garden path. Knowing these dimensions helps you determine how many lights you’ll need and where to place them for even coverage.
Consider the path’s shape too. Is it straight, curved, or does it have steps? These details affect how the light spreads and where shadows might fall.
Ask yourself: How wide do you want the illuminated area to be? Narrow paths may only need lights on one side, while wider paths might benefit from lights on both sides.
Deciding On Light Placement
Think about the spacing between each light. Too far apart, and you’ll have dark spots; too close, and it might feel overwhelming or waste energy.
A common approach is to space path lights about 6 to 8 feet apart. However, if your lights are brighter or have a wider beam, you can increase the distance.
Place lights near edges to define the path clearly. Also, consider highlighting key features like garden beds or seating areas along the way.
Have you noticed how some paths feel more welcoming than others? It’s often because the lighting guides your eye smoothly along the route without harsh contrasts or gaps.
Calculating Light Spacing
Calculating the right spacing for garden path lights ensures safety and beauty. Proper spacing avoids dark spots and glare. It creates a welcoming glow along your walkway. Understanding spacing helps you plan lighting that fits your garden’s style and size.
Determining Ideal Distance
Start by measuring the length of your path. Shorter paths need fewer lights, longer ones need more. A common rule is to space lights 3 to 6 feet apart. Narrow paths may require closer spacing for better visibility. Wider paths allow lights to be set further apart. Consider the brightness of your lights too. Brighter lights can be spaced further, dimmer lights need to be closer.
Balancing Aesthetic And Functionality
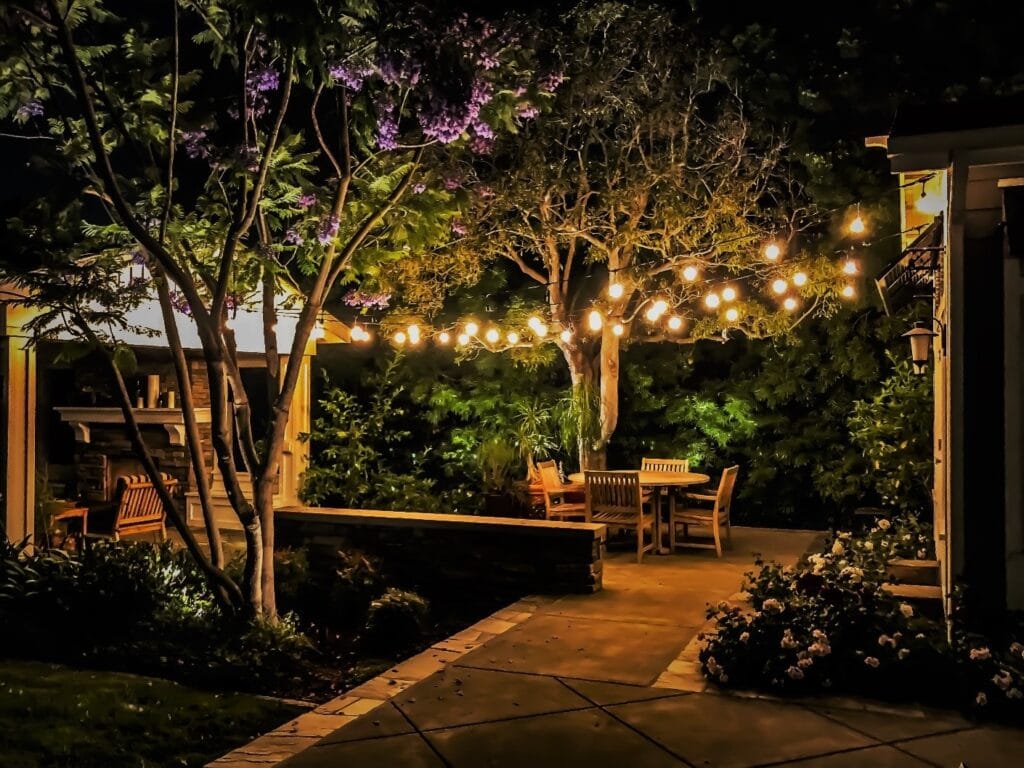
Spacing affects both how your path looks and how safe it is. Evenly spaced lights create a neat and tidy appearance. Uneven spacing can cause harsh shadows or bright spots. Think about how the light spreads on the ground. Soft, overlapping pools of light offer gentle guidance. Avoid placing lights too close to avoid glare. Test your layout by walking the path at night. Adjust spacing to find the best balance between beauty and safety.
Credit: tru-scapes.com
Installation Tips
Proper installation of garden path lights ensures safety and enhances your outdoor space. Careful planning and preparation make the process smooth. Follow these tips for the best results.
Preparing The Ground
Clear the path area of stones, roots, and debris. Level the soil to avoid uneven lighting. Dig shallow trenches for wiring if needed. Use sand or fine soil to fill gaps and stabilize fixtures. Keep the ground dry to prevent slipping during installation.
Securing Light Fixtures
Place each light firmly in the ground to avoid tilting. Use stakes or anchors included with the fixtures for added stability. Check that each light is vertical and aligned with the path. Tighten screws and connections to prevent movement. Test lights before covering wires to ensure proper function.
Enhancing Pathway Glow
Enhancing the glow of your garden path lights creates a warm and inviting atmosphere. Proper spacing is essential, but the way light spreads and blends matters just as much. Small adjustments can make your pathway look brighter and more charming. Use simple techniques to soften harsh lights and mix colors for a richer glow. This approach not only improves visibility but also adds beauty to your garden at night.
Using Light Diffusers
Light diffusers soften the light and reduce glare. They spread light evenly along the pathway. This creates a smooth, gentle glow instead of sharp spots. Diffusers help cover dark patches between lights. They work well with all types of garden lights. Choose diffusers that fit your fixtures for best results. Soft lighting feels more natural and pleasant for evening walks.
Combining Light Colors
Mixing different light colors adds depth and interest. Warm white lights create a cozy feel. Cool white lights highlight plants and stones. Use both to balance comfort and clarity. Color combination can guide visitors through your garden. Changing colors slightly prevents monotony. Keep the colors subtle to maintain a natural look. Experiment with placement to find the best effect.

Credit: leonlite.com
Maintenance For Longevity
Proper maintenance is key to keeping your garden path lights shining bright for years. Neglecting small upkeep tasks can lead to dim lights, electrical issues, or even the need for costly replacements. By staying on top of regular care, you ensure your outdoor space remains inviting and safe every night.
Routine Cleaning
Dirt, leaves, and moisture buildup can dull the brightness of your path lights. Wipe the fixtures gently with a soft cloth to remove dust and grime. If you notice stubborn spots, use a mild soap solution and rinse with water to avoid damaging the finish.
Check for spider webs or insect nests that might block the light. Cleaning regularly not only improves illumination but also extends the life of your lights by preventing corrosion. How often you clean depends on your environment—more frequent in dusty or wet areas.
Replacing Bulbs And Parts
Even the best lights need new bulbs eventually. Keep spare bulbs handy and replace them as soon as you notice dimming or flickering. LED bulbs generally last longer but still require occasional swaps to maintain brightness.
Inspect wiring and connections for wear or corrosion. Faulty parts can cause safety hazards and reduce light efficiency. Replacing damaged components promptly saves you from bigger repairs and keeps your path lights working smoothly.
Have you ever delayed changing a bulb, only to find the whole fixture stopped working? Address issues early to avoid losing the ambiance and safety that your garden path lights provide.
Safety Considerations
Safety considerations are crucial when spacing garden path lights. Proper planning not only enhances your garden’s beauty but also protects you and your guests from accidents. Ignoring safety can lead to electrical issues or unexpected trips, turning a relaxing evening walk into a risky experience.
Ensuring Electrical Safety
Always check the voltage requirements of your garden path lights before installation. Use outdoor-rated cables and fixtures to withstand weather conditions and prevent short circuits.
Make sure all connections are secure and waterproof. I once overlooked sealing a connector, and after a rainstorm, the light stopped working due to water damage. That taught me to use silicone sealant or weatherproof connectors every time.
Consider installing a ground-fault circuit interrupter (GFCI) outlet for your garden lighting. It can cut off power instantly if it detects electrical faults, reducing the risk of shocks.
Preventing Trip Hazards
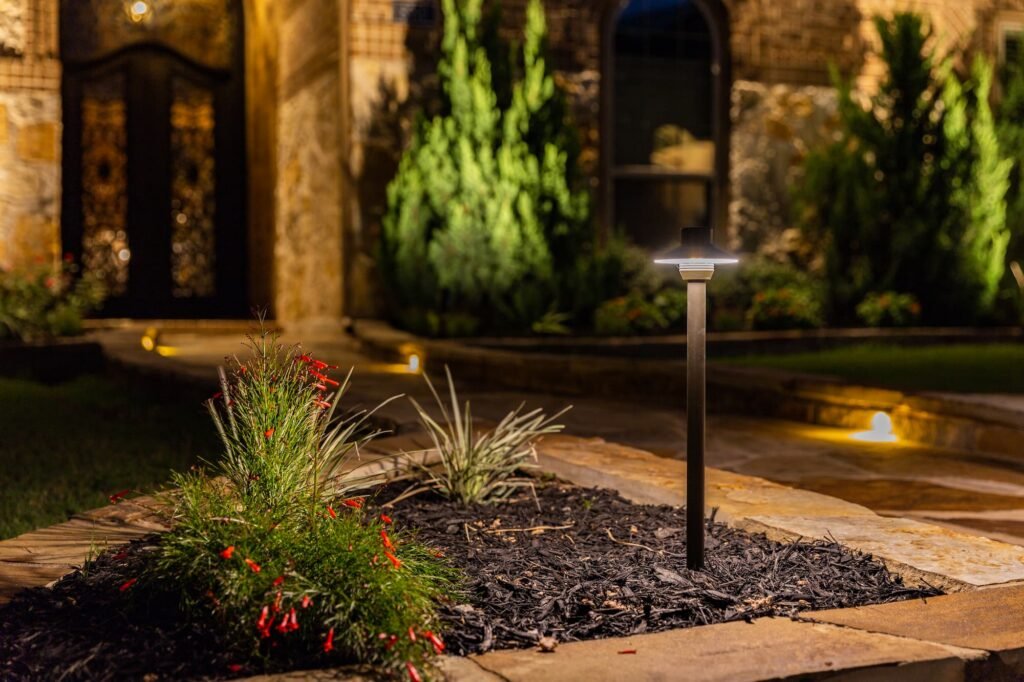
Position your lights where they clearly mark the path but don’t stick out too much. Lights that sit flush with the ground or have low profiles reduce the chance of someone tripping over them.
Keep wiring hidden or buried beneath the surface to avoid loose cables lying around. I recommend using cable stakes or conduit tubing to secure wires firmly along the path.
Have you ever stumbled on an unexpected object in the dark? Properly spaced and well-lit pathways help your eyes spot obstacles easily, keeping your garden walk safe and enjoyable.
Credit: outdoorlightingsa.com
Frequently Asked Questions
How Far Apart Should Garden Path Lights Be Spaced?
Garden path lights are typically spaced 3 to 6 feet apart. This spacing ensures balanced illumination and avoids dark spots. Adjust distance based on light intensity and path width for optimal visibility and aesthetics.
What Factors Affect Spacing Garden Path Lights?
Factors like path width, light brightness, and fixture style affect spacing. Wider paths need lights closer together. Brighter lights can be spaced farther apart. Consider these for safe, attractive lighting.
Can Spacing Garden Path Lights Improve Garden Safety?
Yes, proper spacing prevents dark areas, reducing tripping hazards. Evenly spaced lights guide walkers safely along paths. Good lighting enhances visibility and deters unwanted intruders.
Should Garden Path Lights Be Closer On Curves?
Yes, placing lights closer on curves improves visibility and safety. Curved paths require tighter spacing for consistent illumination. This prevents shadows and highlights path edges clearly.
Conclusion
Spacing garden path lights well creates a safe and welcoming walkway. Keep lights about 3 to 6 feet apart for best results. Too close, and the lights may look crowded. Too far, and parts of the path stay dark. Think about the style and size of your lights too.
Try to balance light and shadow for a natural look. Good spacing helps your garden shine at night and guides visitors safely. Take your time and enjoy the process of lighting your garden path.

