
Is your fountain losing water faster than it should? Small leaks can turn your beautiful water feature into a costly headache.
But don’t worry—you don’t have to call a professional right away. You can fix those leaks yourself with simple steps that save you time and money. You’ll discover easy and effective ways to seal leaks in your fountain, keeping it running smoothly and looking great.
Ready to stop the drip and enjoy a flawless fountain? Let’s dive in!
Credit: leaktronics.com
Identifying Fountain Leaks
Identifying leaks in a fountain is the first step to fixing it properly. Leaks waste water and can damage the fountain structure. Knowing how to spot these leaks early helps save time and money. Small leaks often go unnoticed but cause bigger problems later.
Careful inspection and the right tools make finding leaks easier. Some leaks are visible on the surface, while others hide under the fountain basin. Understanding common signs and using proper detection tools leads to quick repairs.
Common Signs Of Leaks
- Water level drops faster than usual
- Wet or soggy areas around the fountain base
- Cracks or holes in the fountain basin or pipes
- Unusual sounds from the pump or water flow
- Presence of algae or mold outside the normal water area
- Water pooling on the ground near the fountain
Tools For Detecting Leaks
- Flashlight to check dark or hidden spots
- Water dye or food coloring to trace water paths
- Pressure gauge to test pipe pressure
- Soapy water spray to find air bubbles in cracks
- Bucket for catching dripping water
- Gloves for safe handling

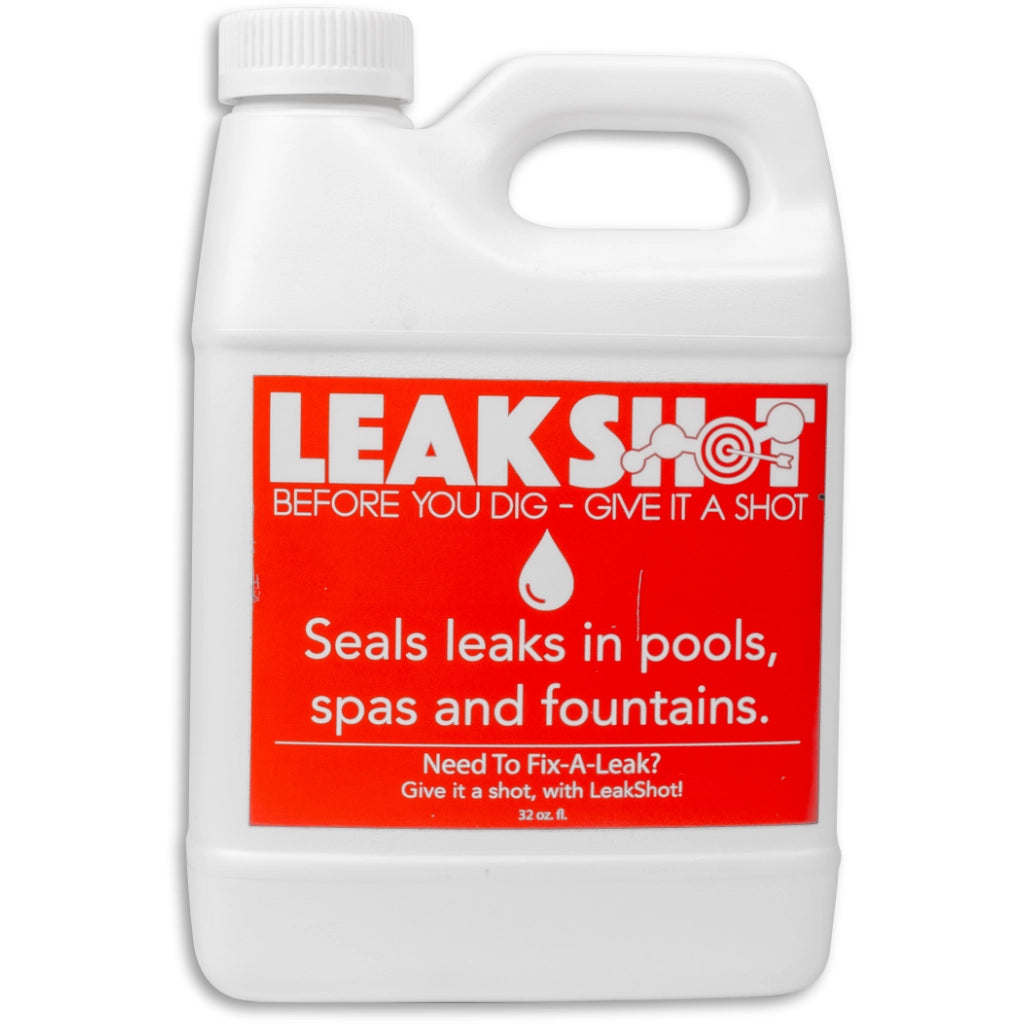
Credit: us.amazon.com
Preparing The Fountain
Preparing your fountain properly before sealing leaks is crucial for a lasting repair. Skipping this step can lead to wasted time and materials. Taking the time to prepare ensures that the sealant sticks well and the leak is fully addressed.
Draining Water
Start by removing all the water from your fountain. Use a pump or a bucket to get every drop out. Leaving water behind can prevent the sealant from adhering properly and cause delays in drying.
Check every corner to make sure no water pools remain. Even small amounts can hide leaks or weaken the repair. Have you ever sealed a leak only to find it still damp afterward? That often happens because of leftover water.
Cleaning The Surface
After draining, clean the fountain surface thoroughly. Dirt, algae, and old sealant residues stop new sealant from sticking well. Use a scrub brush and mild detergent to remove all grime.
Rinse with clean water and let the surface dry completely before moving on. A clean, dry surface is the foundation of a strong seal. Imagine painting over dust—you wouldn’t expect a smooth finish, right?
Choosing The Right Sealant
Choosing the right sealant is crucial for fixing leaks in your fountain effectively. The sealant you pick will determine how long the repair lasts and how well it withstands water exposure and weather conditions. Understanding your options helps you make a smart choice that saves time and money.
Types Of Sealants
There are several sealants designed for fountain repairs, each with unique properties. Here’s a quick look at some common types:
- Silicone Sealant:Flexible and waterproof, ideal for small cracks and joints. It adheres well to glass and ceramic.
- Epoxy Sealant:Very strong and durable, perfect for larger cracks or structural repairs. It creates a hard, lasting bond.
- Polyurethane Sealant:Offers excellent adhesion and elasticity. It works well for outdoor fountains exposed to varying temperatures.
- Butyl Rubber Sealant:Highly waterproof and good for sealing around fittings and pipes in fountains.
Each sealant has its strengths, but not all are suitable for every fountain material or leak type. Have you considered the material of your fountain when choosing a sealant?
Factors To Consider
Before buying a sealant, think about these important factors:
- Material Compatibility:Does the sealant bond well with your fountain’s material—stone, concrete, metal, or plastic?
- Water Exposure:Will the sealant stay intact underwater or in constant moisture?
- Flexibility:Does your fountain experience movement or temperature changes that require a flexible sealant?
- Drying Time:How quickly does the sealant cure? Faster drying means less downtime for your fountain.
- Durability:How long will the sealant last against weather conditions and wear?
Think about your fountain’s location and how often you want to maintain it. A sealant that lasts longer might cost more upfront but could save you effort in the long run.
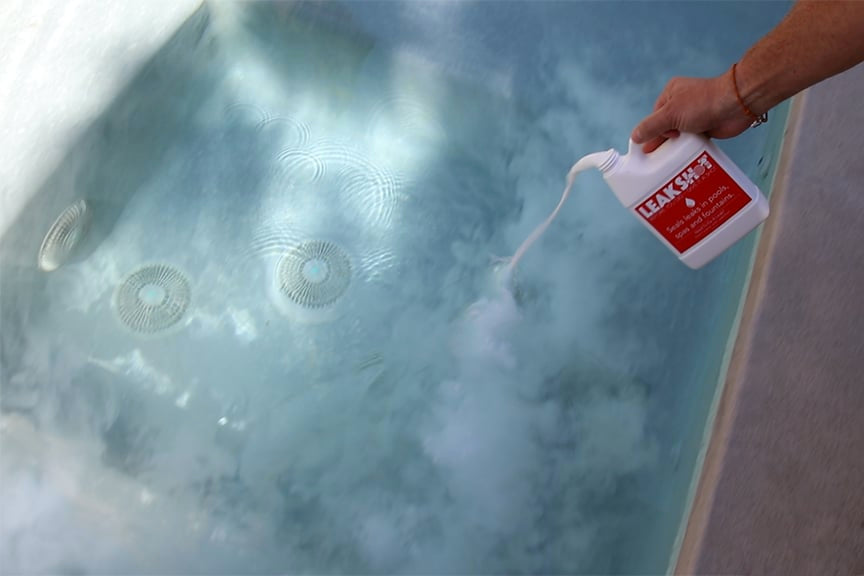
Credit: leaktronics.com
Applying The Sealant
Applying the sealant is a crucial part of fixing leaks in a fountain. It ensures water stays inside and prevents damage. The process needs careful work for the best result.
Step-by-step Application
- Clean the leak area thoroughly with a cloth and mild detergent.
- Dry the surface completely to help the sealant stick well.
- Cut the tip of the sealant tube at an angle for precise application.
- Apply the sealant directly over the leak, spreading it evenly.
- Use a putty knife or a similar tool to smooth the sealant surface.
- Allow the sealant to cure as per the product instructions, usually 24 hours.
- Test the fountain by filling it with water and checking for leaks again.
Safety Precautions
- Wear gloves to protect your skin from chemicals in the sealant.
- Work in a well-ventilated area to avoid inhaling fumes.
- Keep sealant away from children and pets during application and drying.
- Read the product label carefully for any specific warnings.
- Avoid contact with eyes; rinse immediately if contact occurs.
- Store sealant in a cool, dry place after use.
Testing The Repair
After applying the sealant to your fountain’s leaks, testing the repair is crucial to ensure the fix holds under normal conditions. This step helps you catch any missed spots and avoid future water loss or damage. Taking the time to carefully check your work can save you from repeated repairs and frustration.
Refilling The Fountain
Begin by slowly refilling your fountain with water. Avoid rushing this part, as a gradual refill lets you observe how the sealant reacts to moisture. Filling too quickly might mask small leaks or cause the seal to fail under pressure.
Use clean water and fill it close to the normal operating level. If you notice any immediate wet spots or drips, mark them for further attention. Sometimes, leaks only appear after the water reaches a certain height or pressure.
Monitoring For Leaks
Once the fountain is refilled, watch it closely over the next several hours. Check all around the previously sealed areas and the base of the fountain. Small drips can be easy to miss if you don’t look carefully.
It’s helpful to place dry paper towels or tissue around suspected spots. If these become damp, you’ll have clear proof of a leak. Ask yourself: does the seal feel solid, or is the water still escaping? This monitoring phase is where you confirm your repair’s success or identify the need for additional sealing.
Maintenance Tips
Keeping your fountain leak-free takes ongoing care. Maintenance helps find and fix small problems fast. Regular attention keeps seals strong and water inside.
Simple steps make a big difference. Watch for signs of wear or damage. Protect the seal from harsh elements. These tips help your fountain last longer and work better.
Routine Inspections
Check your fountain often for cracks or loose parts. Look closely at the seal area for any gaps or dryness. Early detection stops leaks from growing worse.
- Inspect seals every few weeks.
- Note any changes in water level.
- Clean debris that could harm the seal.
Protecting The Seal
Keep the seal safe from sun, cold, and chemicals. Use shade or covers during extreme weather. Avoid strong cleaners that break down seal materials.
- Apply a seal conditioner if recommended.
- Rinse away dirt with gentle water sprays.
- Replace old seals before they crack.
Frequently Asked Questions
How Do I Find Leaks In My Fountain?
Inspect your fountain for wet spots or water loss. Check seams, joints, and the basin carefully. Use food coloring in water to spot slow leaks more easily.
What Materials Seal Fountain Leaks Effectively?
Use waterproof sealants like silicone or epoxy putty. These materials bond well to fountain surfaces and resist water. Choose a product designed for outdoor use and safe for water features.
Can I Seal Leaks Without Draining The Fountain?
It is best to drain the fountain before sealing. Dry surfaces ensure better adhesion of sealants. Sealing on wet surfaces may lead to poor results and recurring leaks.
How Long Does It Take For Fountain Sealants To Cure?
Most sealants take 24 to 48 hours to fully cure. Follow the manufacturer’s instructions for drying times. Avoid refilling the fountain until the sealant is completely dry.
Conclusion
Sealing leaks in your fountain saves water and keeps it beautiful. Start by finding the leak carefully. Use the right sealant to fix cracks or holes. Clean the area well before applying any material. Check your work after sealing to ensure no leaks remain.
Regular care prevents future problems and keeps the fountain working. Small steps make a big difference in fountain maintenance. Enjoy a peaceful, leak-free fountain all year round.
