
Winter can be tough on your tool rack. Cold temperatures, moisture, and snow can cause rust, damage, and wear that shorten the life of your tools and rack.
But protecting your tool rack doesn’t have to be difficult. You’ll discover simple, practical steps that keep your tools safe and ready to use all winter long. If you want to avoid costly repairs and frustrating downtime, keep reading—your tools will thank you.
Assessing Your Tool Rack
Assessing your tool rack before winter sets in is a crucial step to ensure it withstands harsh weather conditions. Taking the time to evaluate its current state helps you identify weak points that could worsen with snow, ice, or freezing temperatures. This proactive approach saves you from costly repairs and keeps your tools safe and organized through the cold months.
Identifying Vulnerable Materials
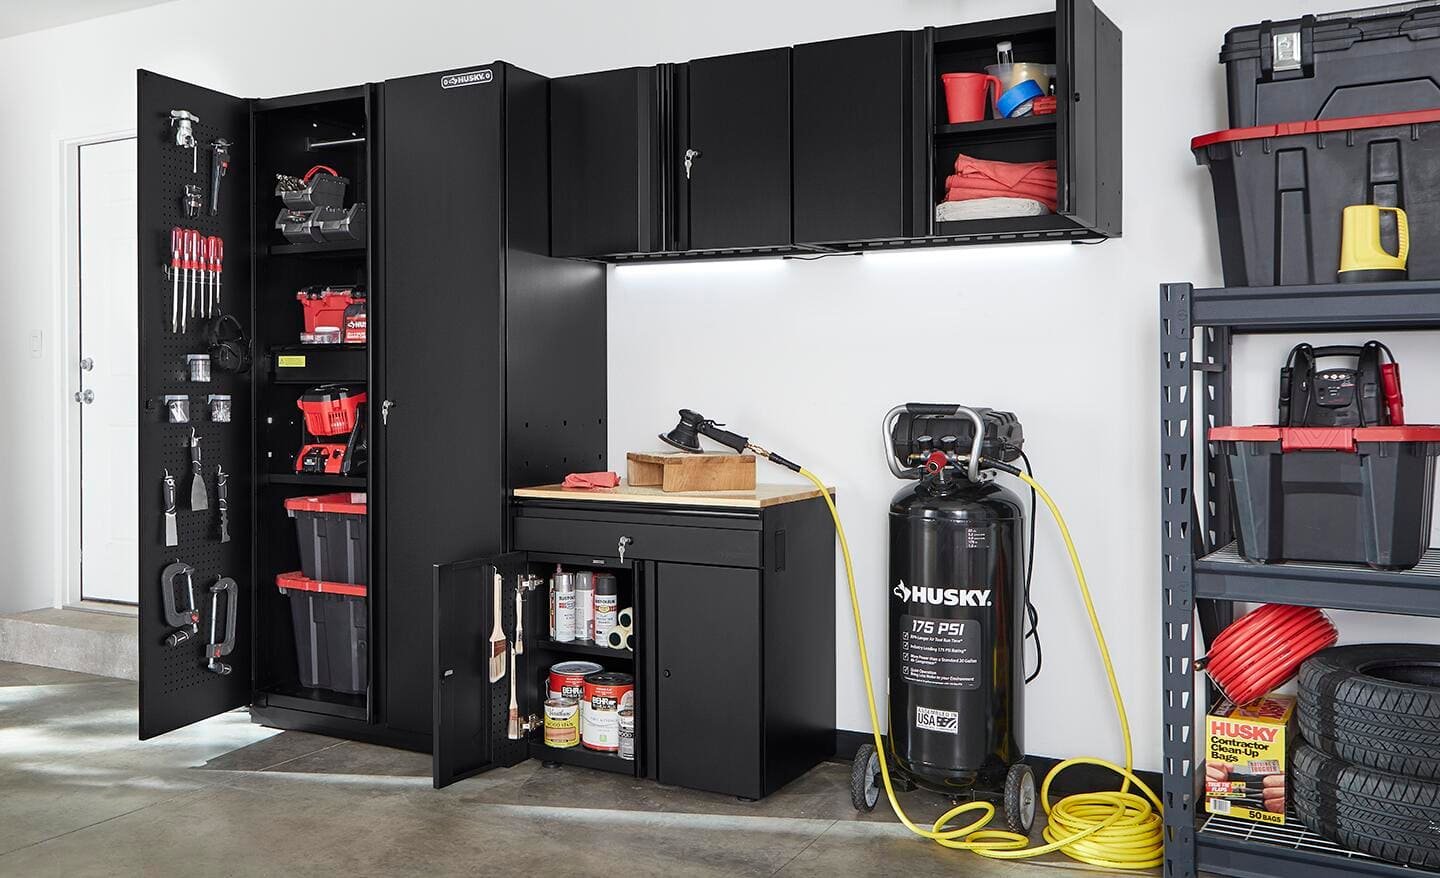
Not all materials handle winter the same way. Metal racks, for example, can rust if exposed to moisture and salt, while wooden racks might crack or warp due to freezing and thawing cycles.
Look closely at what your rack is made of. If it’s metal, check whether it has a protective coating or if bare spots are showing. For wood, watch for signs of dryness or softness that can indicate potential damage.
Have you noticed how some plastics become brittle in the cold? If your rack includes plastic parts, consider whether they are rated for low temperatures or might crack under stress.
Checking For Existing Damage
Before winter hits, inspect your tool rack thoroughly for any cracks, loose joints, or rust patches. Even small issues can expand rapidly when exposed to ice and snow.
Use a flashlight to spot hidden damage in corners or under shelves where moisture tends to collect. Tighten screws and bolts to reinforce the structure.
Remember the last time you ignored a tiny crack, only to find it split wide open after a freeze? Catching these problems early allows you to fix them now, preventing bigger headaches later.
Credit: www.homedepot.com
Preparing The Rack For Winter
Preparing your tool rack for winter protects it from cold and moisture. This preparation extends the life of your tools and rack. Proper care prevents rust and damage during harsh weather. Follow simple steps to get your rack ready for winter storage.
Cleaning And Drying Tools
Remove all tools from the rack before cleaning. Wipe each tool with a dry cloth to remove dirt and dust. Use a mild soap solution for tough grime. Rinse tools and dry them completely with a soft towel. Moisture left on tools causes rust and corrosion. Allow tools to air dry fully if possible.
Applying Protective Coatings
Use rust-resistant spray or oil on metal parts of tools. Apply a thin, even layer to avoid buildup. For wooden handles, use linseed oil to prevent cracking. Cover the entire tool surface carefully. Let coatings dry in a well-ventilated area. This layer protects tools from moisture and cold damage.
Choosing The Right Location
Choosing the right location for your tool rack during winter can make a huge difference in how well your tools stay protected. The spot you pick impacts exposure to harsh weather elements and the overall lifespan of your gear. Think about where your rack will face the least damage while remaining easy for you to access.
Indoor Vs Outdoor Storage
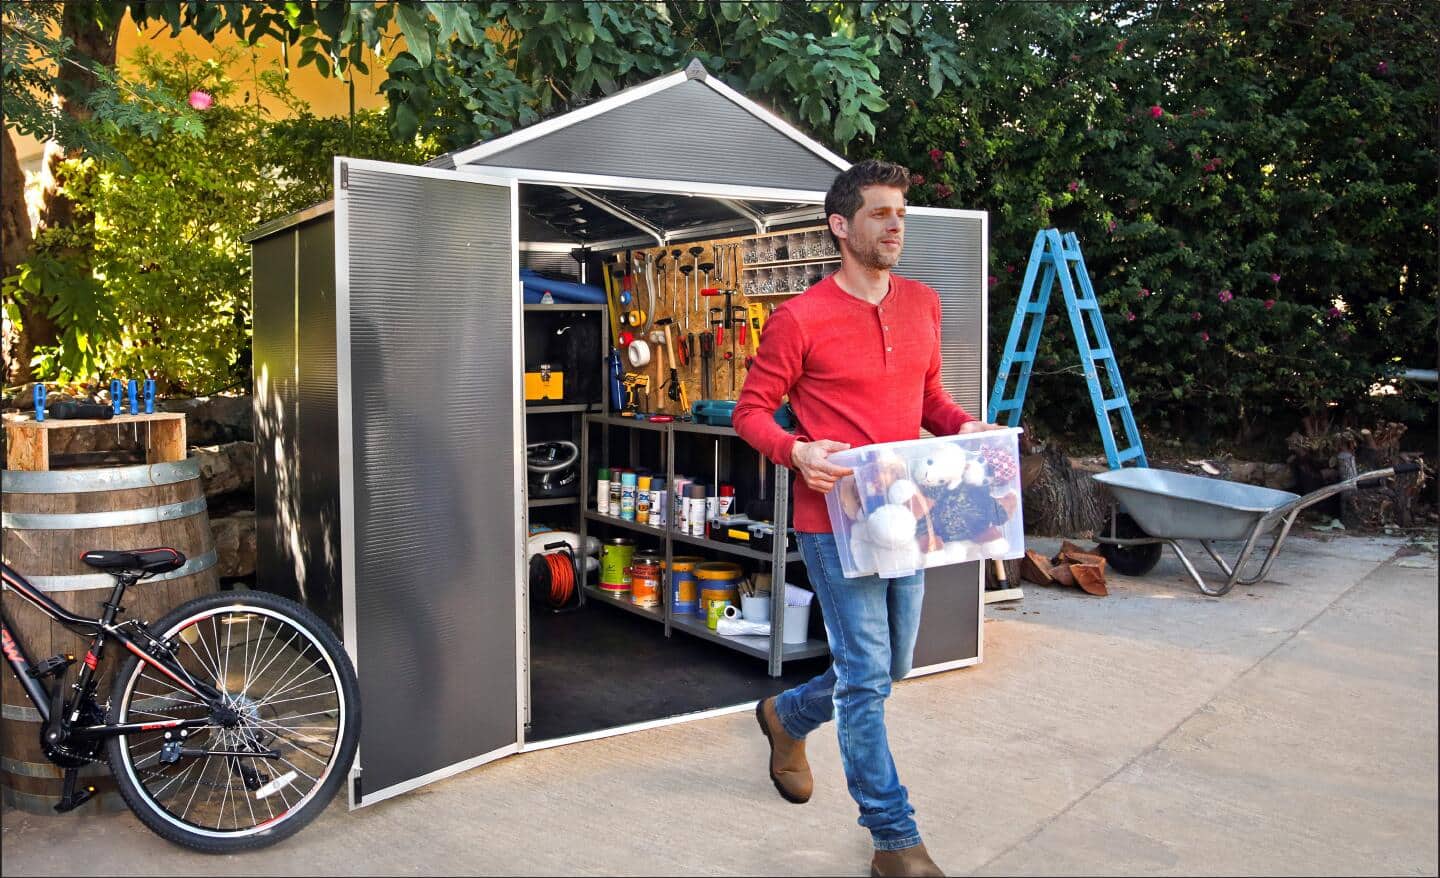
Storing your tool rack indoors is usually the safest option. An enclosed garage or shed shields tools from freezing temperatures and direct snow contact. Plus, indoor spaces tend to have better temperature control, reducing the risk of rust and corrosion.
Outdoor storage can work if you don’t have indoor space, but you’ll need extra protection like waterproof covers. A spot with a roof or partial shelter helps minimize exposure. Ask yourself: is the convenience of outdoor access worth the extra maintenance and risk?
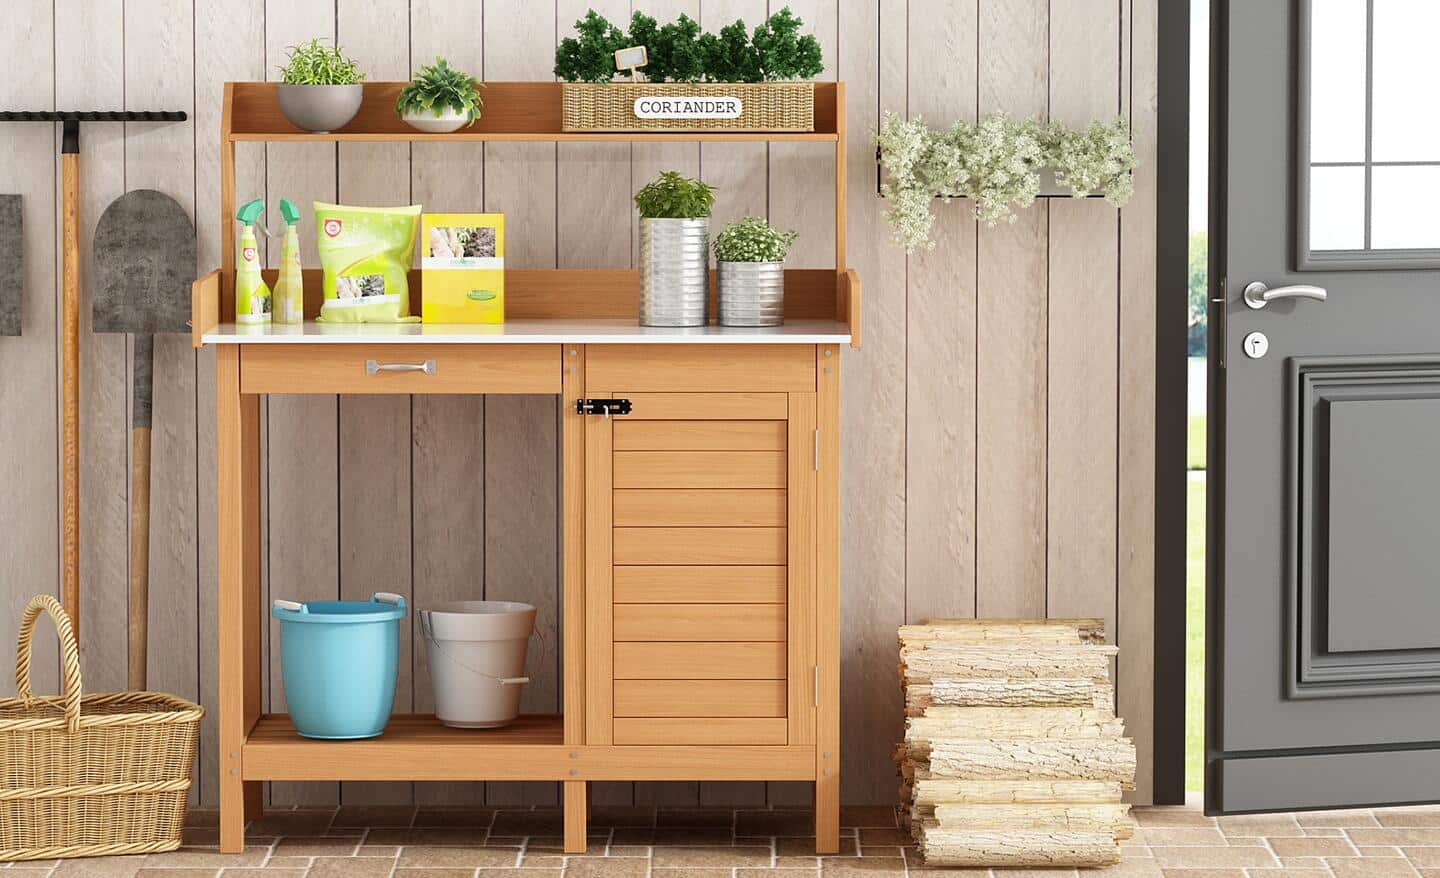
Avoiding Moisture And Snow Exposure
Moisture is the biggest enemy in winter tool storage. Even a small amount of water can cause metal tools to rust quickly. Place your tool rack in an area where snow won’t pile up or melt water won’t drip directly onto your tools.
Look for elevated surfaces or add risers beneath the rack to prevent ground moisture. If snow falls on your rack, clear it off regularly. Don’t wait until it melts and causes rust or wood damage.
Credit: www.homedepot.com
Using Protective Covers
Using protective covers is a smart way to shield your tool rack from harsh winter conditions. They act as a barrier against snow, ice, and moisture that can cause rust and damage. Choosing the right cover and securing it properly can extend the life of your tools and keep your workspace organized.
Selecting Durable Covers
Not all covers are made equal. Look for materials like heavy-duty polyethylene or canvas that resist tearing and water penetration. A cover with UV protection is also a bonus since winter sun can degrade some fabrics over time.
Consider the size and shape of your tool rack. A cover that fits snugly will prevent wind from getting underneath and causing wear. Think about covers with reinforced corners or double-stitched seams—they last longer and handle rough weather better.
I once used a cheap plastic tarp that ripped during a single snowstorm. Since switching to a thick, fitted cover, I’ve noticed zero rust and no need for last-minute repairs. What kind of cover do you think will protect your tools best?
Properly Securing Covers
Even the best cover won’t help if it’s not secured well. Use bungee cords, straps, or ropes to anchor the cover tightly around your tool rack. This keeps it from flapping in the wind and exposing your tools to the elements.
Make sure to check the tension regularly, especially after storms. Loose covers can trap moisture, which defeats their purpose. Adding weighted objects or tie-down points can improve stability further.
One winter, I found that using adjustable straps with clips made it easy to tighten the cover quickly after heavy snowfall. Have you tried different securing methods to find what works best in your setup?
Regular Maintenance During Winter
Regular maintenance during winter is essential to keep your tool rack in top shape. Cold temperatures and moisture can cause damage if left unchecked. Staying proactive helps you avoid costly repairs and extends the life of your tools and rack.
Inspecting For Rust And Corrosion
Rust can sneak up quickly on your tool rack during winter. Take time to closely examine metal surfaces, joints, and corners where moisture tends to collect. Look for any discoloration, flaky spots, or rough texture that signals corrosion.
If you spot rust, don’t ignore it. Use a wire brush or sandpaper to scrub off the affected area before applying a rust inhibitor or protective paint. This simple step prevents the corrosion from spreading and weakening your rack’s structure.
Lubricating Moving Parts
Does your tool rack have drawers, hinges, or sliding mechanisms? Cold weather can cause these parts to stiffen or freeze. Applying lubricant keeps everything moving smoothly and reduces wear.
Choose a lubricant suitable for low temperatures, like silicone spray or lithium grease. Apply it sparingly to hinges and sliders, then move the parts back and forth to work the lubricant in. This helps prevent squeaks and protects against moisture buildup.
Additional Winter-proofing Tips
Cover the tool rack with a waterproof tarp to keep snow and moisture out. Place it in a sheltered spot to avoid wind damage and cold exposure. Regularly check for ice buildup and clear it away to prevent rust and wear.
As winter approaches, ensuring your tool rack remains in pristine condition is crucial. Snow, ice, and moisture can wreak havoc on your tools, leading to rust and damage. Implementing additional winter-proofing tips can save you time and money in the long run. Below are some practical tips to help you get started.Elevating The Rack Off The Ground
Keeping your tool rack elevated can be a game-changer. By lifting it off the cold, damp ground, you prevent moisture from seeping into your tools. Use wooden pallets or metal stands to achieve this elevation. This simple step can extend the life of your tools significantly. Have you considered how much easier it would be to clean around a raised rack? It’s a win-win for both maintenance and longevity.Using Desiccants To Control Humidity
Humidity is a silent enemy during the winter months. Desiccants can effectively absorb excess moisture in the air, protecting your tools from rust. Place silica gel packets or calcium chloride containers strategically around your tool rack. You might be surprised at how much moisture these small packets can absorb. Have you ever thought about the hidden moisture lurking in your garage? Keeping it in check is crucial for tool preservation. Combining these strategies with regular checks ensures your tool rack withstands the harshest winter conditions. What other winter-proofing tips have you found effective?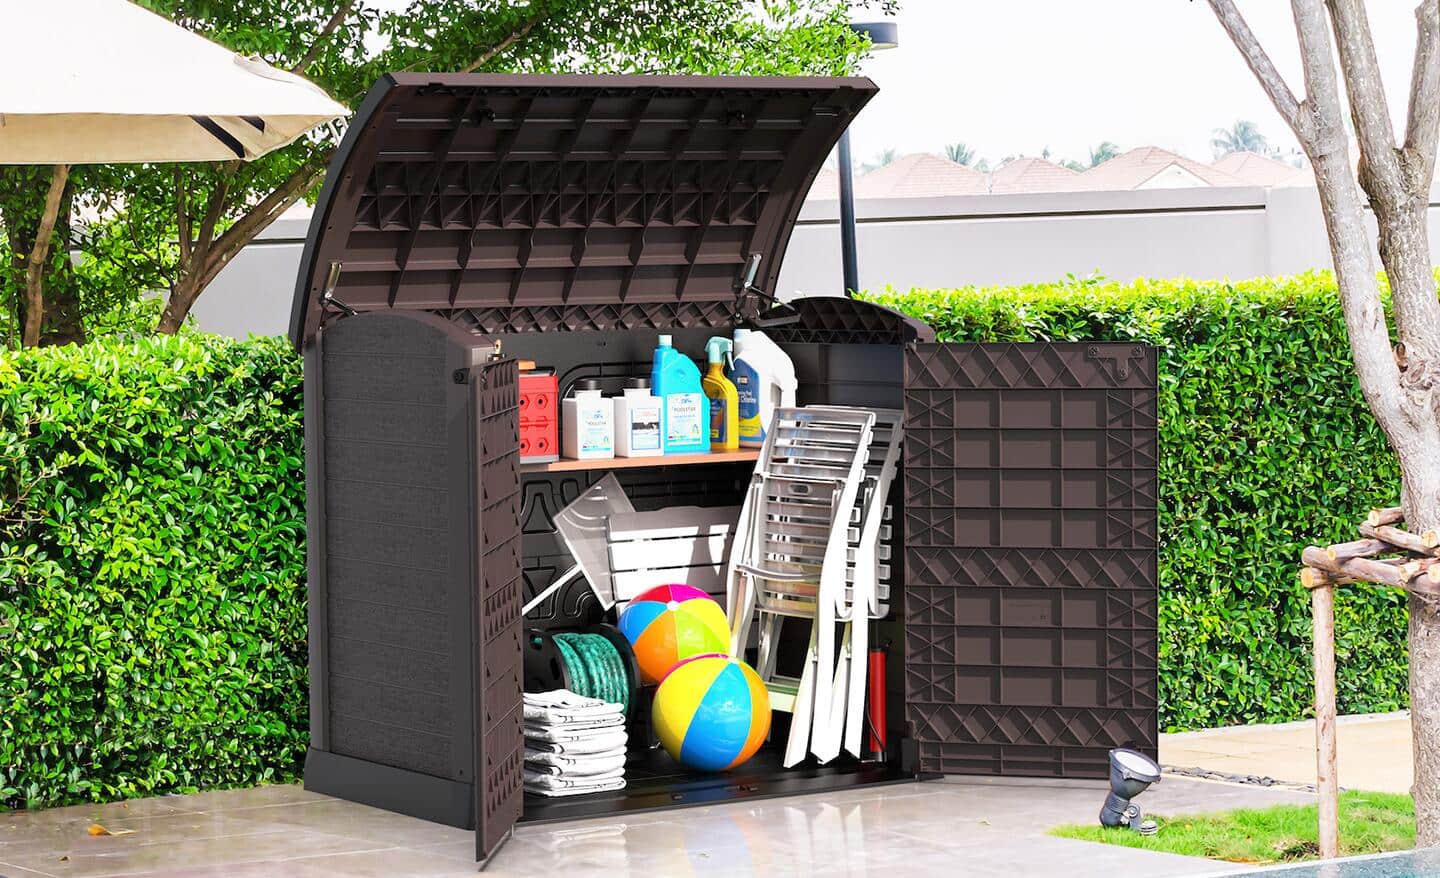
Credit: www.homedepot.com
Frequently Asked Questions
How Can I Prevent Rust On My Tool Rack In Winter?
To prevent rust, apply a rust-resistant spray or oil to metal surfaces. Keep the rack dry and store it in a sheltered area to avoid moisture buildup.
What Materials Protect Tool Racks Best During Cold Seasons?
Materials like plastic covers, tarps, or waterproof fabric shield tool racks from snow and moisture. Using rust-proof metal racks also enhances durability in winter.
Should I Move My Tool Rack Indoors For Winter?
Yes, moving your tool rack indoors protects it from harsh weather. Indoor storage reduces exposure to moisture, freezing temperatures, and rust risks.
How Often Should I Check My Tool Rack In Winter?
Check your tool rack every two weeks during winter. Regular inspections help spot rust, moisture buildup, or damage early, allowing timely maintenance.
Conclusion
Protecting your tool rack during winter saves time and money. Cold weather and moisture can damage tools fast. Cover racks with waterproof tarps or plastic sheets. Store small tools inside to keep them dry. Regularly check for rust or wear on racks.
Clean tools before storing to stop dirt buildup. Taking these simple steps keeps your tools ready for use. Winter care helps your tools last longer and work better. Stay prepared, and your tools will serve you well all year.
