
When winter arrives, your shed can become more than just a storage space—it can protect your tools, equipment, and supplies from harsh cold and moisture. But how do you make sure your shed stays warm and dry all season long?
You’re about to discover simple, effective ways to insulate your shed for winter storage. By following these easy steps, you’ll save money, prevent damage, and keep everything inside in top shape. Ready to learn how to turn your shed into a cozy, winter-ready space?
Let’s dive in.
Choosing The Right Insulation Material
Fiberglass insulationis common for sheds. It is easy to install and affordable. It works well in walls and ceilings but needs a vapor barrier to stop moisture. Fiberglass batts fit between studs and joists.
Foam board insulationprovides strong thermal resistance. It is rigid and durable, perfect for shed walls and floors. Foam boards resist moisture better than fiberglass. They are lightweight and cut easily.
Reflective foil insulationhelps by reflecting heat away. It works best in warm climates or on the shed roof. This type reduces radiant heat transfer and can be combined with other insulation types.
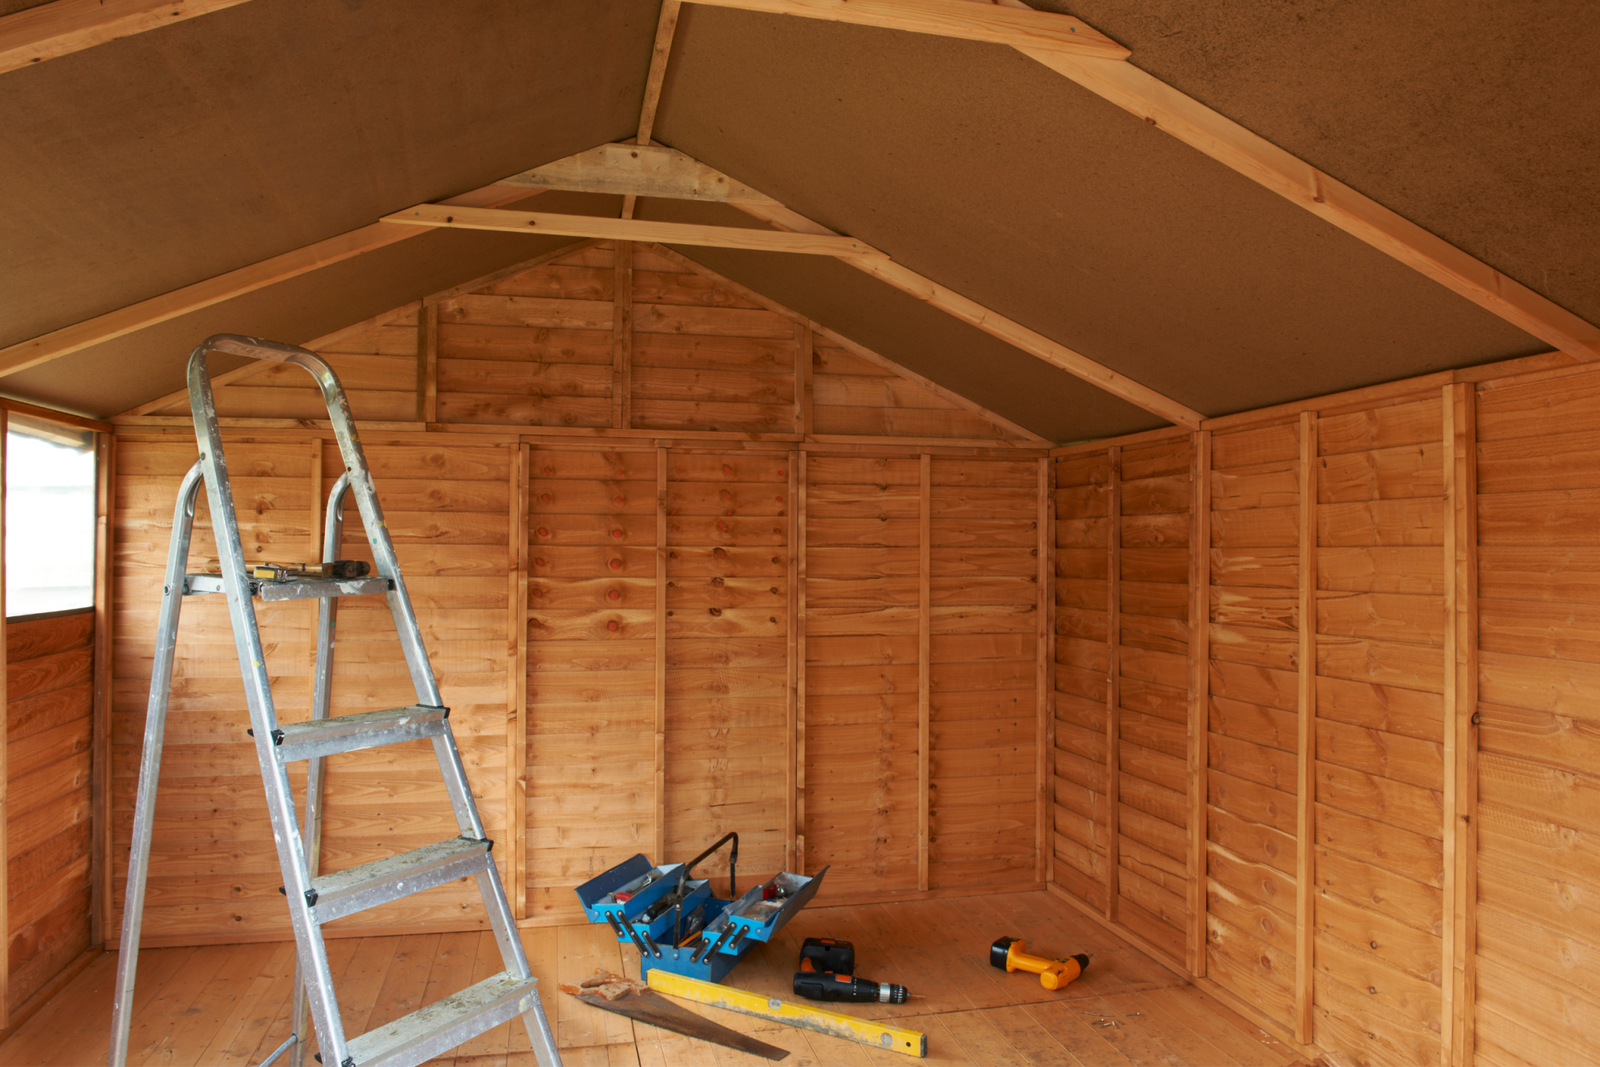
Credit: insulation4less.co.uk
Preparing The Shed Interior
Start by clearing all items from the shed. Sweep the floor and remove dust. Clean corners and shelves to prepare for insulation.
Check walls, roof, and floor for cracks or holes. Fix any damage to keep cold air out. Small gaps can let in moisture and pests.
Measure the length, width, and height of the shed. Write down these numbers to buy the right amount of insulation material. Measure doors and windows too.
Installing Wall Insulation
Measure the wall space carefully before cutting insulation. Use a sharp knife or scissors to trim the insulation so it fits snugly between the studs. Cutting it slightly bigger than the space helps create a tight fit, which reduces heat loss.
To keep insulation in place, use staples or nails with washers. Press the insulation firmly against the wall to avoid gaps. Avoid compressing the insulation too much, as it lowers its effectiveness.
Seal all gaps and cracks around the insulation with foam or caulk. This prevents cold air from entering and warm air from escaping. Pay close attention to corners and edges for best results.
Insulating The Roof
Choosing the right roof insulationhelps keep your shed warm and dry. Common options include fiberglass batts, foam board, and spray foam. Fiberglass is easy to install and cost-effective. Foam board offers good insulation with less space used. Spray foam seals gaps well but costs more.
Applying insulation layersshould cover the entire roof area. Start by measuring the roof space. Cut insulation to fit snugly between roof beams. Avoid gaps for better heat retention. Add a vapor barrier to stop moisture from building up. Secure insulation with staples or adhesive.
Ensuring proper ventilationprevents moisture and mold inside the shed. Install vents at the roof’s top and bottom. These vents allow fresh air to flow in and out. Good ventilation keeps insulation dry and effective. Without it, moisture can ruin your insulation and wood.
Floor Insulation Techniques
Concrete floors feel very cold in winter. Adding insulation over concrete can keep the shed warm and dry.
- Use rigid foam insulation boards.They are easy to cut and place.
- Seal gaps with tape or spray foam to stop cold air.
- Cover insulation with plywood or another floor layer for protection.
Raised flooring lifts the floor above cold ground. It creates a space to trap warm air.
- Build a wooden frame with joists.
- Put insulation batts or foam boards between joists.
- Place plywood or planks on top for a solid floor.
Rugs and mats add extra warmth. They are easy and quick to use.
- Use thick rugs to cover bare floors.
- Place mats near doors to stop cold drafts.
- Move rugs as needed for comfort and protection.
Weatherproofing Doors And Windows
Applying weather strippinghelps block cold air from entering through gaps around doors and windows. Choose foam, rubber, or vinyl strips for easy installation. Clean surfaces well before applying. Press firmly to ensure a tight seal.
Installing storm windowsadds an extra layer of glass or plastic outside existing windows. This traps warm air inside and keeps cold air out. Storm windows also reduce drafts and prevent moisture buildup.
Sealing door framesstops cold air from sneaking in around edges. Use caulk or expanding foam to fill cracks and gaps. Check for loose weather stripping and replace if worn out. A well-sealed door helps keep your shed warm and dry during winter.
Managing Moisture Control
Vapor barriersstop moisture from entering shed walls. Install them on warm side of insulation. This keeps wood and insulation dry. Use plastic sheets or foil barriers. Seal all edges and seams tightly. This prevents water vapor from moving inside.
Dehumidifiershelp remove moisture from air. Place a small dehumidifier inside the shed. It keeps air dry and prevents mold. Choose a unit that fits your shed size. Check the water tank and empty it often.
- Check shed for moisture every week.
- Look for damp spots or mold signs.
- Use a moisture meter for accuracy.
- Fix leaks or cracks right away.
Energy Efficiency Tips
Natural lighthelps keep the shed warm during the day. Position windows to face the sun. Use clear or translucent materials to let light in but block cold air. Keep windows clean to maximize sunlight.
Energy-efficient lightingsaves power and reduces heat loss. Choose LED bulbs for longer life and less heat production. Use solar-powered lights if possible to cut electricity costs. Turn off lights when not in use.
Smart heating solutionskeep the shed cozy without wasting energy. Use small, electric heaters with thermostats. Set timers to run only when needed. Consider heat mats or insulated flooring to keep the cold out.
Maintenance And Inspection
Check insulation often to keep your shed warm in winter. Look for holes, tears, or damp spotsthat can reduce warmth. Small problems can grow if not fixed fast.
Fix new damage quickly. Patch holes with insulation tape or foam. Replace wet or broken insulation to stop cold air.
- Clear debris from vents and windows to avoid moisture.
- Seal gaps around doors and windows with weatherstripping.
- Clean gutters to prevent water leaks near the shed.
- Check roof and walls for cracks or loose panels.
- Store items off the floor to keep insulation dry.

Credit: insulation4less.co.uk
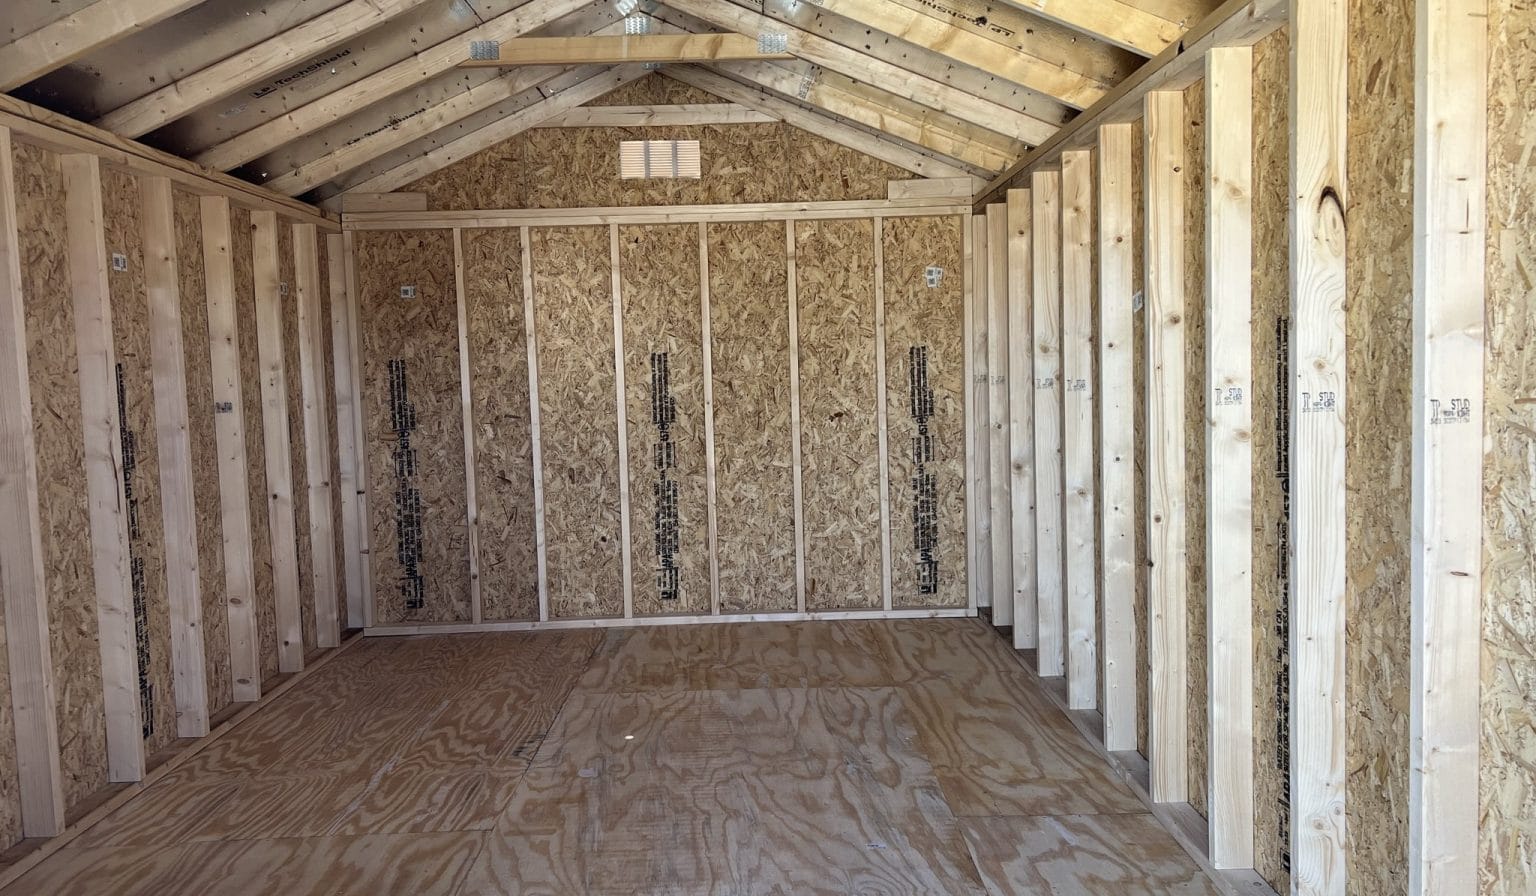
Credit: www.durastorstructures.com
Frequently Asked Questions
How Do I Choose The Best Insulation For A Shed?
Choose insulation based on climate, budget, and shed use. Fiberglass batts are common, while foam boards offer high R-value. Reflective insulation works well for radiant heat. Proper vapor barriers prevent moisture buildup. Consider ease of installation and durability for winter storage needs.
Can I Insulate A Shed Myself For Winter?
Yes, DIY insulation is possible with basic tools and materials. Measure walls and ceiling, install vapor barriers, and fit insulation snugly. Seal gaps with caulk or spray foam. Follow safety guidelines, especially when handling fiberglass. DIY saves cost and ensures customized insulation for your shed.
How Does Insulation Protect Items Stored In A Shed?
Insulation stabilizes temperature, reducing freezing and moisture damage risks. It prevents condensation that leads to mold and rust. Insulated sheds keep stored tools and equipment in better condition. This protection extends the life of your belongings during harsh winter months.
What Materials Prevent Moisture Buildup In Insulated Sheds?
Vapor barriers like polyethylene sheets stop moisture from entering walls. Spray foam insulation seals gaps and acts as a moisture barrier. Proper ventilation also reduces humidity. Use moisture-resistant insulation types to keep your shed dry and prevent mold or rot during winter.
Conclusion
Properly insulating your shed keeps it warm and dry all winter. It protects your tools and supplies from cold and moisture damage. Simple steps like sealing gaps and adding insulation materials make a big difference. You save money by avoiding repairs and replacing damaged items.
A well-insulated shed also stays comfortable when you work inside. Take action early to prepare your shed before winter arrives. Your efforts pay off with a safe, useful storage space throughout the cold months. Easy to do, and worth every bit of effort.

