
Ready to transform your outdoor space into a cozy, inviting haven? Hanging outdoor string lights is one of the easiest and most effective ways to add warmth and charm to your backyard, patio, or garden.
But if you’re unsure where to start or worried about making mistakes, you’re not alone. In this guide, you’ll discover simple, step-by-step tips to hang your string lights safely and beautifully. By the end, you’ll have the confidence to create a magical atmosphere that makes every evening outside feel special.
Let’s get your space glowing!

Credit: www.youtube.com
Choosing The Right Lights
Choosing the right outdoor string lights sets the foundation for a beautiful and safe setup. The correct lights brighten your space while withstanding outdoor conditions. Consider the style, durability, and energy use before purchasing. This ensures your outdoor area looks inviting and lasts through seasons.
Types Of Outdoor String Lights
Outdoor string lights come in various styles. Globe lights offer a classic, soft glow. Edison bulbs add a vintage touch with warm light. Fairy lights create a delicate, twinkling effect. LED strip lights provide modern, bright illumination. Choose lights that match your outdoor theme and purpose.
Weather Resistance And Durability
Lights must resist rain, wind, and sun exposure. Look for waterproof ratings like IP65 or higher. Durable materials prevent damage from outdoor elements. Check if the wires are coated to avoid rust and wear. Strong construction keeps lights working longer in tough weather.
Energy Efficiency Options
Energy-efficient lights save money and reduce environmental impact. LED lights use less power and last longer than traditional bulbs. Solar-powered string lights charge during the day and light up at night. Battery-operated lights offer flexibility without cords. Choose energy options that fit your usage and budget.

Credit: us.govee.com
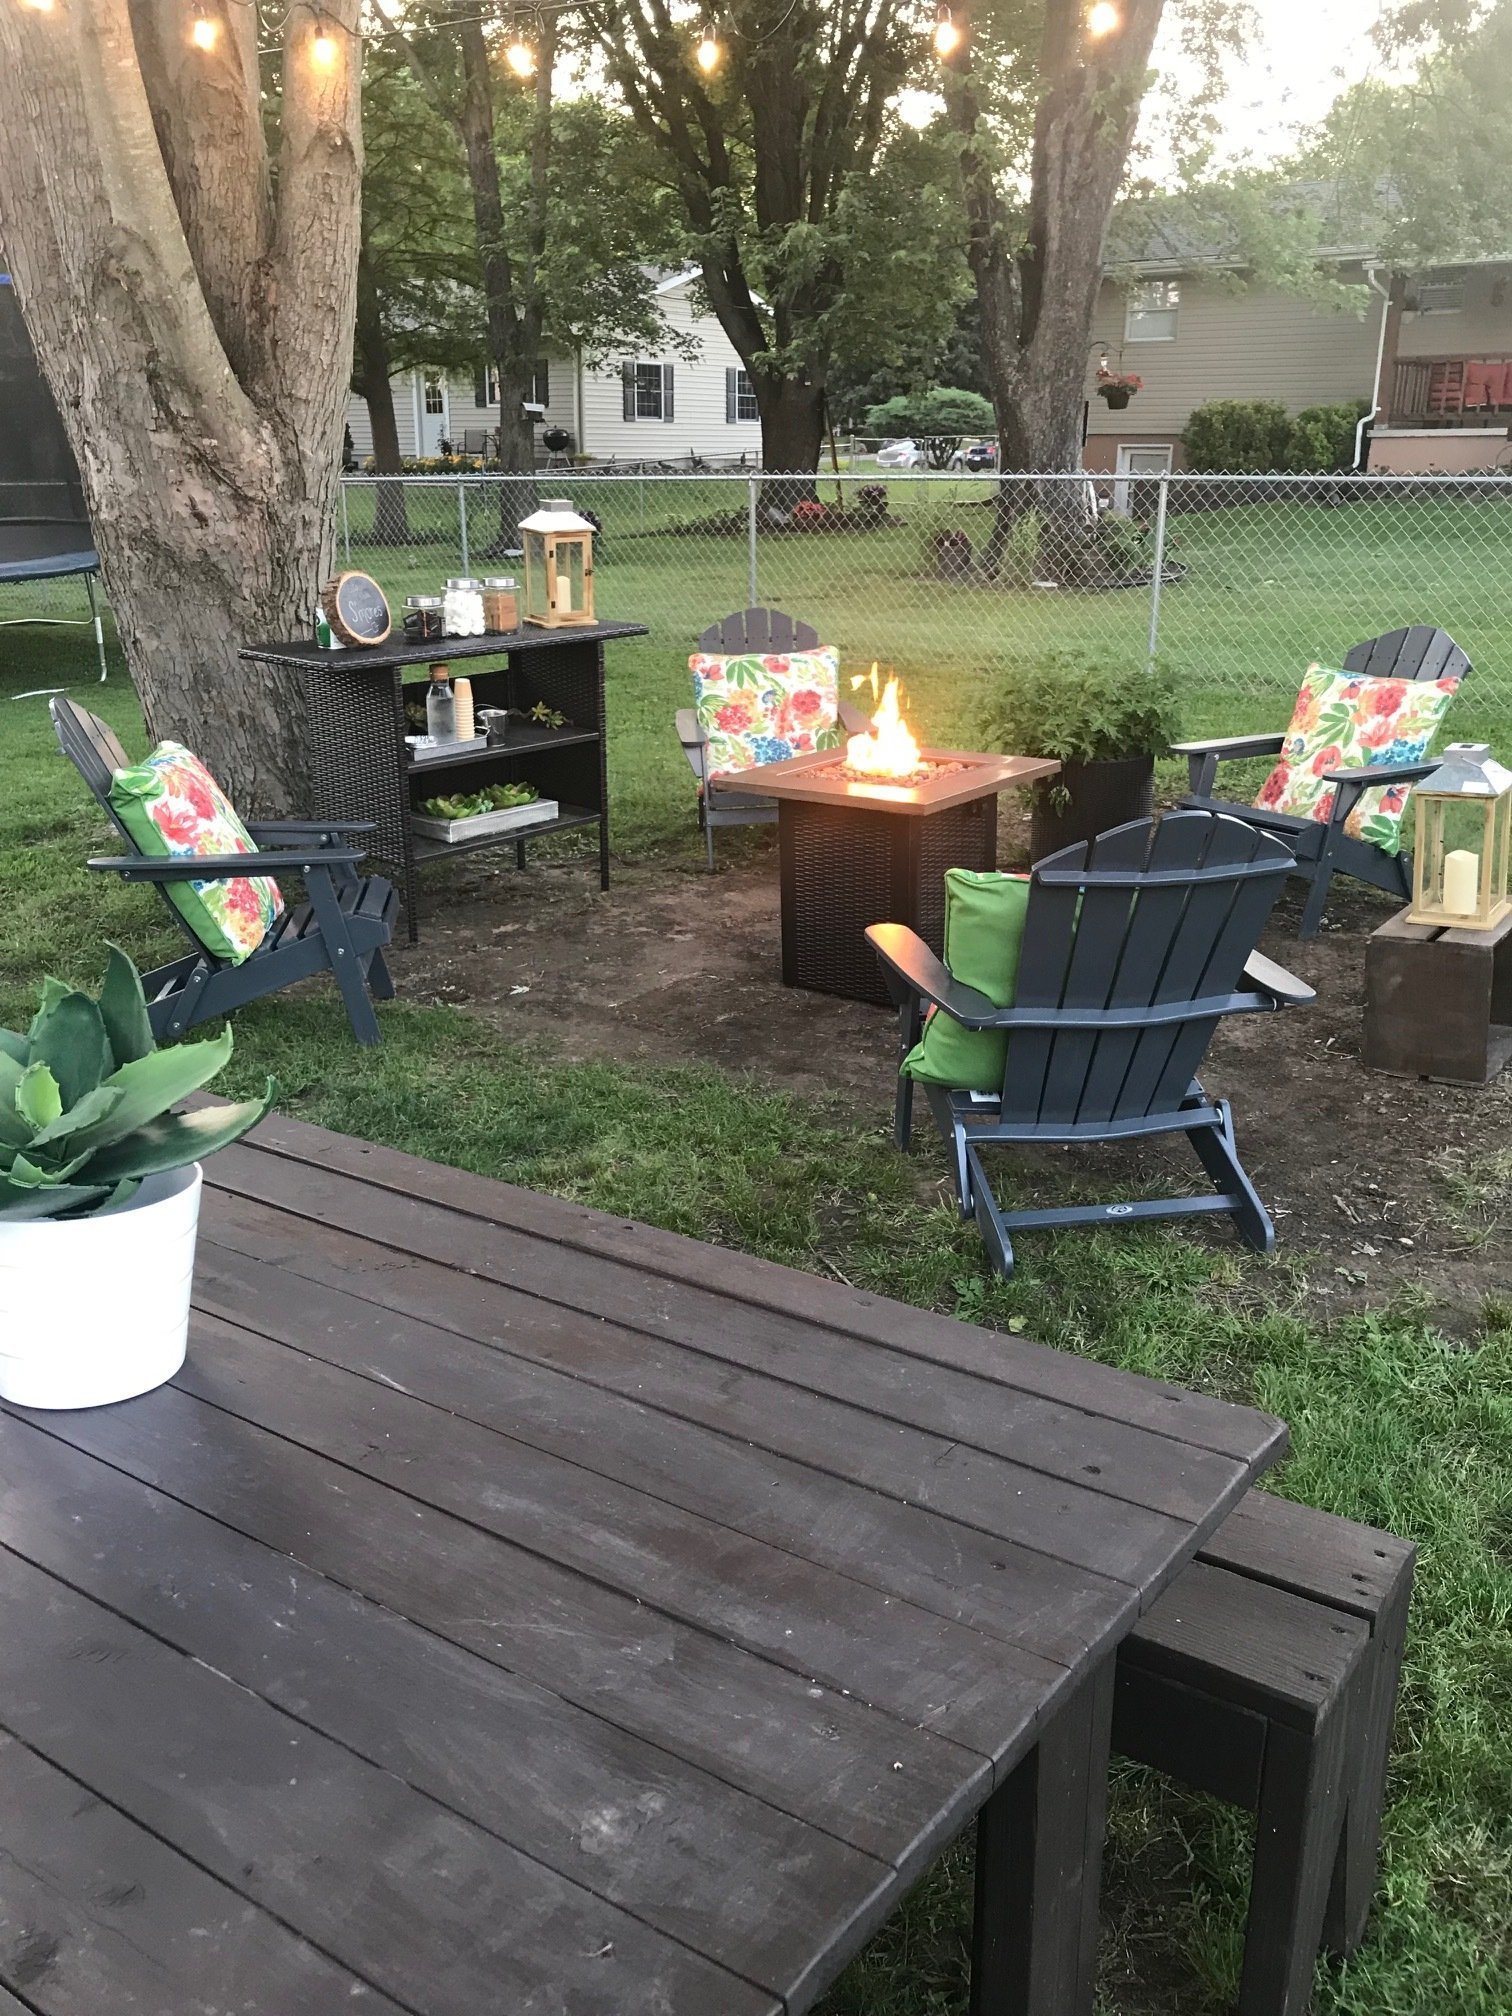
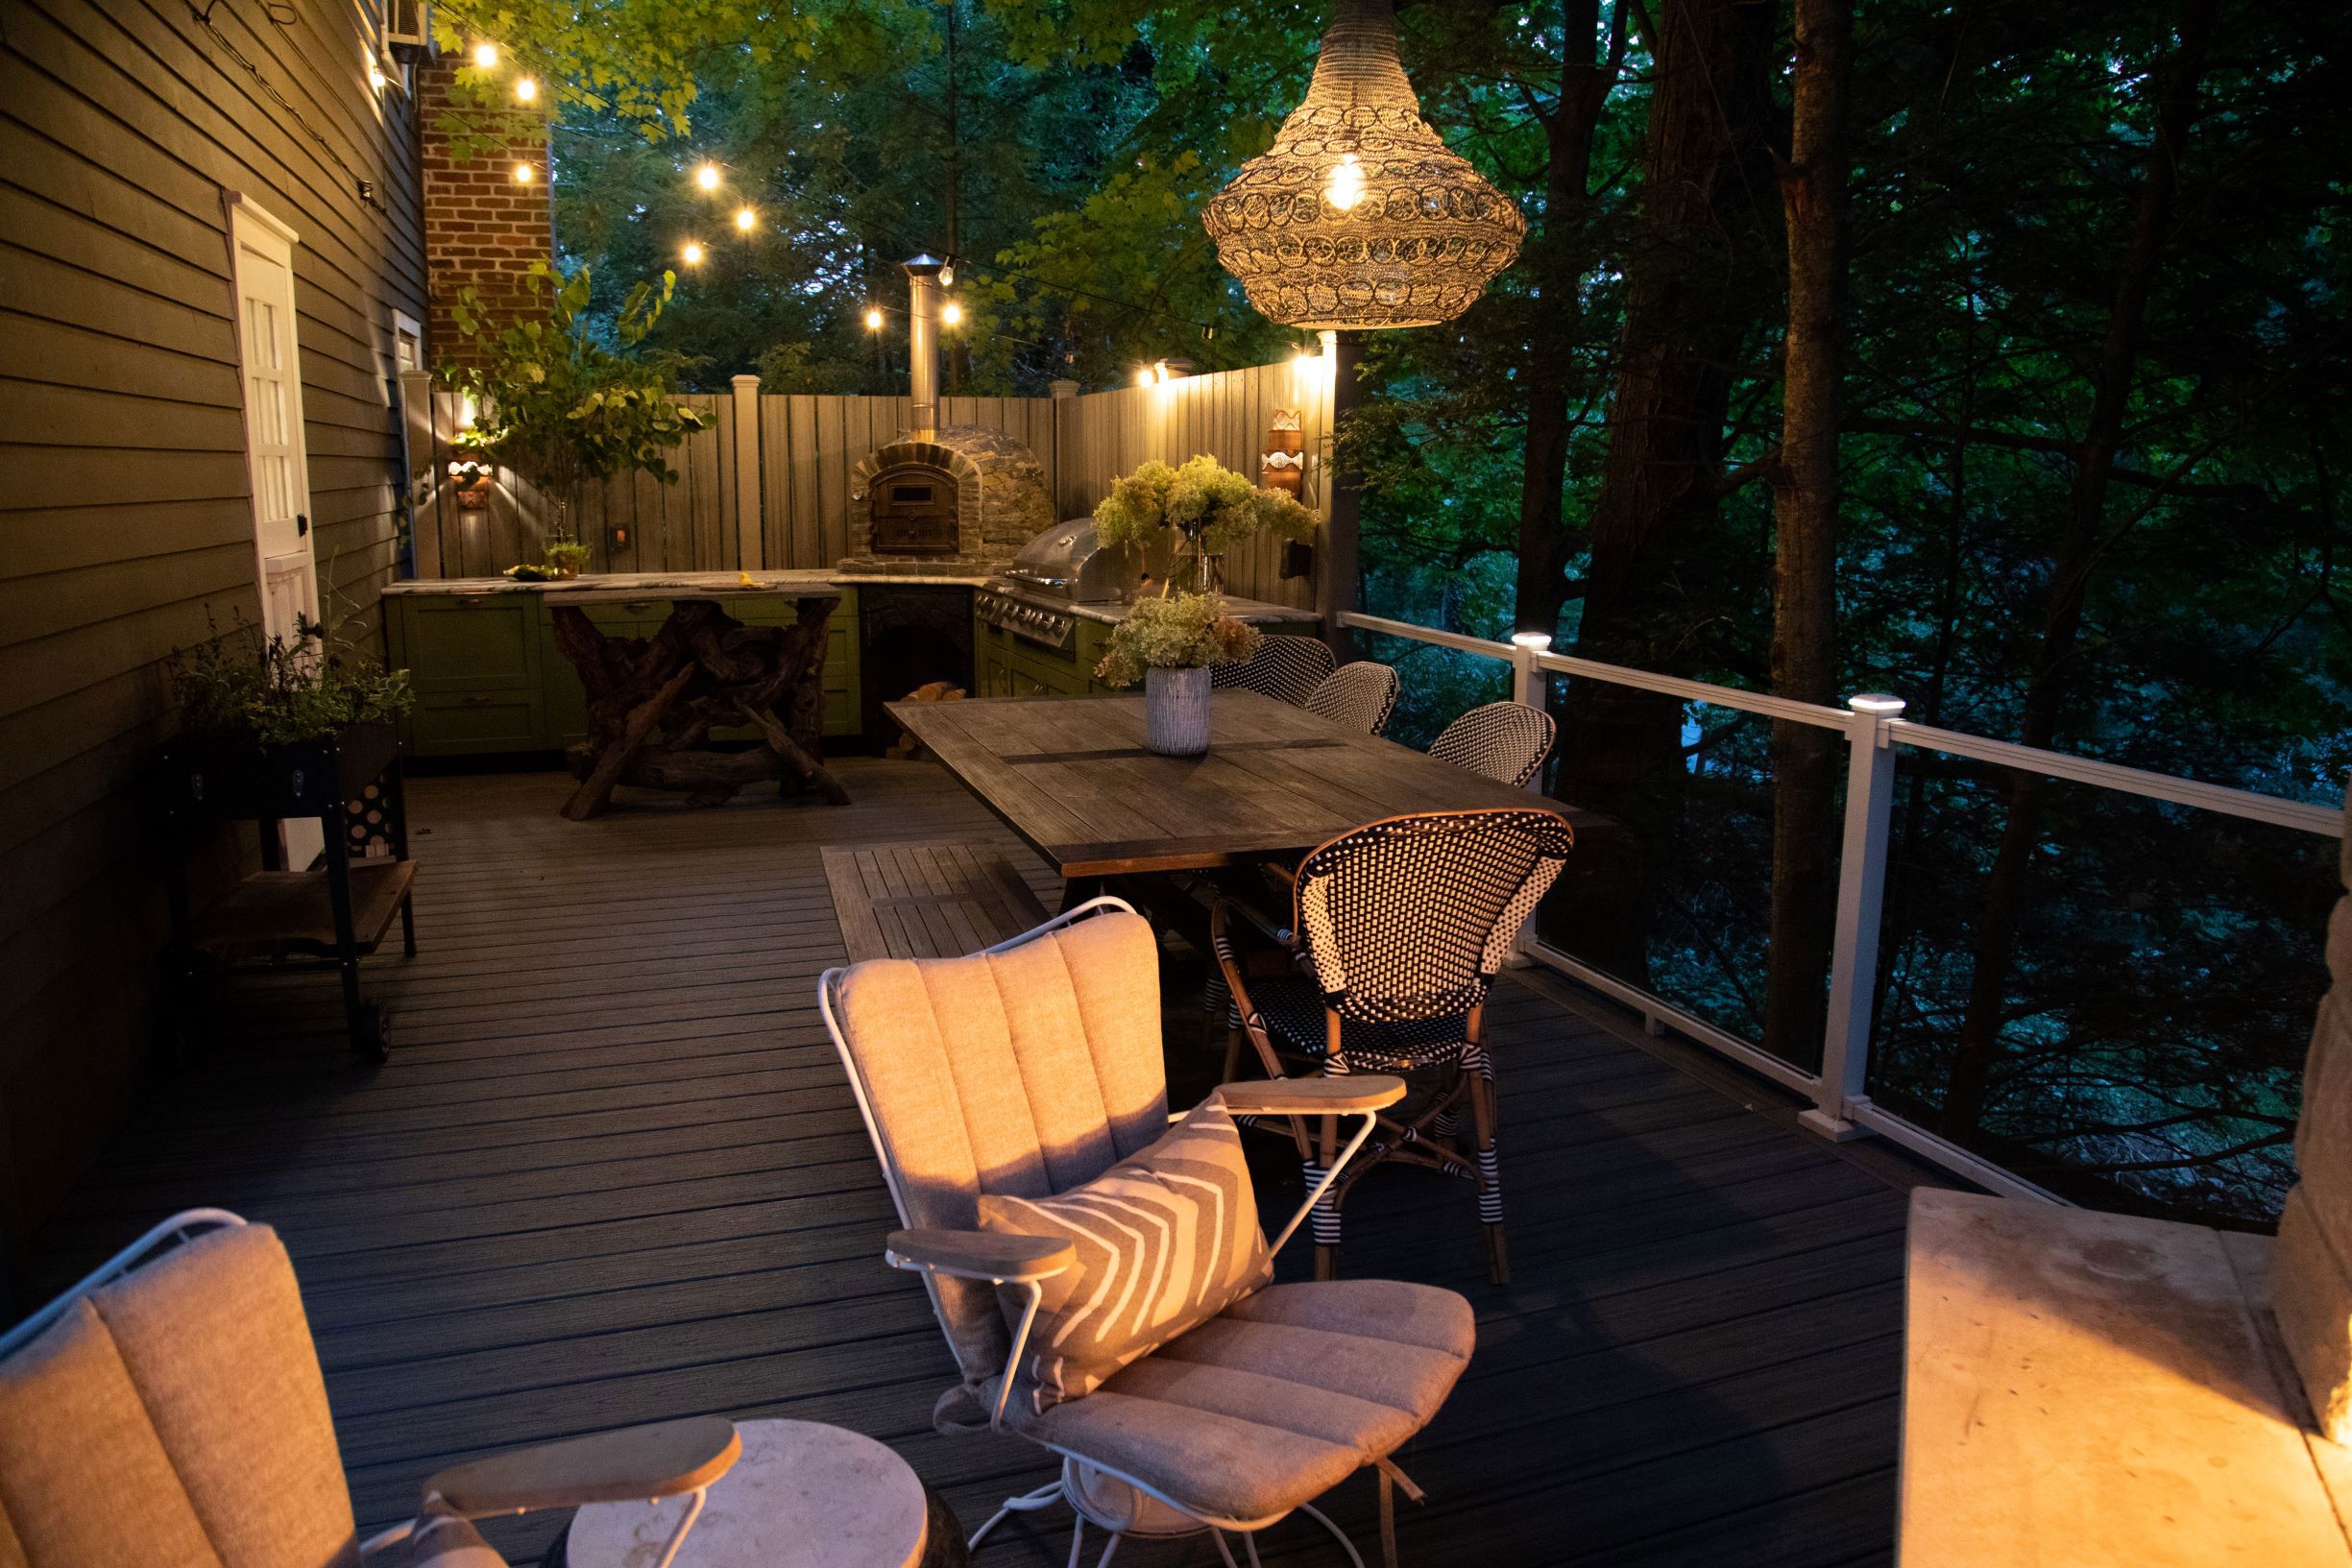
Planning Your Layout
Planning your layout is key to hanging outdoor string lights with style and function. Thoughtful preparation saves time and avoids problems later. Knowing your space and how the lights will hang creates a beautiful, balanced look.
Measuring Your Space
Start by measuring the area where you want to hang the lights. Use a tape measure to get the length and width of the space. Write down the numbers to plan how many strings you will need. Add a little extra length for slack or curves in the lines.
Selecting Attachment Points
Look for strong, stable points to hang your lights. Good options include walls, poles, trees, or pergolas. Check that each point can hold the weight of the lights. Choose spots that create an even spread and avoid sagging strings.
Safety Considerations
Safety is important when hanging outdoor lights. Avoid placing wires near water or where they can trip people. Use weatherproof lights and secure all connections. Make sure cords do not touch hot surfaces or sharp edges.
Gathering Tools And Materials
Gathering the right tools and materials is the first step to hang outdoor string lights safely and effectively. Having everything ready makes the process smoother and faster. It helps avoid interruptions and ensures a strong setup. Prepare carefully for the best results and a beautiful outdoor space.
Essential Tools Checklist
- Outdoor string lights with weatherproof rating
- Extension cord suitable for outdoor use
- Ladder stable enough to reach hanging points
- Measuring tape to check distances
- Drill or screwdriver for mounting hardware
- Hooks, nails, or clips to hold lights
- Electrical tape to secure connections
- Wire cutters to trim excess cable
- Gloves to protect your hands
Optional Accessories
- Outdoor timers for automatic light control
- Weatherproof extension sockets
- Zip ties for extra cable management
- Protective covers for plugs and sockets
- Decorative poles or poles with hooks
- Light dimmers for ambiance control
Preparing Your Workspace
Clear the area where you will work. Remove obstacles like furniture or plants. Keep your tools close and organized. Check weather conditions to avoid rain or strong wind. Make sure the ladder is on stable ground. Have a helper nearby for safety and support. Good preparation helps the installation go smoothly.
Credit: www.decks.com
Installing Hooks And Supports
Installing hooks and supports is a crucial part of hanging outdoor string lights. The right hooks keep your lights secure and looking neat, while the wrong ones can lead to sagging or damage. Choosing the correct type and placing them properly ensures your lights stay bright and safe throughout the season.
Choosing Hook Types
Not all hooks are created equal. Depending on your surface—wood, brick, or metal—you’ll need different hooks to hold your lights firmly.
- Screw-in hooks:Ideal for wooden surfaces, these provide strong support and are easy to install.
- Adhesive hooks:Great for smooth surfaces or temporary setups, but check weight limits to avoid surprises.
- Magnetic hooks:Perfect for metal surfaces and quick adjustments without leaving marks.
Think about the weight of your string lights and the weather conditions. Would a heavy-duty hook hold up against wind or rain? Choosing wisely saves you from frequent re-hanging.
Proper Placement Techniques
Hook placement directly affects how your lights hang and how they look. Space hooks evenly to prevent sagging and create a clean, uniform appearance.
- Place hooks about every 3 to 4 feet depending on the weight of the lights.
- Position hooks at the same height or at a slight angle to direct light where you want it.
- Consider natural anchor points like trees, fences, or building edges to reduce the number of hooks needed.
Have you ever noticed string lights drooping in the middle? That’s a sign hooks are too far apart or placed unevenly. Getting this right upfront makes a big difference.
Securing Hooks Safely
Safety matters when installing hooks outdoors. Use the right tools and anchors to avoid damage to your property or your lights falling down unexpectedly.
- Pre-drill holes for screw-in hooks to prevent wood splitting.
- Use wall anchors for masonry surfaces to keep hooks firmly in place.
- Check that adhesive hooks are rated for outdoor use and clean the surface before applying.
Always test the strength of each hook after installation by gently pulling on it. Would you want your lights to fall mid-party? Taking these simple safety steps helps avoid that scenario.
Hanging The String Lights
Hanging string lights outdoors creates a warm and inviting atmosphere. Proper installation ensures the lights stay secure and look great. Focus on connecting strands, attaching hooks, and adjusting tension for the best setup.
Connecting Light Strands
Most outdoor string lights come in multiple strands. Connect the strands by plugging the male end into the female end. Make sure the connection is tight to prevent any power loss. Test the lights before hanging to confirm all bulbs work.
Attaching Lights To Hooks
Use outdoor-rated hooks or clips to hang the lights. Attach hooks to sturdy surfaces like walls, fences, or trees. Space hooks evenly to support the light strands without sagging. Secure the lights by gently clipping the wire or wrapping around the hook.
Adjusting Tension And Position
Check the tension on the light strands to avoid drooping or snapping. Pull the lights slightly tight but allow some slack for movement. Adjust the position to create an even, attractive look. Ensure no bulbs touch sharp edges or rough surfaces.
Testing And Troubleshooting
Testing and troubleshooting your outdoor string lights is essential to ensure a perfect ambiance without any frustrating interruptions. Before you get cozy under your beautifully lit patio, take a moment to verify everything is working as it should. Sometimes, a simple check can save you hours of hassle and keep your outdoor space shining bright.
Checking Electrical Connections
Begin by inspecting all electrical connections carefully. Make sure plugs are fully inserted into sockets and that extension cords are rated for outdoor use. Loose or exposed wires can cause the lights to flicker or stop working entirely.
Don’t forget to test the power source. Try plugging your lights into a different outlet to rule out any socket issues. If you’re using multiple strands, check that each connection between strands is secure and correctly aligned.
Identifying Common Issues
Have you ever noticed some bulbs stay dark while others glow? This often points to a burnt-out bulb or a broken socket. Look closely for damaged wires or bulbs that are loose or missing.
Water damage is another frequent problem with outdoor string lights. Moisture can cause short circuits or corrosion, especially around connection points. Keep an eye out for discoloration or rust, which signals it’s time for repairs or replacements.
Quick Fixes For Problems
Try swapping out any burnt-out bulbs with extras from the package or compatible replacements. Tighten any loose bulbs by gently twisting them into place.
If a section of lights isn’t working, unplug the string and check for damaged wires or connectors. Sometimes, covering exposed wires with electrical tape can restore functionality temporarily until you get a replacement.
Consider using a surge protector to prevent power spikes from damaging your lights. Have you checked whether the timer or remote control batteries need replacing? Small adjustments like these can bring your lights back to life quickly.
Maintaining Outdoor Lights
Keeping your outdoor string lights in great shape ensures they shine brightly and safely throughout every season. Proper maintenance not only saves you money but also keeps your outdoor space inviting and warm. Let’s look at practical ways to care for these lights so they last longer and work better.
Cleaning Tips
Dirt and dust can dim your lights and cause them to overheat. Use a soft cloth dampened with mild soapy water to gently wipe each bulb and the wiring. Avoid harsh chemicals that can damage the plastic or glass.
Check the sockets for debris or bugs before you clean. Dry everything thoroughly to prevent electrical issues. Have you noticed some bulbs flicker more? Cleaning might fix that simple problem instantly.
Seasonal Storage Advice
When the season ends, don’t just toss your string lights in a box. Coil the strands carefully to avoid tangling or damaging the wires. Use a sturdy container with padding to protect bulbs from breaking.
Store lights in a cool, dry place away from direct sunlight or extreme temperatures. Moisture can cause rust or corrosion on metal parts. Where do you keep your lights? Finding a dedicated spot can prevent last-minute repairs next season.
Extending Light Lifespan
Choose LED bulbs whenever possible—they last longer and use less energy. Inspect your lights regularly for frayed wires or loose connections and fix them promptly. Even small repairs can prevent bigger problems down the road.
Turn off your lights when not needed to reduce wear. Using a timer can automate this, saving you effort and electricity. Have you tried timers? They often extend your lights’ life without you even noticing.
Frequently Asked Questions
How Do I Safely Hang Outdoor String Lights?
Use weatherproof lights and secure hooks or clips. Avoid overloading outlets and keep connections dry to prevent hazards.
What Materials Are Best For Hanging String Lights Outside?
Use heavy-duty zip ties, outdoor-rated hooks, or screw-in eyelets. These materials hold lights firmly and resist weather damage.
How High Should Outdoor String Lights Be Hung?
Hang lights about 7 to 9 feet high for optimal brightness and safety. Adjust height for seating or walking areas.
Can I Use Indoor String Lights Outdoors?
No, indoor lights lack weatherproofing. Always use lights rated for outdoor use to prevent electrical issues and damage.
Conclusion
Hanging outdoor string lights can brighten any space quickly. Choose safe spots and sturdy hooks for best results. Test the lights before hanging to avoid surprises. Keep cords away from water and sharp edges. Enjoy the warm, cozy glow after setup.
A few simple steps can change your outdoor feel. Try different patterns to find what suits you. Outdoor lights add charm to evenings with friends. Start your project today and see the difference.
