
You’ve just finished a delicious cookout, and now it’s time to clean your portable grill. One of the trickiest parts to tackle is the drip pan.
Grease, burnt food, and residue can build up fast, making it tough to clean and even harder to keep your grill working well. But don’t worry—cleaning your grill’s drip pan doesn’t have to be a chore. In this guide, you’ll discover simple, effective steps to get your drip pan spotless and ready for your next cookout.
Keep reading to learn how to save time, avoid damage, and keep your grill in top shape every time.
Preparing To Clean
Preparing to clean your portable grill drip pan sets the stage for a smooth process. Taking time before cleaning helps avoid messes and protects your grill. Proper preparation makes the job easier and faster. Follow these simple steps to get ready.
Gathering Cleaning Supplies
Collect all tools and products before starting. Having everything close saves time and effort. Essential supplies include:
- Dish soap or grill cleaner
- Warm water
- Scrubbing brush or sponge
- Paper towels or clean cloths
- Rubber gloves to protect hands
- A plastic scraper for stuck debris
Choose supplies that suit your grill’s material. Avoid harsh chemicals that can damage the drip pan.
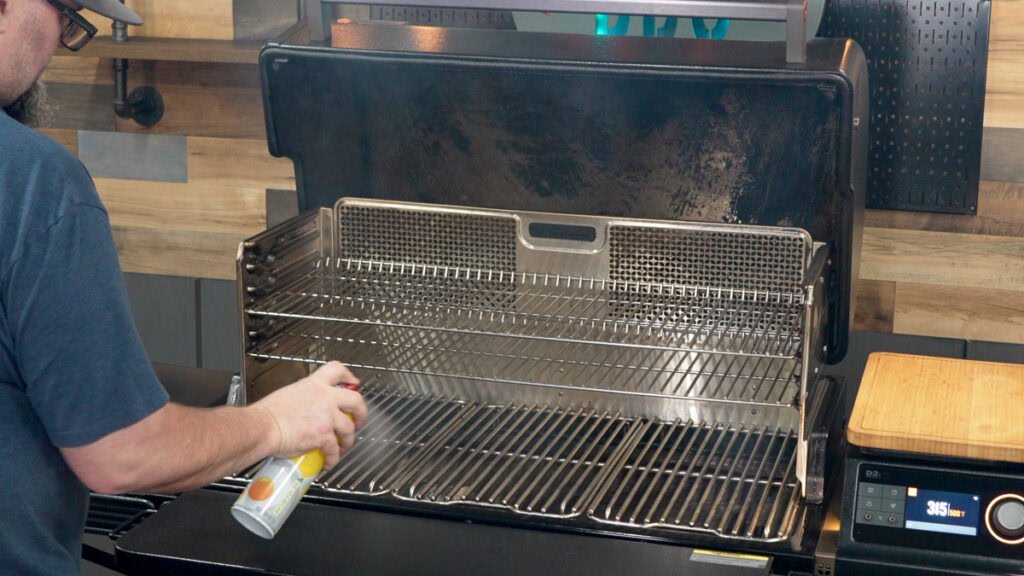
Ensuring Grill Safety
Safety comes first before cleaning. Make sure the grill is completely cool to prevent burns. Turn off all gas or electric connections. Unplug the grill if possible. Remove the drip pan carefully to avoid spills. Wear gloves to protect your hands from grease and sharp edges. Work in a well-ventilated area if using cleaning products with fumes.
Credit: themeatstick.com
Removing The Drip Pan
Removing the drip pan from your portable grill might seem simple, but doing it carefully can save you from burns and messes. Knowing exactly where the drip pan sits and how to handle it safely makes the cleaning process much smoother. Let’s break down how to find and remove this crucial component without hassle.
Locating The Drip Pan
The drip pan usually sits beneath the main grilling surface, catching grease and food drippings. Depending on your grill model, it may slide out from the back, side, or underneath. If you’re unsure, check the grill’s manual or look for a tray-like part that collects residue during cooking.
Sometimes, it’s tucked under a removable grate or shield. Take a moment to observe your grill’s structure—this will help you avoid accidentally pulling out other parts or spilling hot grease. Have you ever tried pulling out the wrong piece and ended up with a greasy mess? Identifying the drip pan first saves you from that trouble.
Handling Hot Components
Never touch the drip pan right after cooking; it can hold hot grease that may cause burns. Allow the grill to cool down for at least 15 to 20 minutes before attempting removal. If you’re in a rush, use thick oven mitts or heat-resistant gloves to protect your hands.
Removing the pan slowly helps prevent hot grease from splashing. Tilt it gently if needed and place it on a heat-safe surface. Do you have a designated spot for handling hot grill parts? Setting one up can keep your cooking area safe and organized.
Soaking The Drip Pan
Cleaning a portable grill drip pan can seem daunting. Soaking the drip pan is a key step in the cleaning process. This method helps loosen stubborn grease and food particles. It makes the final cleanup much easier and more effective. Let’s explore the best ways to soak your drip pan for optimal results.
Choosing The Right Soaking Solution
Selecting the correct soaking solution is vital. Mild dish soap mixed with warm water often works well. It’s gentle yet effective at cutting grease. For tougher stains, consider a mixture of vinegar and water. Vinegar is a natural degreaser and safe for most grills. Baking soda also makes an excellent addition to your soaking solution. It helps lift grime and neutralizes odors.
Soaking Duration Tips
Allow enough time for the solution to work its magic. A 30-minute soak is generally sufficient for light cleaning. Heavier buildup may require soaking overnight. Check the pan periodically during the soak. This ensures the solution is effective and prevents damage. If stains persist, gently scrub with a non-abrasive pad after soaking. This helps remove any remaining residue without scratching.
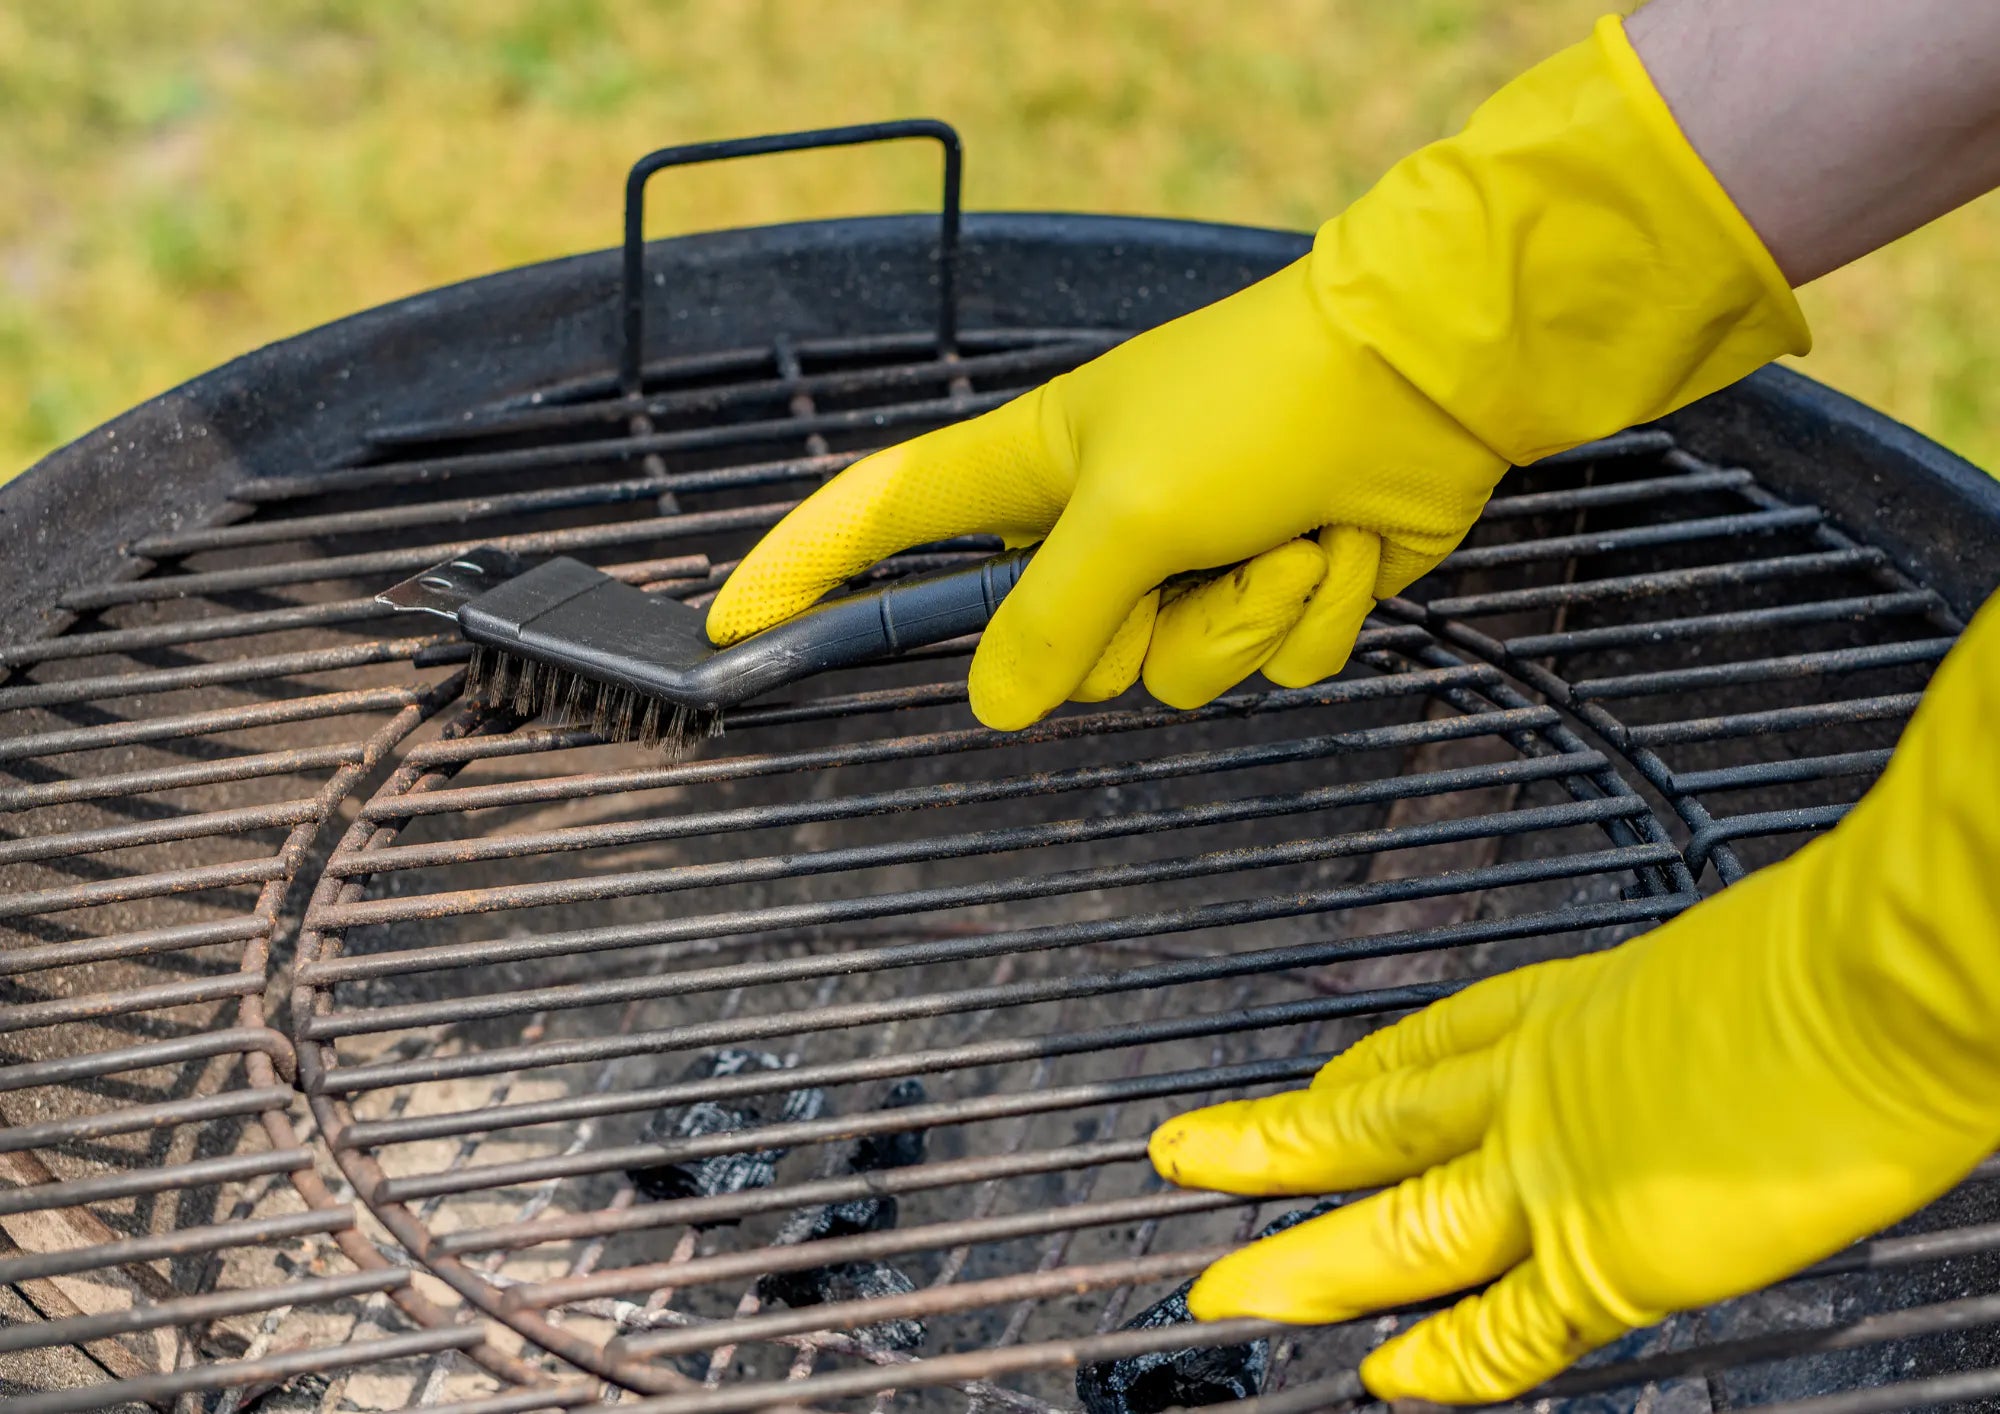
Scrubbing Stubborn Residue
Stubborn residue on your portable grill’s drip pan can turn a simple cleanup into a frustrating task. These burnt-on bits don’t just look unpleasant—they can affect the taste of your next meal and even damage your grill if left unattended. Tackling this buildup requires the right tools and techniques to make scrubbing effective without wearing down your pan.
Selecting Effective Scrubbers
Choosing the right scrubber is key to removing tough residue without scratching your drip pan. Soft sponges work well for light grime, but for stuck-on grease, consider a non-abrasive scrub brush or a nylon scrubbing pad. Steel wool may seem tempting, but it can damage the pan’s surface, especially if it’s coated.
Have you ever tried cleaning with a scouring pad only to find scratches all over? Opt for scrubbers designed specifically for cookware—they’re tough on residue but gentle on the metal. Keep a variety handy so you can match the tool to the mess.
Using Natural Cleaning Agents
Natural ingredients can boost your scrubbing efforts without harsh chemicals. Baking soda is a superstar here; sprinkle a generous amount on the pan and add a little water to form a paste. Let it sit for 10-15 minutes, then scrub away the grime with your chosen scrubber.
Vinegar is another powerful cleaner that cuts through grease effectively. Spray or pour some vinegar on the drip pan before scrubbing to soften stubborn spots. Mixing baking soda and vinegar creates a fizzy reaction that lifts residue, making your job easier.
- Apply baking soda paste and let it rest.
- Spray vinegar to enhance cleaning power.
- Scrub with a nylon pad or brush.
- Rinse thoroughly and dry.
Have you experimented with these natural agents before? Their simplicity and effectiveness might surprise you, especially compared to harsh commercial cleaners.
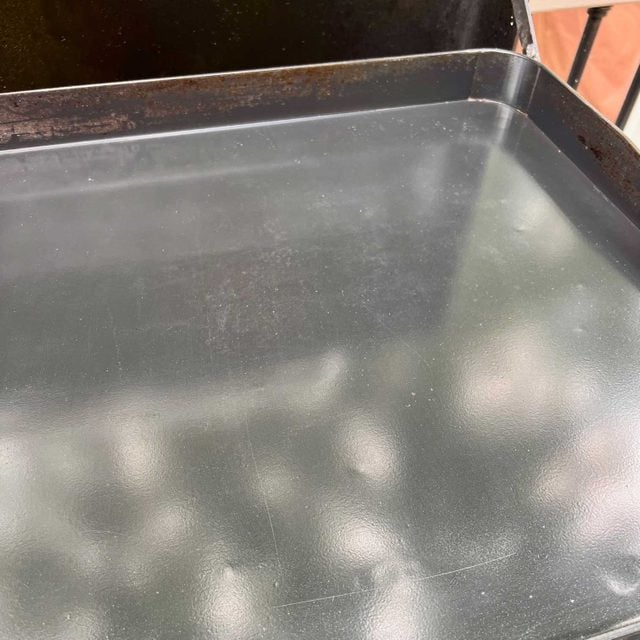
Rinsing And Drying
Rinsing and drying your portable grill drip pan correctly is key to keeping it in great shape for your next cookout. Skipping or rushing these steps can leave behind grease and moisture, which might cause rust or unpleasant odors. Let’s look at how you can rinse thoroughly and ensure your drip pan dries completely.
Proper Rinsing Techniques
Start by using warm water to loosen any stuck-on grease or food particles. Avoid cold water initially, as it can cause residue to harden, making it tougher to clean.
Use a non-abrasive sponge or brush to gently scrub the pan while rinsing. Pay special attention to corners and edges where grease tends to accumulate.
- Rinse under running water to wash away loosened debris effectively.
- If grease remains, add a small amount of dish soap and repeat scrubbing.
- Make sure no soap residue is left by rinsing thoroughly.
Have you ever noticed how a quick rinse leaves spots behind? Taking a little extra time here can save you from scrubbing hours later.
Ensuring Complete Dryness
After rinsing, drying your drip pan properly stops rust and keeps it ready for your next grilling session.
Use a clean, dry towel to wipe off excess water immediately. Don’t just air dry, especially if you live in a humid area—moisture can linger and damage the pan.
- Place the pan in a warm spot or near a fan to speed up drying.
- Check for any hidden damp spots, especially under folds or crevices.
- Consider drying it in the oven on low heat for a few minutes if safe for your pan material.
Have you ever stored a drip pan only to find rust a week later? Proper drying is the secret to avoiding that frustration.
Credit: www.familyhandyman.com
Preventing Future Build-up
Keeping your portable grill’s drip pan clean isn’t just about scrubbing after each cookout. Preventing build-up saves time and effort in the long run and keeps your grill running smoothly. Let’s look at some practical ways you can stop grease and residue from piling up.
Regular Maintenance Habits
Cleaning your drip pan right after every cooking session makes a huge difference. Don’t wait for grease to harden—wipe it down while still warm but safe to touch. You’ll find that a quick rinse and gentle scrub prevent stubborn stains and burnt-on messes.
Try making it part of your grilling routine. After you’re done eating, take a few minutes to check the drip pan. It’s easier to clean small spills than tackle a pan full of thick grease. Have you noticed how skipping this step often leads to extra work later?
Using Grill Liners Or Foil
Adding a layer of aluminum foil or a grill liner to your drip pan can catch grease and food scraps before they stick. This simple trick means less scrubbing and less harsh cleaning products. You just replace the liner or foil after cooking, and your pan stays mostly clean.
Make sure the foil fits snugly and covers the entire pan to catch every drop of grease. If you prefer reusable grill liners, look for non-stick ones designed specifically for drip pans. They’re easy to wash and can save you money over time.
Have you tried this before? Many grill owners say it changes the cleanup game completely.
Quick Cleaning Hacks
Cleaning your portable grill drip pan doesn’t have to be a chore that takes forever. Quick cleaning hacks can save you time and effort, making your grill ready for the next cookout in no time. These easy tricks use common household items and simple techniques to tackle grease and grime effectively.
Using Vinegar And Baking Soda
Sprinkle baking soda generously over the drip pan’s surface. Then, spray or pour white vinegar on top. The bubbling reaction helps break down tough grease and stuck-on food.
Let the mixture sit for 10 to 15 minutes. Afterward, scrub the pan with a sponge or brush. You’ll notice the grime loosens up quickly, making it easier to wipe away.
This combo is not only powerful but also safe and inexpensive. Do you have vinegar and baking soda in your kitchen right now? If yes, your grill cleaning just got a lot simpler.
Microwave Cleaning Trick
If your drip pan fits in the microwave, this trick works wonders. Fill a microwave-safe bowl with water and add a few tablespoons of vinegar or lemon juice. Heat it until the water steams.
Place the drip pan in the microwave alongside the bowl and close the door. The steam softens grease and food particles, loosening stuck-on messes.
After about 5 minutes, carefully remove the pan and wipe it clean with a cloth or sponge. You’ll find that stubborn spots come off with minimal scrubbing. Have you ever tried steaming your grill parts before cleaning?

Credit: www.yahoo.com
Frequently Asked Questions
How Do I Clean A Portable Grill Drip Pan?
Remove the drip pan carefully after cooking. Dispose of grease and food debris. Wash with warm, soapy water. Use a brush for stubborn residue. Rinse thoroughly and dry before reuse. This keeps your grill clean and safe.
What Is The Best Cleaner For Grill Drip Pans?
Mild dish soap and warm water work best. Avoid harsh chemicals that can damage the pan. For tough grease, use baking soda paste or vinegar. Always rinse well to remove cleaner residues.
How Often Should I Clean The Drip Pan?
Clean the drip pan after every use. This prevents grease buildup and flare-ups. Regular cleaning extends the pan’s life and maintains grill hygiene.
Can I Clean The Drip Pan In A Dishwasher?
Check the manufacturer’s instructions first. Many drip pans are dishwasher safe. If unsure, hand wash to avoid damage. Hand washing ensures thorough cleaning without risk.
Conclusion
Cleaning your portable grill drip pan keeps your grill working well. Regular cleaning stops grease build-up and bad smells. Use warm water and soap for easy cleaning. Scrape off stuck bits gently to avoid damage. Dry the pan fully before storing it.
Clean pans mean safer, tastier grilling every time. Take a few minutes after cooking to clean up. Your grill will last longer and work better. Simple steps make a big difference in grill care. Keep your drip pan clean for happy grilling days ahead.
