
Are you ready to transform your yard into a thriving garden with DIY raised beds? Building your own raised beds is easier than you might think, and it gives you full control over your soil quality, plant health, and garden layout.
Whether you want to grow fresh veggies, vibrant flowers, or herbs, raised beds can make your garden more organized and productive. In this guide, you’ll discover simple steps and smart tips to build sturdy, beautiful raised beds that fit your space and style perfectly.
Keep reading, and you’ll soon have a garden that’s both functional and stunning.
Choosing The Right Location
Choosing the right location for your DIY raised beds can make a huge difference in how well your plants grow. The spot you pick affects sunlight, soil health, water drainage, and how easy it is to care for your garden. Taking time to evaluate these factors will save you from frustration and help your garden thrive.
Assessing Sunlight Exposure
Most vegetables and flowers need at least 6 to 8 hours of direct sunlight daily. Watch your yard throughout the day to see which areas get the most sun. Avoid spots shaded by trees, buildings, or fences.
Think about how the sun moves with the seasons too. A place sunny in summer might be shady in fall. You want a location that keeps your plants happy year-round.
Evaluating Soil Quality
Good soil gives your plants a strong start. Test the soil where you plan to build your beds by digging a small hole and feeling the texture. Is it sandy, clayey, or loamy? Loamy soil is best because it holds nutrients and drains well.
If your soil is poor, you can improve it with compost or organic matter. But avoid spots with contaminated soil, like near old paint or chemical storage areas. Healthy soil means healthier plants and less work for you.
Considering Drainage And Accessibility
Water that pools around your beds can drown roots and cause disease. Check the spot after a rainstorm. Does water drain quickly or stay standing?
Choose a slightly elevated area or build your beds high enough to improve drainage. Also, think about how easy it is to reach your beds for watering, weeding, and harvesting. You don’t want to drag hoses or carry tools across the yard every time.
Can you easily move around your beds without stepping on soil? Accessibility makes gardening more enjoyable and less tiring.
Selecting Materials
Selecting the right materials is key to building strong DIY raised beds. The choice affects durability, appearance, and cost. Choosing good materials helps your garden last longer and look better.
Consider materials that resist rot and pests. Think about how they fit your budget and style. This section covers wood types, tool needs, and where to find affordable supplies.
Types Of Wood And Alternatives
Wood is a popular choice for raised beds. Cedar and redwood resist decay naturally. Pine is cheaper but needs treatment to last.
- Cedar: Durable, resistant to insects, lasts many years.
- Redwood: Strong and rot-resistant, looks nice but costs more.
- Pine: Affordable but needs sealing or pressure treatment.
Alternatives include recycled plastic lumber and metal. Plastic lumber lasts long and won’t rot. Metal frames can be sleek but may heat soil.
Tools Needed For Construction
Basic tools make building easier and more precise. Prepare these before you start:
- Measuring tape for accurate cuts
- Hand saw or power saw to cut wood
- Drill and screws for assembly
- Level to keep beds even
- Hammer and nails as backup
Gathering tools upfront speeds up the work and improves results.
Sourcing Affordable Supplies
Save money by sourcing materials smartly. Check local hardware stores for sales. Sometimes, lumber yards offer better prices than big-box stores.
Look for reclaimed wood or pallets. These can be free or very cheap. Just ensure they are safe and untreated.
Online marketplaces and community groups often have used materials. Buying second-hand cuts costs and helps the environment.
Designing Your Raised Bed
Designing your raised bed is a key step before building. Good design helps plants grow well and keeps your yard neat. Take time to think about size, shape, and space. A clear plan makes the building process smooth and enjoyable.
Determining Size And Shape
Choose a size that fits your yard and gardening goals. Common widths are 3 to 4 feet, so you can reach the middle without stepping in the bed. Length can vary from 4 to 12 feet, depending on space.
Shape can be simple rectangles or squares. Curved or L-shaped beds add style but may need more work. Keep shapes practical for easy planting and harvesting.
Planning For Depth And Height
Depth affects plant roots and soil quality. Most vegetables need at least 12 inches of soil depth. Root vegetables like carrots may need 18 inches or more.
Height depends on comfort and soil needs. Raised beds 12 to 24 inches high reduce bending. Taller beds also improve drainage and soil warmth.
Incorporating Paths And Spacing
Paths around beds should be wide enough to walk and carry tools easily. A minimum of 18 to 24 inches works well. Wider paths help if you use a wheelbarrow or wheelchair.
Leave space between beds to avoid crowding. Good spacing improves air flow and sunlight. Plan paths early to keep your garden organized.
Building The Frame
Building the frame is a crucial part of creating a sturdy raised bed. A strong frame holds soil firmly and supports plant growth. Choosing the right wood and assembling it carefully ensures your bed lasts long and looks neat. Follow simple steps to cut, join, and reinforce the frame for best results.
Cutting And Assembling Wood
Start with durable wood like cedar or pine. Cut the boards to your desired length. Make sure the cuts are straight for easy assembly. Lay the boards flat on the ground to form a rectangle or square. Check the corners to match your planned size.
Joining Corners Securely
Use screws or galvanized nails to join corners. Drill pilot holes to prevent the wood from splitting. Attach the boards at right angles for a clean fit. Tight corners keep the frame strong and square. Clamps can help hold boards steady while fastening.
Adding Reinforcements
Add extra support inside the frame. Place vertical stakes or corner braces at each corner. These reinforcements stop the frame from bowing under soil weight. Use screws to secure braces firmly. Reinforcements extend the life of your raised bed.
Preparing The Site
Choose a sunny spot and clear weeds and grass. Level the ground for stability. Ensure good drainage by loosening the soil.
Preparing your site is crucial for successful DIY raised beds. A well-prepared site ensures healthy plant growth and easy maintenance. Follow these simple steps for a perfect start.Clearing And Leveling Ground
Begin by removing all debris. Clear rocks, sticks, and any existing plants. Use a shovel or rake to make the ground level. This prevents water pooling and uneven plant growth. Take your time to get a flat surface.Laying A Weed Barrier
A weed barrier prevents unwanted growth. Use landscape fabric or cardboard. Lay it over the cleared area. Ensure it covers the entire bed. Overlap edges to block weeds effectively. Secure it with garden staples.Improving Soil Drainage
Good drainage is vital for healthy plants. Mix sand or gravel into the soil. This enhances water flow. Test drainage by watering the area. If water pools, add more sand. Ensure soil is loose and airy.
Credit: www.youtube.com
Filling The Raised Bed
Filling a raised bed correctly sets the stage for healthy plant growth. It ensures roots get enough nutrients, water, and air. Using the right materials keeps soil loose and fertile. This section guides you through selecting and layering soil for your DIY raised bed.
Choosing Soil Mixes
Pick soil that drains well but holds moisture. A mix of garden soil, peat moss, and vermiculite works well. Avoid heavy clay soil; it can suffocate roots. You want soil that is light and crumbly.
Here is a simple soil mix ratio:
- 40% topsoil or garden soil
- 30% compost
- 20% peat moss or coconut coir
- 10% perlite or vermiculite
Adding Compost And Amendments
Compost adds nutrients and improves soil texture. Spread a thick layer of compost on top of your soil mix. Use organic compost for best results. You can also add amendments like bone meal or blood meal.
These amendments boost nitrogen and phosphorus levels. Avoid over-fertilizing to prevent plant burn. Mix amendments well with soil for even nutrition.
Layering For Optimal Growth
Layering helps with drainage and root development. Start with a base layer of coarse materials like small sticks or straw. This stops water from pooling at the bottom.
Next, add your soil mix and compost layers. Fill the bed to about 2 inches below the top edge. Press soil lightly but do not compact it too much. Leave space for watering and mulch.
Planting Strategies
Planting strategies are key to a thriving DIY raised bed garden. Choosing the right plants and organizing them well boosts growth and yield. Proper watering and ongoing care keep your garden healthy and vibrant. These tips help you enjoy a successful garden all season long.
Selecting Suitable Plants
Pick plants that match your climate and soil type. Vegetables like tomatoes, lettuce, and carrots do well in raised beds. Herbs such as basil and parsley also thrive here. Choose plants with similar water and sunlight needs. This makes care easier and improves growth.
Companion Planting Tips
Plant certain crops together to help each other grow. For example, beans fix nitrogen in the soil for leafy greens. Marigolds keep pests away from vegetables. Avoid planting onions near beans or peas. Use companion planting to reduce pests and boost yields naturally.
Watering And Maintenance
Water your raised beds deeply but less often to encourage strong roots. Use mulch to keep soil moist and reduce weeds. Check plants regularly for signs of pests or disease. Remove dead leaves and prune plants to keep air flowing. Good maintenance keeps your garden healthy and productive.
Maintaining Your Raised Beds
Maintaining your raised beds keeps your garden healthy and productive. Regular attention helps plants grow strong and soil stay rich. Simple care routines protect your garden from common problems and boost yields.
Regular Soil Testing
Test soil every few months to check nutrients and pH levels. Soil testing shows which minerals your plants need. Use a soil test kit or send a sample to a lab. Adjust soil by adding compost or fertilizers based on results. Good soil balance supports healthy roots and plant growth.
Pest And Weed Control
Watch for pests like aphids, beetles, and caterpillars. Remove bugs by hand or use natural sprays such as neem oil. Keep weeds out by pulling them regularly. Mulch your beds to reduce weed growth and keep moisture in soil. Healthy plants resist pests better and need less care.
Seasonal Care
Change your care routine with each season. In spring, add fresh compost and start planting. Summer needs regular watering and shade for sensitive plants. Fall is time to clean beds and plant cover crops. Winter requires protecting beds with mulch or row covers. Seasonal care prepares your garden for growth year-round.
Upgrading And Expanding
Once your DIY raised beds are up and running, you might notice the desire to make them better and bigger. Upgrading and expanding your beds can help you grow more plants, improve their health, and save you time watering and maintaining them. Let’s look at some practical ways you can enhance your garden with simple additions and smart ideas.
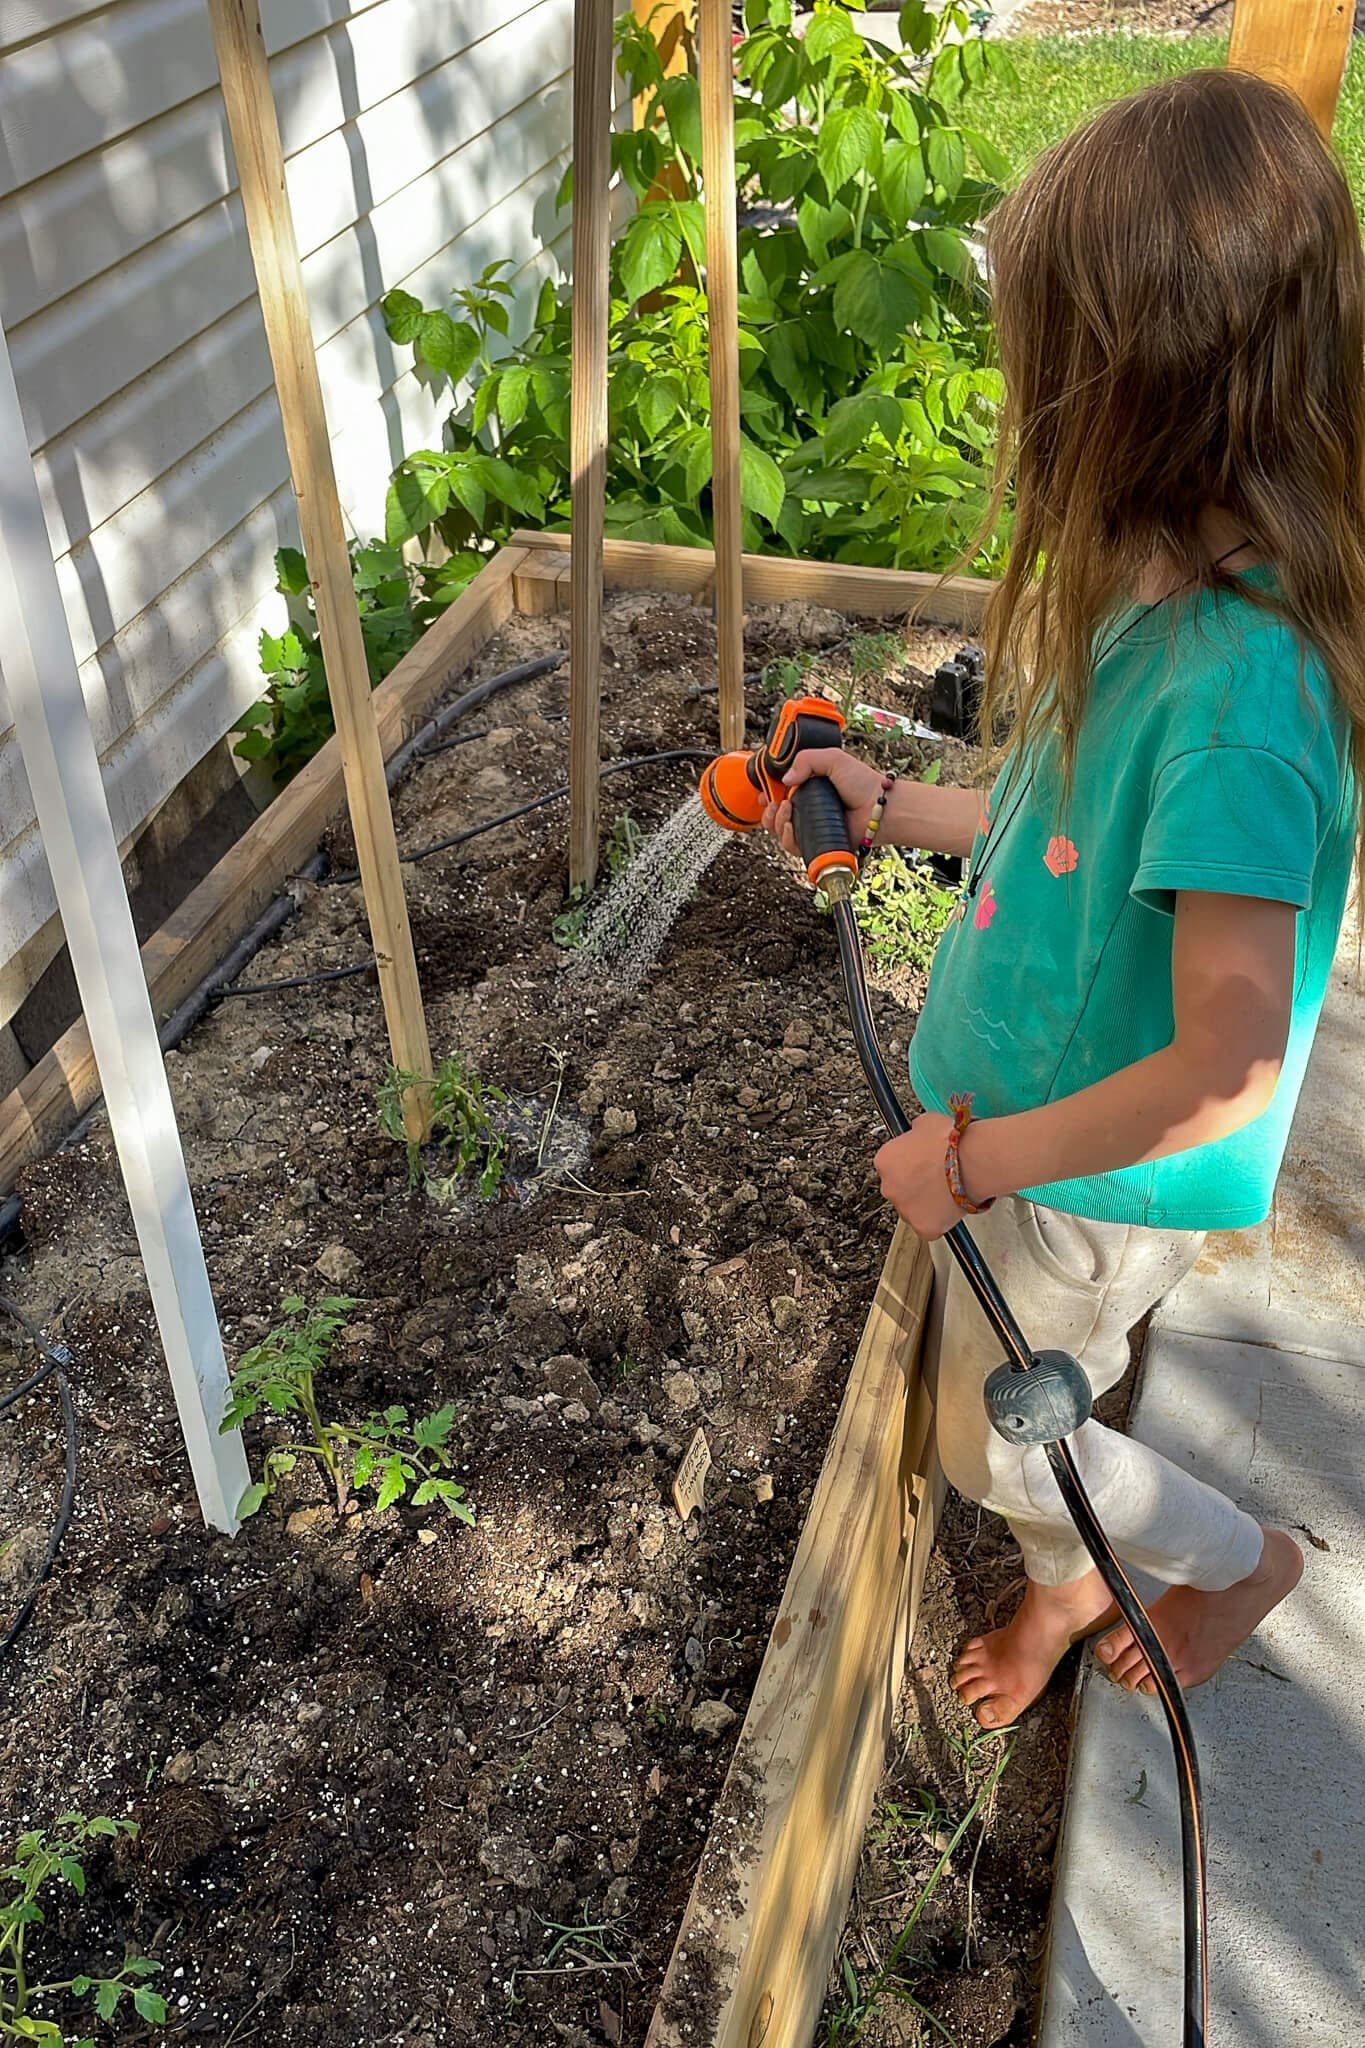
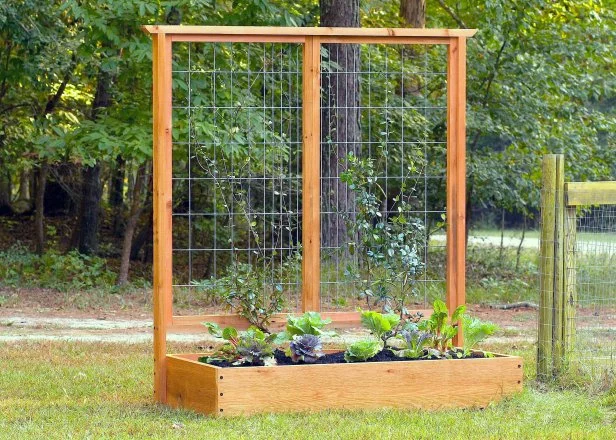
Adding Trellises And Supports
Adding trellises to your raised beds is a great way to maximize vertical space. It lets you grow climbing plants like beans, cucumbers, or peas without taking up more ground area. You can build simple wooden frames or use wire mesh for sturdy support.
Supports also help keep plants off the soil, reducing disease and making harvesting easier. Think about how much easier it is to pick tomatoes when they’re hanging neatly on a trellis instead of sprawling on the ground.
Expanding Bed Size
Want to grow more but don’t have much room? Expanding your raised bed is a smart move. You can add extra sections by attaching new wooden frames to the existing structure.
Make sure the soil quality stays consistent by mixing in compost or fresh soil in the new section. This keeps your plants healthy and productive. Are you ready to double your harvest without doubling the effort?
Incorporating Irrigation Systems
Watering raised beds by hand can be time-consuming, especially as your garden grows. Installing a simple drip irrigation system can save you hours each week. It delivers water directly to the roots, reducing waste and keeping plants hydrated.
You don’t need fancy equipment—basic tubing, emitters, and a timer can make a big difference. Imagine coming home to a garden that’s already watered and ready to thrive, even after a busy day.
Credit: www.hgtv.com

Credit: www.youtube.com
Frequently Asked Questions
What Materials Do I Need For Diy Raised Beds?
You need untreated wood, screws, a drill, soil, and compost. Cedar or redwood works best for durability. Gather all tools and materials before starting your project to ensure a smooth build.
How Deep Should Diy Raised Beds Be?
Raised beds should be at least 12 inches deep. This depth allows roots to grow properly. For root vegetables, consider 18 inches. Proper depth ensures good drainage and healthy plant growth.
Can I Build Raised Beds On Any Yard Surface?
Yes, you can build raised beds on grass, soil, or concrete. Ensure proper drainage by adding a layer of gravel or landscape fabric beneath. This prevents waterlogging and promotes healthy plants.
How Do I Prevent Soil Erosion In Raised Beds?
Use sturdy materials and secure corners tightly. Add mulch on top to retain moisture and reduce erosion. Installing a border or edge helps keep soil in place during heavy rain.
Conclusion
Building DIY raised beds can boost your garden’s health and beauty. Choose the right materials and follow clear steps for success. Raised beds help control soil quality and drainage easily. You can grow vegetables, flowers, or herbs in small spaces.
Enjoy the satisfaction of creating something with your own hands. Start small, learn as you go, and watch your garden thrive. Raised beds bring order and freshness to your yard. Try building one today and see the difference it makes.
Gardening becomes easier and more fun with raised beds.
