
Are you ready to take your camping meals to the next level? A portable pellet grill is the perfect companion for outdoor cooking, but assembling it might seem tricky at first.
Don’t worry—you’re about to learn simple, step-by-step tips to put your grill together quickly and easily. By the end of this guide, you’ll be firing up your grill with confidence, impressing your friends, and enjoying delicious, smoky flavors wherever you camp.
Keep reading to discover how to make your outdoor cooking hassle-free and fun!
Choosing The Right Pellet Grill
Choosing the right pellet grill can make or break your camping cooking experience. It’s not just about picking a grill that looks good or fits your budget. You need to think about how it fits your camping style, the types of food you want to cook, and how easy it will be to carry and set up.
Key Features To Consider
Look for a pellet grill with precise temperature control. This feature helps you cook your food evenly, whether you’re slow-smoking ribs or searing steaks.
Check if the grill has a durable build. Stainless steel parts resist rust and survive rough outdoor conditions better than cheaper materials.
Also, consider the ease of cleaning. Removable trays and accessible grease management systems save you time after a long day of camping.
Size And Portability
Think about the space you have in your vehicle and how much weight you’re willing to carry. A compact grill that fits into your camping gear is crucial if you hike or bike to your site.
Some pellet grills come with folding legs or handles designed for easy transport. These small design details make a big difference when you’re setting up or packing down camp.
Ask yourself: Will you cook for just yourself, or a group? A larger grill might be tempting, but it could slow you down and require more fuel.
Fuel And Pellet Types
Different wood pellets add unique flavors to your food. Hickory and mesquite offer strong smoky tastes, while apple and cherry provide a milder, fruity aroma.
Make sure the grill you choose supports various pellet types so you can experiment with flavors. Also, check how easy it is to find compatible pellets near your camping locations.
Consider how much fuel the grill consumes. Some models use pellets efficiently, letting you enjoy longer cook times without frequent refills.
Unboxing And Inventory
Unboxing your portable pellet grill is the first step to a great camping experience. It sets the stage for easy assembly and safe use. Taking time to carefully unpack and check the parts can save frustration later. This process ensures everything is ready and nothing is missing.
Checking Included Parts
Start by opening the box on a clean surface. Remove each item carefully and place them where you can see all parts clearly. Use the instruction manual to verify every component is present.
- Main grill body
- Pellet hopper
- Grill grates
- Drip tray
- Legs or stand
- Control panel
- Screws, bolts, and washers
- User manual and warranty card
Check for any damage or missing pieces before starting assembly. Contact the seller if anything is broken or absent.
Tools Needed For Assembly
Gathering the right tools makes assembly smoother and faster. Most portable pellet grills require only basic tools. Keep these handy:
- Phillips screwdriver
- Wrench or adjustable spanner
- Allen keys (usually included)
- Pliers
Some grills come with a tool kit inside the box. If not, use your own tools to avoid damage. Having everything ready helps complete the grill setup in one go.
Preparing The Assembly Area
Preparing the assembly area for your portable pellet grill is a crucial step that can save you time and frustration. A well-organized space helps you focus on putting the grill together without distractions. It also reduces the risk of losing small parts or damaging components.
Selecting A Clean Workspace
Choose a flat, stable surface that can comfortably fit all the parts of your grill. A clean driveway, patio, or picnic table works well, but avoid places with dirt or grass that could get into the grill parts. Consider the weather too—assembling under a shaded area protects you and the grill from direct sunlight or unexpected rain.
Have you ever struggled to find a missing screw in the grass? Picking a tidy spot can prevent that hassle. Make sure you have enough room to move around freely and place tools within easy reach.
Organizing Components
Before you start assembling, unpack everything and lay out all parts systematically. Group similar items like screws, bolts, and panels separately so you can quickly grab what you need. Using small containers or trays can keep tiny pieces from rolling away or getting lost.
Take a moment to cross-check your parts against the instruction list. Missing or extra pieces can cause confusion, so spotting discrepancies early helps you plan better. When I built my grill, organizing parts first cut down my assembly time by almost half—try it and see the difference for yourself.
Assembling The Grill Base
Begin by placing the grill base on a flat surface for stability. Secure all screws tightly to ensure the base is strong and steady. Check that all parts fit well before moving to the next step.
Assembling the grill base of your portable pellet grill is an essential step towards creating a reliable setup for your camping adventures. A solid base ensures stability and longevity, allowing you to enjoy countless outdoor cooking sessions. With a few straightforward steps, you’ll have your grill ready to fire up in no time.Attaching Legs And Wheels
Start by laying out all the components on a flat surface. This helps you easily identify each part and ensures nothing is missing. Take the legs and attach them to the main grill body. Usually, the legs are secured using bolts and nuts, which can be easily tightened with a wrench. Make sure they’re firmly attached to prevent wobbling. Next, attach the wheels. Wheels are typically mounted at the back legs of the grill. This allows for easy maneuverability. Secure them tightly, ensuring they spin freely without obstruction.Securing The Frame
Once the legs and wheels are in place, focus on securing the grill frame. This step is crucial for structural integrity. Align the frame pieces according to the instruction manual. It’s like solving a puzzle—each piece fits only one way. Use the provided screws and nuts to join the frame parts together. Double-check that all connections are tight. A loose frame can cause issues during grilling. Do you feel confident about your setup? Give it a gentle shake. If it stands firm, you’re ready to move on to the next stage of assembly. By carefully assembling the grill base, you’re laying the groundwork for a successful grilling experience. Enjoy the process, and soon you’ll be savoring delicious meals cooked under the open sky.Installing The Pellet Hopper
Installing the pellet hopper is a key part of setting up your portable pellet grill. This component holds the wood pellets, feeding them steadily into the grill for consistent heat and smoke. Proper installation ensures efficient operation and better cooking results.
Mounting The Hopper
Place the hopper on the designated side of the grill frame. Align the mounting holes on the hopper with the holes on the grill. Use the provided screws or bolts to secure the hopper firmly in place. Make sure it sits level and stable to avoid pellet spills. Tighten all fasteners but avoid over-tightening to prevent damage.
Connecting The Auger
The auger moves pellets from the hopper into the firepot. Slide the auger into the hopper’s outlet tube carefully. Check that the auger fits snugly without forcing it. Attach the auger motor connector to the control panel cable. Confirm the connection is secure to ensure smooth pellet feeding. Test the auger by turning on the grill briefly to see if pellets move correctly.

Credit: www.amazon.ca
Attaching The Cooking Chamber
Attaching the cooking chamber is a key part of setting up your portable pellet grill. This step ensures the grill functions safely and cooks food evenly. Proper assembly avoids air leaks and heat loss during grilling. Follow clear, simple steps to secure the chamber tightly and place the grates correctly. This makes your camping cookout easier and more enjoyable.
Aligning And Securing
Start by placing the cooking chamber on the grill base carefully. Make sure the holes on both parts match up perfectly. This alignment is crucial for stability and proper airflow.
- Check that the vents and ports line up correctly.
- Use the provided bolts or screws to attach the chamber firmly.
- Tighten each fastener evenly to avoid gaps.
- Confirm the chamber does not wobble after securing.
Proper alignment keeps smoke and heat inside the chamber. This improves the cooking process and keeps your food juicy and flavorful.
Installing The Grates
Once the cooking chamber is secure, install the cooking grates inside. These grates hold your food above the heat source.
- Place the grates on the ledges or supports inside the chamber.
- Ensure the grates sit flat and do not rock.
- Leave enough space between grates for even heat circulation.
- Clean the grates before use to remove any factory residue.
Well-installed grates provide even cooking and prevent food from sticking. They also help maintain the grill’s temperature control during your outdoor meal.
Connecting The Electrical Components
Connecting the electrical components is a vital part of assembling a portable pellet grill. This step powers the grill and controls its functions. Proper connections ensure safety and smooth operation during your camping trips. Follow simple guidelines to set up the power supply and install the control panel correctly.
Power Supply Setup
Start by identifying the power source for your grill. Most portable pellet grills use a 120V AC power supply or a compatible battery pack. Use the provided power cord or adapter included in the package.
- Check the voltage rating on the grill’s label before plugging in.
- Connect the power cord firmly to the grill’s power input port.
- Ensure the power source is stable and protected from moisture.
- Use a portable generator or power bank if camping off-grid.
Keep cables organized and away from hot surfaces. Avoid stretching cords too tightly to prevent damage. A secure power supply allows your grill to heat pellets evenly and maintain consistent cooking temperatures.
Control Panel Installation
The control panel is the grill’s brain. It manages temperature and pellet feed rate. Install it carefully to avoid loose connections or damage.
- Locate the control panel slot near the grill’s main body.
- Align the panel’s connectors with the grill’s socket.
- Press the panel gently until it clicks into place.
- Secure it with screws or clips if provided.
- Test the panel by turning on the grill and adjusting settings.
A properly installed control panel ensures accurate temperature control. It helps you cook your food perfectly every time. Keep the panel clean and dry during your camping adventure.

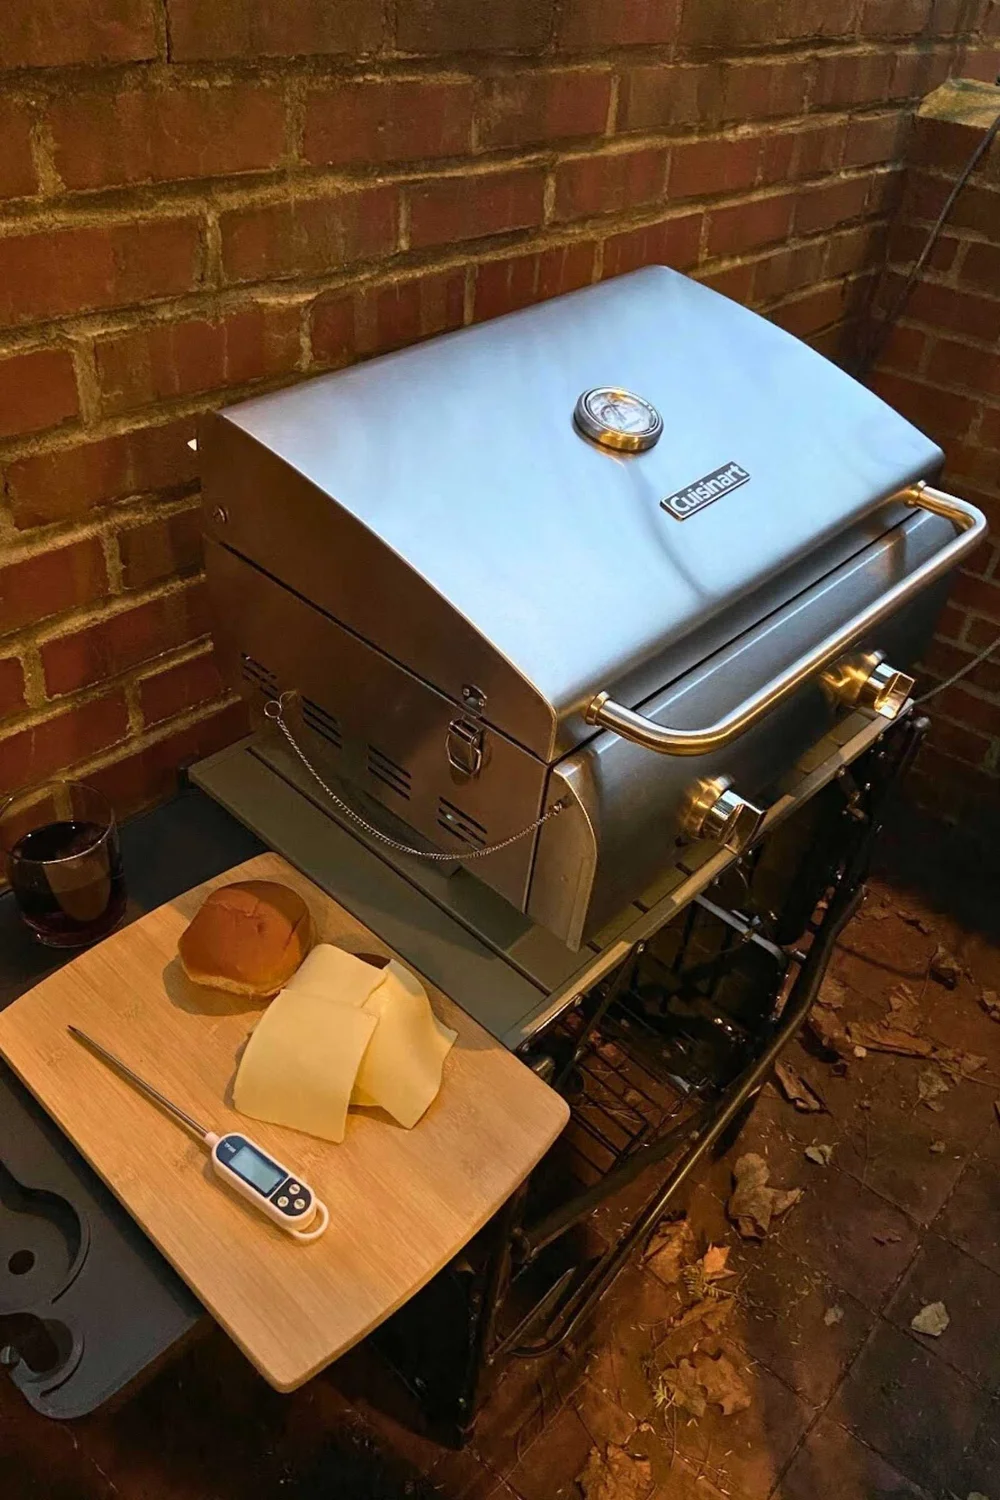
Credit: asmokegrill.com
Performing Initial Tests
Before you dive into cooking on your portable pellet grill, running some initial tests is crucial. These tests help you catch any setup issues early and make sure your grill operates smoothly. Spending a bit of time here can save you from frustration during your camping trip.
Checking Pellet Feed
Start by inspecting how pellets move from the hopper to the firepot. Turn on the grill and listen carefully for the auger motor; a consistent, gentle humming usually means pellets are feeding properly.
If you notice irregular sounds or no pellets dropping, clear the hopper and check for blockages or damp pellets. Dry, fresh pellets flow better and ignite faster, so always use good quality fuel.
Watch the pellet feed for a few minutes—do pellets drop evenly without clumping or jamming? This is critical because a steady feed controls your grill’s heat and ensures even cooking.
Testing Temperature Controls
Next, power up your grill and set it to a medium temperature. Monitor how long it takes to reach the desired heat and whether the temperature stays steady.
Fluctuating temperatures can be a sign of faulty controls or pellet feed problems. If your grill struggles to maintain heat, try adjusting the settings or check if the fan is working properly to circulate the heat.
Have you ever wondered why some grills heat unevenly? It often boils down to temperature control issues that you can spot early with these tests. Taking note of how responsive the controls are helps you avoid surprises once you start cooking.
Tips For Safe Transport
Secure all grill parts tightly to avoid damage during transport. Use padding or blankets to protect fragile components. Carry the pellet grill on a flat, stable surface to keep it balanced and safe.
Transporting your portable pellet grill safely when camping is crucial to ensuring it remains in top condition and ready for your next culinary adventure. Proper preparation and packing can mean the difference between a stress-free trip and a frustrating one. Here are some essential tips to help you transport your grill securely and efficiently.Securing Loose Parts
Before loading your grill into your vehicle, check for any loose parts that could shift during transport. Remove or tighten these components to prevent damage. Utilize zip ties or bungee cords to secure items like grill grates and pellet hoppers. Consider using small storage bags for screws or detachable components. Label these bags clearly to make reassembly a breeze at your campsite. This simple step can save you time and frustration when you arrive at your destination.Packing For Travel
Carefully plan how you will pack your grill and accessories in your vehicle. Place the grill on a flat, stable surface to prevent it from tipping over. If possible, use a protective cover to shield it from scratches or dents. Strategically position heavier items at the bottom and lighter items on top to maintain balance. Remember, a well-organized vehicle not only protects your gear but also makes unloading at the campsite simpler. Have you ever struggled to find the right gear when you arrived at a campsite? Packing efficiently can prevent such headaches and enhance your camping experience. Remember, thoughtful preparation allows you to focus more on the joy of cooking and less on the logistics of transport.Maintenance And Care On The Go
Maintaining your portable pellet grill during camping trips keeps it working well longer. Proper care prevents rust, clogs, and bad smells. A clean grill cooks food better and safer. Follow simple steps after each use and during storage to protect your grill.
Cleaning After Use
Start cleaning once the grill cools down. Remove leftover ashes and pellets from the firepot. Use a grill brush to clean the grates thoroughly. Wipe down the exterior with a damp cloth to remove dirt and grease. Empty the drip tray to avoid buildup. Check the hopper for any pellet dust or debris.
- Brush grates to remove food residue
- Empty ash and pellet leftovers
- Wipe surfaces with a damp cloth
- Clean drip tray and hopper
Storage Recommendations
Store your grill in a dry place to prevent rust. Use a grill cover to protect it from dust and rain. Avoid leaving pellets inside the hopper for long periods. Keep the grill off the ground to avoid moisture damage. Check for any loose parts before packing away. Regular storage care helps your grill last many camping seasons.
- Keep grill dry and covered
- Remove pellets from hopper
- Store off the ground
- Tighten loose screws and parts

Credit: www.treelinereview.com
Frequently Asked Questions
How Do I Start Assembling A Portable Pellet Grill?
Begin by unpacking all parts and checking the inventory. Follow the manual step-by-step to attach the legs, hopper, and grill body securely. Use included tools to tighten screws and bolts to ensure stability before first use.
What Tools Are Needed To Assemble The Grill?
Most portable pellet grills come with basic tools like an Allen wrench or screwdriver. You might need additional tools such as pliers or a wrench. Check the instruction manual for specific tools required for your model.
How Long Does It Take To Assemble A Pellet Grill?
Assembly usually takes between 30 to 60 minutes depending on your experience. Following the manual carefully reduces errors and speeds up the process. Take your time to ensure all parts fit correctly for safe grilling.
Can I Assemble The Grill Without Prior Experience?
Yes, portable pellet grills are designed for easy assembly. Manuals provide clear instructions and diagrams. Watching tutorial videos can also help first-timers build the grill confidently and correctly.
Conclusion
Assembling your portable pellet grill is simple with the right steps. Take time to follow each instruction carefully. Check all parts before starting the assembly. A well-assembled grill makes camping meals easy and fun. Enjoy cooking outdoors with your new grill.
Practice a few times to get comfortable. Soon, grilling while camping will feel natural. Stay safe and clean your grill after use. Happy camping and happy grilling!
