
Are you ready to bring the perfect smoky flavor to your backyard meals? Learning how to assemble your digital pellet grill is the first step to mastering delicious, hassle-free cooking.
Don’t worry if it looks complicated—this guide will walk you through each step clearly and simply. By the end, you’ll have your grill ready to fire up, impressing friends and family with mouthwatering dishes. Keep reading, and discover how easy it is to set up your digital pellet grill for amazing results every time.

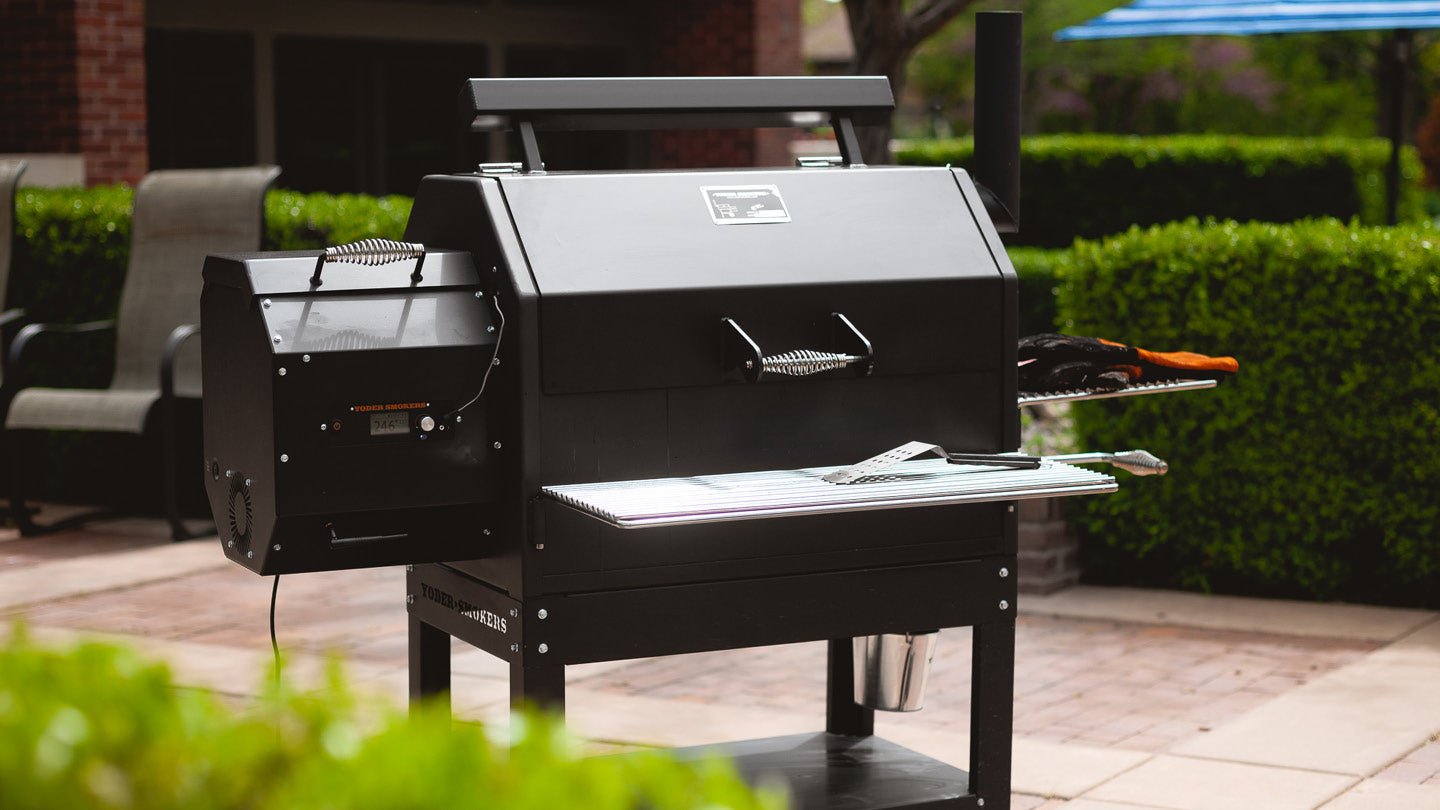
Credit: smokedaddyinc.com
Unboxing And Inventory
Opening the box of your digital pellet grill is an exciting moment, but it’s crucial to start by carefully checking everything inside. Taking time to verify all parts helps avoid frustration later and ensures your assembly goes smoothly. This initial step might seem simple, but it sets the foundation for a successful grilling experience.
Check Included Parts
Before you begin assembling, lay out all the components on a clean surface. Look for the main grill body, hopper, drip tray, grill grates, temperature probe, and any screws or bolts included. Your grill’s manual usually provides a detailed parts list—keep it handy to cross-check.
Missing or damaged parts can delay your setup. If you spot anything that’s not in the box or looks broken, contact the seller immediately. Have you ever started a project only to find a key piece missing halfway through? Avoid that hassle by confirming your inventory now.
Tools Needed
Knowing which tools you need upfront saves time and prevents interruptions. Most digital pellet grills require basic tools like a screwdriver, adjustable wrench, and sometimes an Allen key. Check your manual for any specific tools recommended by the manufacturer.
Gather these tools before you dive into assembly. If you don’t have them on hand, a quick trip to the hardware store or borrowing from a neighbor can keep you on track. Are you ready to tackle the assembly with everything you need at your fingertips?
Credit: www.walmart.com
Preparing The Workspace
Preparing the workspace is key to assembling your digital pellet grill smoothly. A well-organized area helps avoid confusion and lost parts. It also makes the process faster and safer.
Start with a clean and spacious spot. Clear the area from dirt and clutter. This prevents damage to grill parts and keeps everything visible. A tidy space helps keep track of small screws and tools.
Next, gather all components and tools. Organize them by type and size. This setup reduces time spent searching for items during assembly. Having everything ready boosts confidence and efficiency.
Choose A Clean Area
Select a flat surface with plenty of light. Avoid dusty or wet places. A garage floor or a large table works well. Make sure there is enough room to move around freely.
Keep the workspace free from pets and distractions. This focus helps prevent accidents or lost pieces. A clean area also protects the grill’s finish from scratches or dirt.
Organize Components
Lay out all parts in groups. Separate screws, panels, and tools. Use small containers or trays to hold tiny items. Label groups if possible for easy identification.
Check the parts list before starting. Confirm nothing is missing or damaged. Organizing parts reduces stress and makes assembly steps clear. It also speeds up the process and avoids mistakes.
Assembling The Main Frame
Assembling the main frame of your digital pellet grill sets the foundation for a sturdy and reliable cooking experience. This process involves putting together the key structural parts that support the entire grill. A solid frame ensures stability and safety during use.
Focus on attaching the legs and wheels first. These components provide mobility and balance. Take your time to align each part correctly. Proper alignment prevents wobbling and improves durability.
Attach Legs And Wheels
- Identify the leg and wheel parts from the package.
- Position the legs at the base of the grill frame.
- Use the provided screws and bolts to secure each leg tightly.
- Attach wheels to the designated legs, usually the rear ones.
- Ensure wheels spin freely and lock if they have a locking mechanism.
- Double-check all connections for firmness.
Secure The Frame
- Connect the main frame sections using bolts or screws.
- Tighten all fasteners evenly to avoid gaps or misalignment.
- Check that the frame sits flat and stable on the floor.
- Use a level tool if available to confirm evenness.
- Re-tighten any loose screws after initial assembly.
- Inspect for any sharp edges or protruding parts and smooth them out.
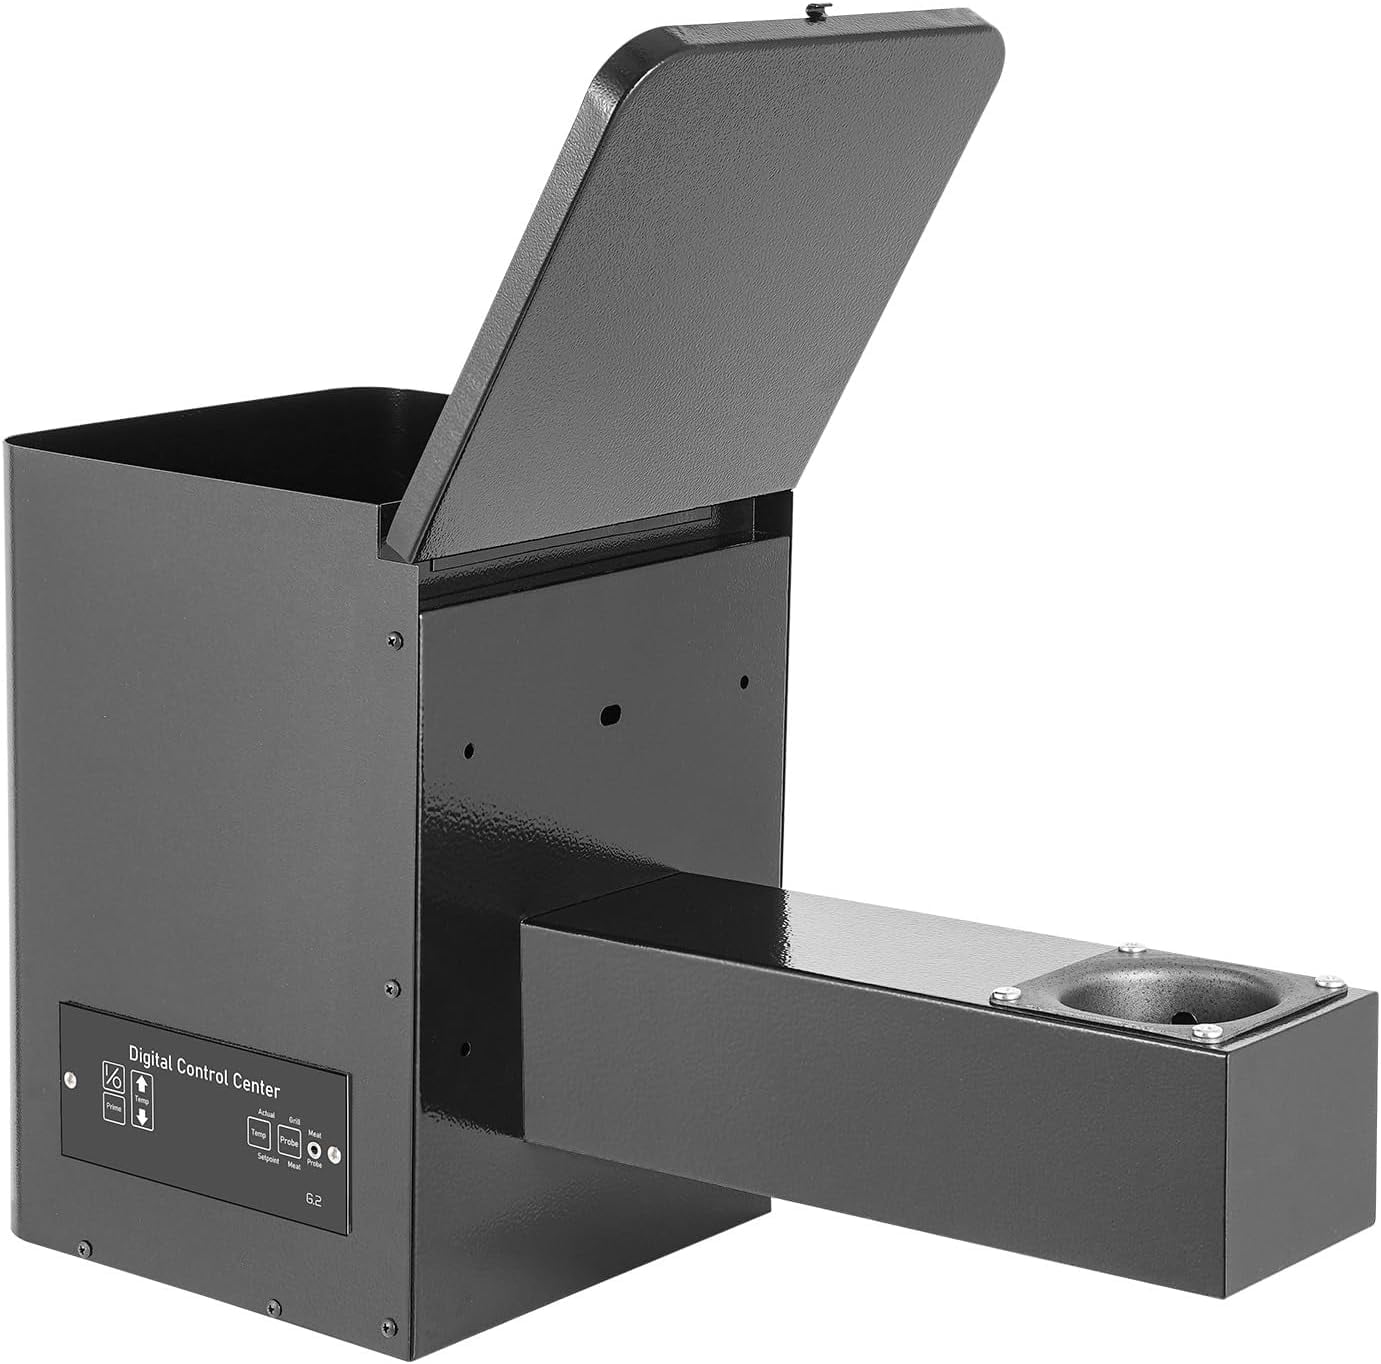
Installing The Hopper
Installing the hopper on a digital pellet grill requires careful alignment. Ensure a secure fit to maintain functionality. Attach it firmly to avoid leaks and ensure efficient operation.
Installing the hopper on your digital pellet grill is a crucial step to ensure smooth operation. This component is responsible for storing and feeding pellets into the grill, making it essential for maintaining the desired temperature. With a little attention to detail, you can easily install the hopper and enjoy consistent grilling results.Position The Hopper
Start by identifying the designated spot for the hopper on your grill. This is typically on the side, aligning with the auger mechanism. Ensure that the hopper sits snugly without gaps, as a loose fit can lead to inefficiencies. Before securing it, double-check that the hopper is level. A tilted hopper might disrupt pellet flow, causing uneven heat. Have you ever noticed inconsistent cooking results? This might be the culprit.Connect Auger Mechanism
Next, you need to connect the auger mechanism to the hopper. Begin by aligning the auger shaft with the hopper’s feed hole. It should slide in easily; if not, check for obstructions. Secure the connection with the screws provided. A firm attachment prevents any wobbling, which could disrupt pellet delivery. Imagine setting up for a BBQ party, only to find your grill can’t maintain temperature because of a loose auger. Test the movement of the auger manually to ensure it operates smoothly. This step is crucial for preventing jams during cooking. If you’re like me, you want to avoid any mid-grill troubleshooting.Mounting The Grill Components
Mounting the grill components is a crucial step in assembling your digital pellet grill. Proper placement ensures even cooking and optimal heat distribution. This process involves carefully setting up parts like the cooking grates and heat deflector. Each piece must fit securely to guarantee safety and performance.
Place Cooking Grates
Start by positioning the cooking grates inside the grill chamber. These grates hold the food and need to be stable. Slide them gently into the slots or rests designed for them. Check that the grates lie flat without wobbling.
Proper placement allows heat to spread evenly. It also helps in easy cleaning later. Make sure the grates do not block airflow inside the grill.
Install Heat Deflector
The heat deflector sits below the cooking grates. Its job is to shield food from direct flames. This part helps create indirect heat for slow cooking and smoking.
Place the heat deflector carefully on the designated supports. Ensure it covers the entire burner area. This setup prevents flare-ups and promotes even temperature control. Tighten any screws or clamps if your grill design requires it.
Connecting The Digital Controller
Connecting the digital controller is a crucial part of assembling your digital pellet grill. This component acts as the brain, managing temperature and smoke levels to ensure perfect grilling every time. Taking care during this step can save you from future frustrations and guarantee a smooth cooking experience.
Wire The Controller
Start by locating the controller’s wiring harness and matching the connectors to the grill’s wiring system. Each wire is usually color-coded or labeled, so pay close attention to avoid mix-ups.
Secure connections are key. Loose wires can cause erratic temperature readings or complete failure of the controller.
Test the wiring by gently tugging on each connection to confirm it’s firmly attached.
Attach Display Panel
The display panel shows your grill’s temperature and allows you to adjust settings easily. Align it carefully with the mounting bracket on your grill’s frame.
Use the screws or clips provided to fasten the panel securely. Avoid over-tightening, as this can crack the plastic or damage the screen.
Once attached, turn on the grill to check if the display powers up correctly. If the screen stays blank, revisit the wiring step to ensure all connections are solid.
Final Checks
Final checks are crucial before firing up your digital pellet grill. These last steps ensure everything is securely in place and functioning smoothly. Skipping this stage can lead to frustrating issues or even damage to your grill.
Tighten All Screws
Go over every screw on your grill and tighten it firmly. Loose screws can cause parts to wobble or fall off during cooking. Use a screwdriver that fits well to avoid stripping the screw heads.
Focus on areas like the hopper, lid hinges, and control panel mountings. Even if a screw feels snug, give it a slight turn to confirm it’s secure. You don’t want to discover a loose part mid-cook, ruining your meal or safety.
Test Pellet Feed
Before adding food, test the pellet feed system to make sure pellets move smoothly. Turn on the grill and listen for the auger motor activating. If you notice any unusual noises or pellets jammed, stop and clear the blockage immediately.
Observe the pellets feeding from the hopper into the firepot. A steady, consistent feed means the system is ready to cook. If pellets aren’t feeding correctly, check the hopper lid and auger for obstructions or misalignment.
What could happen if you skip this test? You might face uneven heating or the grill shutting off unexpectedly. Taking a few minutes now saves you time and frustration during your next barbecue session.
:max_bytes(150000):strip_icc()/ses-product-nexgrill-vertical-pellet-smoker-donna-currie-08-3eb75cbbf55b466fb06aa44193e21421.jpeg)
Credit: artis-terra.com
First Use Tips
Getting your digital pellet grill ready for its first use is crucial for long-lasting performance and great tasting food. Taking a little extra time now can save you from frustration later and help you understand your grill better. Let’s dive into some simple but essential tips that will set you up for success.
Season The Grill
Before cooking your first meal, it’s important to season the grill. This process helps burn off any residues from manufacturing and coats the grill’s grates with a protective layer.
Start by cleaning the grates with warm soapy water and drying them thoroughly. Then, apply a thin layer of cooking oil—vegetable or canola oil works well—over the grates using a cloth or paper towel.
Turn your grill on to about 350°F (175°C) and let it run for 45 minutes to an hour. This step creates a natural non-stick surface and helps prevent rust. Have you ever noticed how a well-seasoned pan cooks better? The same idea applies here.
Set Initial Temperature
Setting the right initial temperature is key to mastering your digital pellet grill. Avoid cranking it to the highest setting immediately. Instead, start with a moderate temperature around 225°F (107°C) to allow the pellets to burn evenly and establish a steady smoke.
This slow start helps the grill reach and maintain its target temperature without sudden spikes. Plus, it gives you time to observe how your grill responds and adjust settings if needed.
Think about the difference between warming up your car engine gently versus flooring it on a cold morning. Which feels safer and more efficient? Your grill operates the same way.
Frequently Asked Questions
How Do I Start Assembling A Digital Pellet Grill?
Begin by unpacking all parts and checking the manual. Attach legs and handles first. Secure the hopper and connect the controller according to instructions. Follow each step carefully to ensure proper setup and safety.
What Tools Are Needed For Assembly?
Most digital pellet grills require basic tools like a screwdriver and wrench. Some models include necessary tools in the package. Always have a clean workspace and read the manual to identify any special tools needed.
How Do I Connect The Digital Controller?
Attach the controller to the grill body using provided screws. Connect the wiring harness securely to avoid connection issues. Double-check the manual for exact port locations and ensure the controller powers on correctly after installation.
Can I Assemble The Grill Alone?
Yes, but having a helper speeds up the process. Some steps, like lifting the grill body, may require two people. Follow safety guidelines and take your time to avoid mistakes during assembly.
Conclusion
Assembling a digital pellet grill takes some time and care. Follow each step slowly to avoid mistakes. Check all parts before starting the assembly. Use the tools provided or recommended in the manual. Keep the grill clean and dry while working on it.
After assembly, test the grill to ensure it works well. Enjoy cooking tasty meals with your new pellet grill. Practice makes perfect, so don’t rush the process. Happy grilling!
