
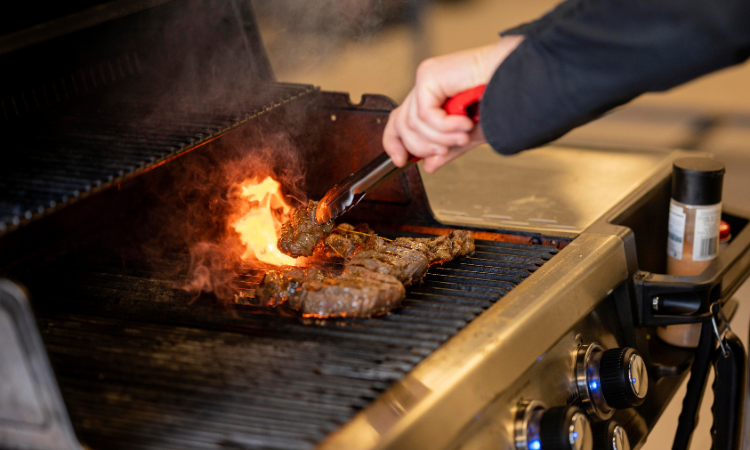
Are you tired of uneven cooking on your gas grill? Knowing how to adjust heat zones can transform your grilling experience.
When you control the temperature in different areas of your grill, you get perfectly cooked steaks, juicy chicken, and crispy veggies every time. In this guide, you’ll learn simple steps to set up and manage heat zones like a pro.
Keep reading to unlock the secret to mastering your gas grill and impress your family and friends with flawless meals.
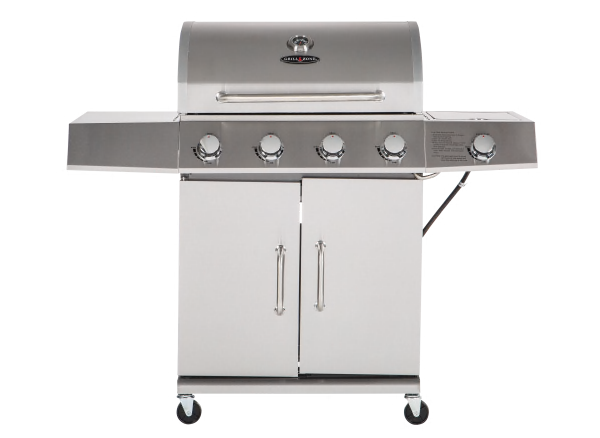
Credit: www.consumerreports.org
Gas Grill Heat Zones
Gas grill heat zones allow you to cook different foods at different temperatures on the same grill. They make grilling easier and more precise. Understanding heat zones helps you control cooking times and results better.
What Are Heat Zones
Heat zones are areas on the grill with different temperatures. You create them by adjusting the burners. One side can be hot for searing. The other side can be cooler for slow cooking.
This setup lets you move food between zones based on cooking needs. It helps prevent burning or undercooking. Heat zones give you more control over your grilling.
Benefits Of Multiple Zones
- Cook various foods at once without mixing flavors.
- Use high heat for searing steaks and low heat for vegetables.
- Keep cooked food warm on a cooler zone while finishing others.
- Control cooking speed to avoid burning or drying out food.
- Save fuel by turning off burners in unused zones.
Multiple zones improve cooking flexibility. They help make grilling simpler and more enjoyable.
Setting Up Heat Zones
Setting up heat zones on a gas grill lets you cook different foods at the right temperature. This technique helps prevent burning or undercooking. You can create areas with high, medium, and low heat on the grill surface. Each zone serves a specific cooking need. Understanding these zones improves grilling results and adds variety to your meals.
High Zones
High heat zones reach temperatures over 450°F. Use this zone for searing steaks, chops, and burgers. It locks in juices and creates a crispy crust. Keep food moving to avoid burning. High zones work best for quick cooking and caramelization.
Medium Zones
Medium zones have temperatures between 350°F and 450°F. This zone suits chicken, sausages, and vegetables. It cooks food evenly without drying it out. Use medium heat for longer cooking times than high zones. It balances browning and thorough cooking.
Low Zones
Low heat zones stay below 350°F. This zone is ideal for slow-cooking and warming food. Use it for delicate items like fish or for finishing thick cuts. Low zones keep food tender and moist. Great for indirect cooking and avoiding flare-ups.
Using Burners For Zones
Gas grills usually have multiple burners. Turn burners on or off to create heat zones. For a two-zone setup, turn one burner high and the other off or low. For three zones, set burners to high, medium, and low. Adjust burner knobs to control temperature precisely. Use a grill thermometer to check zone heat levels.
Adjusting Burner Controls
Adjust burner controls to create different heat zones on your gas grill for versatile cooking. Turn knobs to adjust flame size, making some areas hotter or cooler. This helps cook foods evenly and prevents burning.
Adjusting burner controls on a gas grill enhances cooking precision. By mastering these controls, you can cook meals evenly. This technique is essential for grilling enthusiasts. It allows for better heat distribution.Fine-tuning Flame Levels
Start by observing each burner. Adjust the knobs to control the flame size. Smaller flames suit delicate foods like fish. Larger flames cook thicker cuts of meat faster. Check the flame’s color. Blue flames indicate efficient burning. Yellow flames may need adjustment.Balancing Heat Across Zones
Arrange burners to create different heat zones. Keep one area on high for searing. Another on medium for slow cooking. Use the low setting for warming. This method prevents overcooking. It also ensures even cooking. Place food strategically. Move items between zones as needed. This technique is ideal for grilling various foods simultaneously. Perfect results with minimal effort.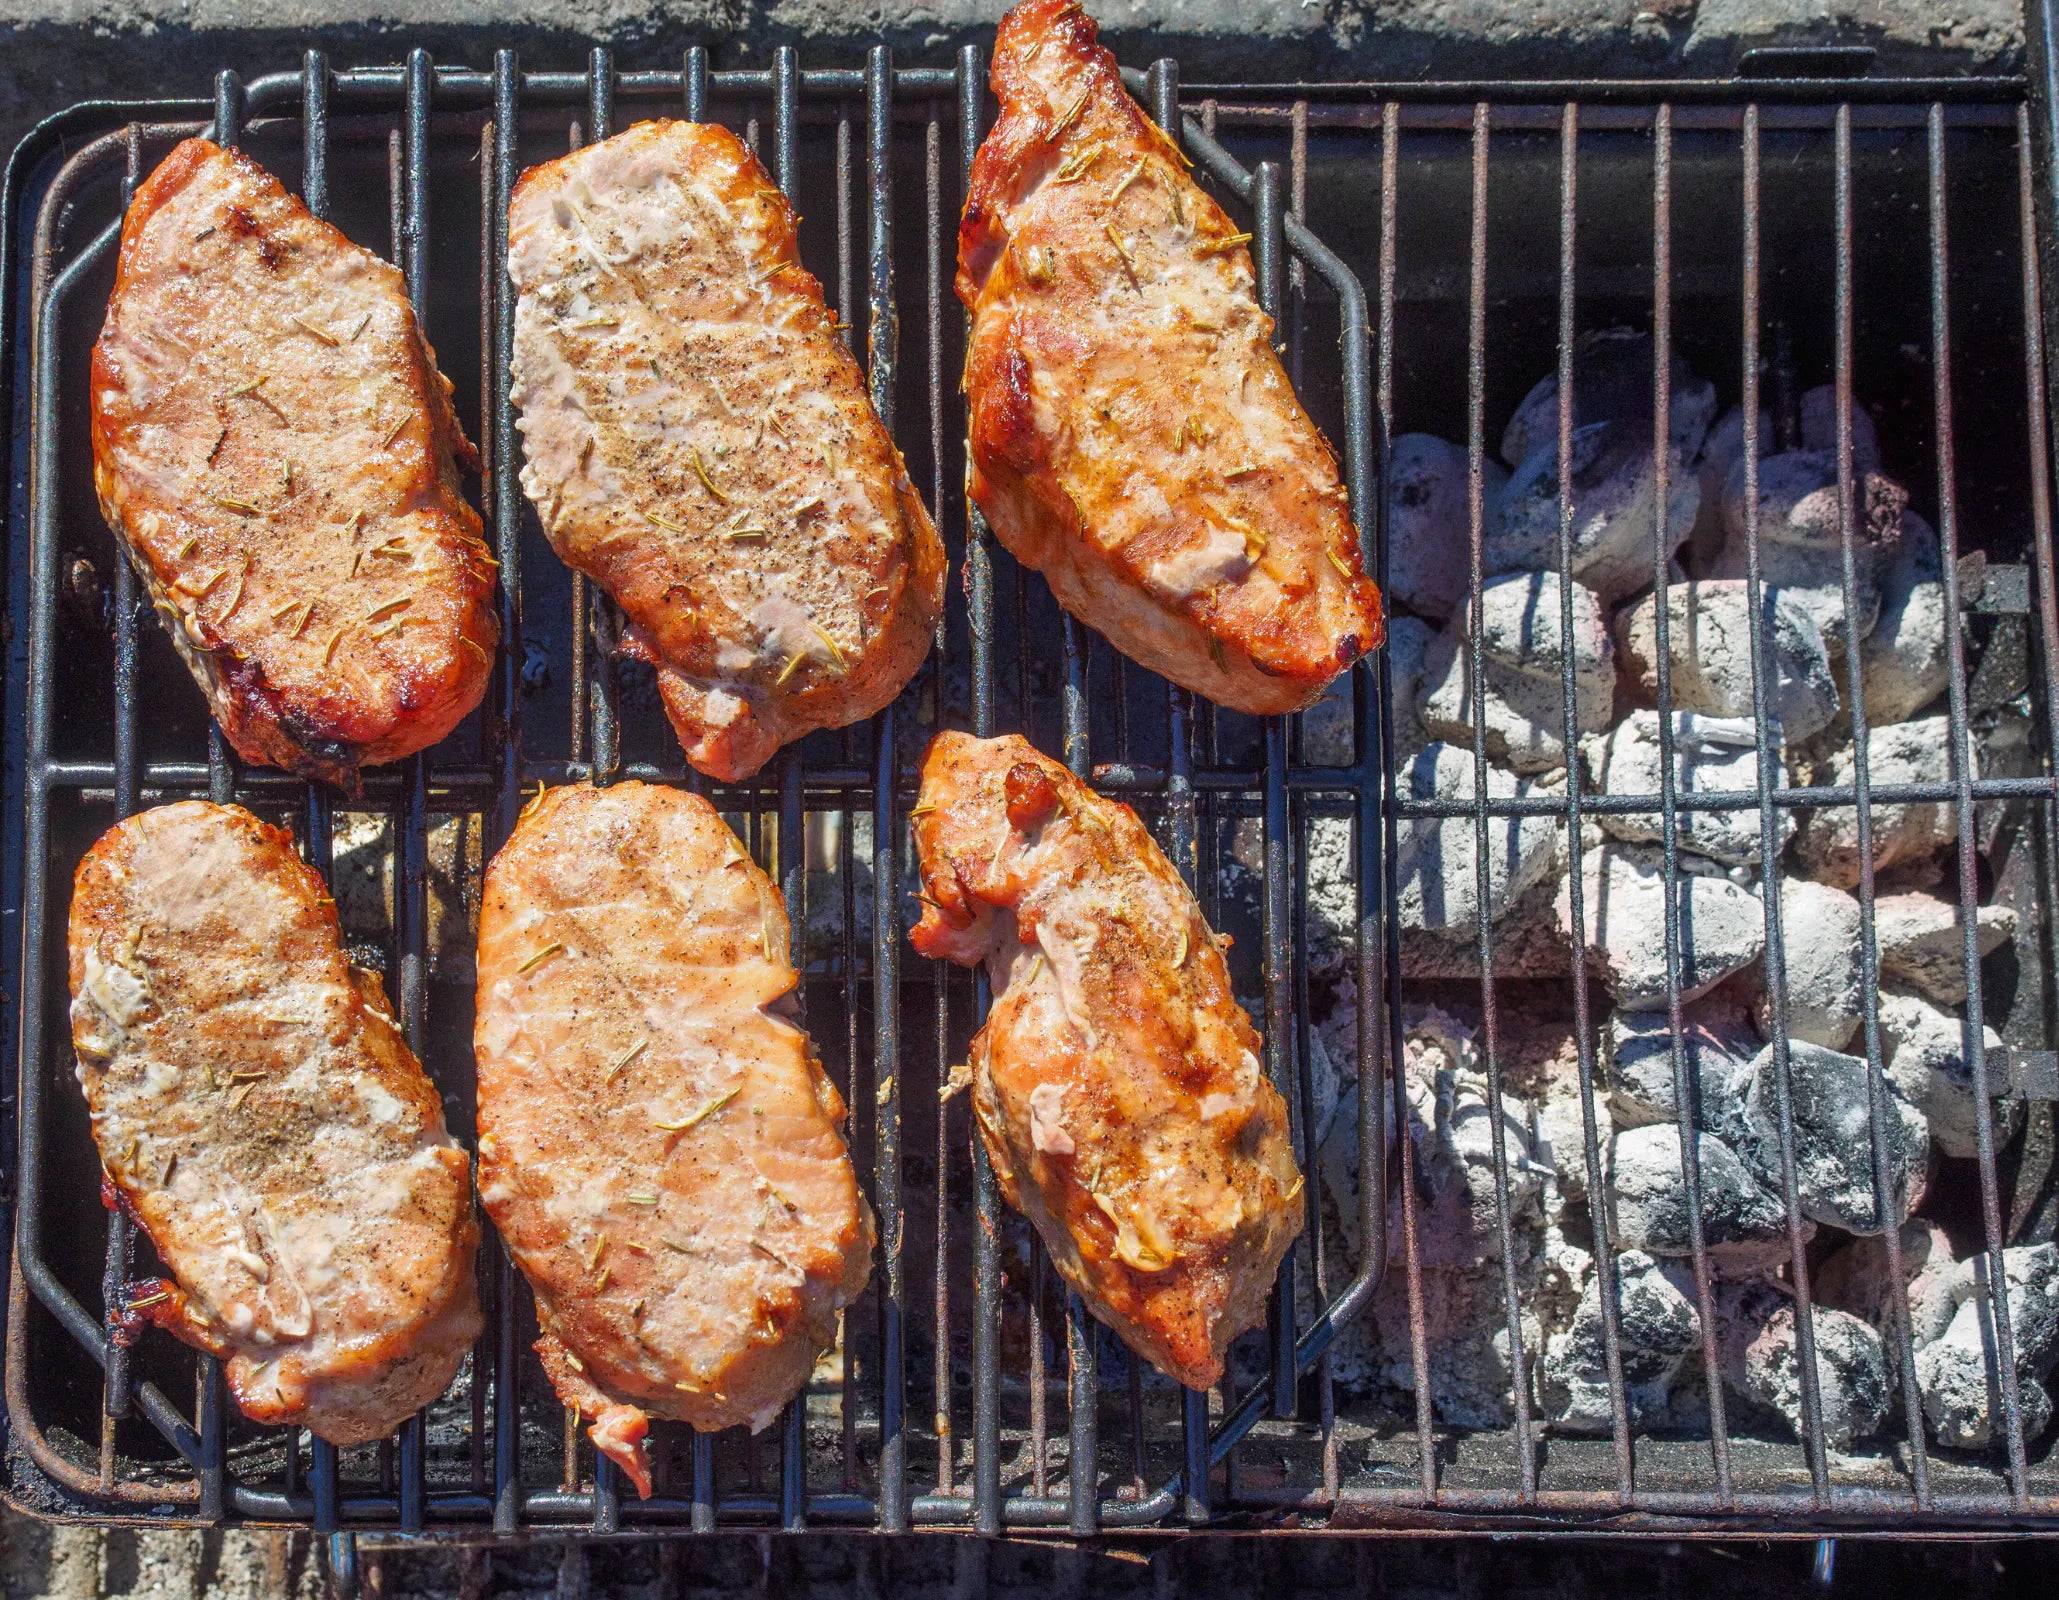
Credit: themeatstick.com
Using Heat Deflectors
Using heat deflectors is a smart way to control and adjust heat zones on your gas grill. These components help manage the flame’s intensity and spread heat more evenly across the cooking surface. If you’ve ever noticed uneven cooking or flare-ups, heat deflectors can be the key to solving those problems.
Role Of Heat Shields
Heat shields, also known as heat deflectors, sit directly above the burners. Their main job is to protect the burners from grease drippings and flames, reducing flare-ups. They also absorb and distribute heat, turning intense direct flame into more gentle, consistent heat.
Without heat shields, food can burn quickly or cook unevenly because of hot spots. You might have experienced a steak that’s perfect on one side and raw on the other—heat shields help prevent that. They create a barrier that balances the temperature, allowing you to cook more predictably.
Placement For Even Cooking
Where you place your heat deflectors impacts how your grill heats up. They should cover the burners completely but not block airflow, which is crucial for flame control. Positioning them too low can cause flare-ups, while placing them too high may reduce heat efficiency.
Try adjusting the deflectors so they sit just above the burners, allowing heat to spread evenly. You can experiment by moving them slightly forward or backward and observe how the heat zones change. Have you ever tried cooking chicken wings on one side and vegetables on the other? Proper placement of heat shields makes this multitasking easier and more successful.
Remember, each grill model is different. Check your grill’s manual for recommended heat shield arrangements, then tweak based on your cooking style. This hands-on approach helps you master your grill’s heat zones quickly.
Testing And Calibrating Zones
Testing and calibrating heat zones on a gas grill ensures even cooking. It helps avoid hot spots or cold areas that ruin your food. Proper calibration saves fuel and improves grilling results. This process involves measuring temperatures and making small adjustments. It requires patience and attention to detail.
Thermometer Techniques
Use an instant-read grill thermometer for accurate heat readings. Place it on different grill zones to check temperatures. Take readings at the grate level for best results. Avoid opening the lid too often, or heat will escape. Record the temperature in each zone to compare data. Use a wireless thermometer for continuous monitoring if available.
Adjusting Based On Results
Compare recorded temperatures to your target heat levels. Turn burners up or down to fix hot or cold zones. Move food placement according to temperature differences. Repeat testing after adjustments for precise control. Adjust gas flow slowly to avoid big temperature swings. Keep notes on settings for future grilling sessions.
Grilling Techniques With Zones
Grilling with heat zones lets you cook different foods perfectly at the same time. By adjusting your gas grill to have areas of high and low heat, you gain control over how each ingredient cooks. This technique helps you avoid burning delicate items while searing steaks to juicy perfection.
Searing And Slow Cooking
Searing requires high, direct heat to create a flavorful crust quickly. Set one zone on your grill to maximum heat for this purpose. Place steaks, chops, or veggies here first to lock in juices and develop color.
Slow cooking happens over a cooler zone with indirect heat. This area is perfect for thicker cuts of meat or tougher items that need time to become tender. Using two zones lets you start with a sear and then move the food to the cooler side to finish cooking slowly without drying out.
Have you noticed how a perfectly seared steak tastes different from one cooked evenly over medium heat? That contrast in cooking methods is possible only by mastering your grill’s zones.
Moving Food Between Zones
Moving food between heat zones is a simple trick that boosts your grilling results. Start by placing food on the hot zone for browning or searing. Then shift it to the cooler zone to cook through without burning.
This technique is especially useful for foods like chicken breasts, thick fish fillets, or sausages. You get a crispy outside and a juicy inside without constant flipping or guesswork.
- Use tongs or a spatula to move food carefully between zones.
- Watch the cooking progress closely to avoid overcooking.
- Experiment by leaving some foods in one zone longer to find your perfect method.
Have you tried this approach before? Notice how controlling heat zones can make your grilling easier and tastier at the same time?
Maintenance Tips For Consistent Heat
Maintaining consistent heat on your gas grill is essential for perfect cooking results every time you fire it up. Regular maintenance not only extends the life of your grill but also ensures that each heat zone works exactly as you set it. Neglecting small upkeep tasks can lead to uneven flames and unpredictable cooking temperatures.
Cleaning Burners
Burners are the heart of your gas grill’s heat zones. Over time, grease and food particles can clog the burner ports, causing uneven flames or weak heat output. Use a wire brush to gently clean the surface of the burners, paying special attention to the holes where the gas comes out.
Remove any debris stuck inside the burner tubes by carefully using a pipe cleaner or compressed air. Avoid using sharp objects that might damage the burner. After cleaning, light your grill and check for smooth, even flames across all burners. If you notice irregular flames, repeat the cleaning process or consider replacing the burners.
Checking Gas Flow
Consistent heat depends on proper gas flow from your propane tank or natural gas line. Start by inspecting hoses and connections for leaks or cracks. A simple soap and water solution applied to connections will bubble if gas is escaping.
Make sure your gas tank is full enough to provide steady pressure. If you feel the flames fluctuate or weaken unexpectedly, low gas pressure might be the cause. Regulator issues can also restrict gas flow, so check if your grill has a pressure regulator and ensure it is functioning correctly.
Have you ever adjusted your grill settings only to find the heat uneven? Sometimes the problem isn’t the knobs but the gas supply itself. Keeping an eye on these details will save you from mid-cookout frustration.

Credit: gearjunkie.com
Frequently Asked Questions
How Do I Create Heat Zones On A Gas Grill?
To create heat zones, turn on one or two burners on high and leave others off. This forms direct and indirect heat areas for versatile cooking.
Why Adjust Heat Zones On A Gas Grill?
Adjusting heat zones allows precise cooking control. It helps cook food evenly, prevents burning, and lets you cook different items simultaneously.
What Is The Best Burner Setting For Heat Zones?
Set one burner to high for direct heat and others to low or off for indirect heat. This setup suits most grilling needs.
How Can I Maintain Consistent Heat Zones?
Preheat the grill for 10-15 minutes and adjust burners as needed. Keep the lid closed to retain heat and ensure consistency.
Conclusion
Adjusting heat zones on your gas grill makes cooking easier. You can cook different foods at the right temperature. This helps avoid burning or undercooking your meals. Remember to check your grill’s settings before you start. Practice makes perfect, so try different heat zones often.
Enjoy tasty, well-cooked food every time you grill. Keep your grill clean for better heat control. Now, grilling feels simple and fun.
