

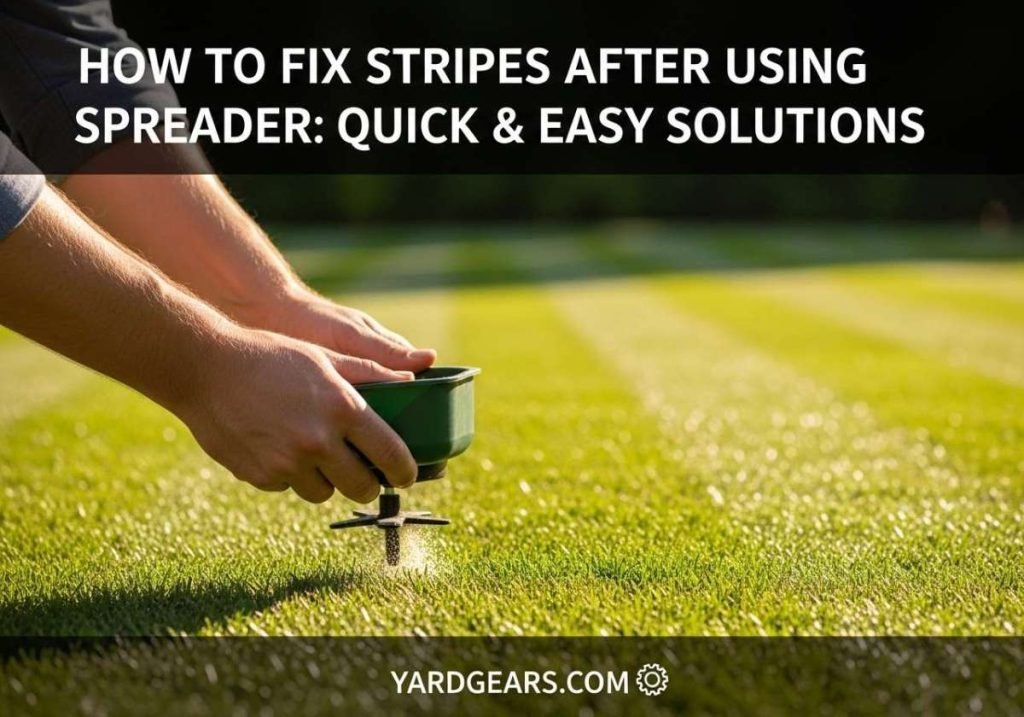
Have you ever finished spreading fertilizer or seed, only to notice ugly stripes ruining your lawn’s smooth look? Those uneven lines can be frustrating, making your hard work seem wasted.
But don’t worry—fixing those stripes is easier than you think. You’ll discover simple, practical steps to get rid of those marks and achieve a perfectly even lawn. Keep reading, and soon your yard will look flawless and healthy, just the way you want it.
Common Causes Of Stripes
Stripes often appear after using a spreader due to uneven application. These marks can affect the look and function of your surface.
Understanding why stripes happen helps you fix the problem and get a smooth finish every time.
Uneven Spreader Pressure
Applying uneven pressure with your spreader causes some areas to get more material than others. This creates visible stripes on the surface.
- Pressing too hard in some spots
- Letting the spreader lift off in others
- Moving the spreader at inconsistent speeds
Incorrect Spreader Settings
Using wrong settings on your spreader leads to uneven material flow. This causes stripes and patchy coverage.
| Setting Type | Effect on Spread |
| Too High | Material spreads too thickly, causing streaks |
| Too Low | Material spreads too thin, leaving gaps |
| Uneven Adjustment | Creates inconsistent stripes across surface |
Improper Application Technique
Technique plays a big role in stripe formation. Poor methods can cause lines or streaks to appear.
Common mistakes include:
- Starting or stopping in the middle of an area
- Overlapping unevenly between passes
- Moving the spreader too fast or too slow
Tools Needed For Fixing Stripes
Stripes appear after using a spreader if the paint is not even. Fixing these stripes needs the right tools. Using proper tools makes your work smooth and clean.
This guide explains the key tools needed to fix stripes. It covers spreader types, cleaning supplies, and sanding materials.
Types Of Spreaders
Different spreaders spread paint in different ways. Choosing the right spreader helps avoid stripes in the first place. Some spreaders are better for smooth surfaces.
- Flat spreaders work well on large, flat areas
- Notched spreaders help control paint thickness
- Rubber spreaders remove excess paint easily
Cleaning Supplies
Cleaning supplies help remove leftover paint and dust. Clean surfaces help fix stripes better. Always clean your tools and walls before touch-up.
- Paint thinner or water, depending on paint type
- Rags or soft cloths for wiping surfaces
- Sponges to gently clean the striped areas
- Brushes to clean spreader tools
Sanding And Touch-up Materials
Sanding helps smooth out striped paint areas. Use fine sandpaper to avoid damage. After sanding, touch-up with matching paint to hide stripes.
- Fine grit sandpaper (220-320 grit)
- Sanding blocks for even pressure
- Small paintbrushes for precise touch-ups
- Matching paint for a clean finish
Step-by-step Fixing Process
Stripes after using a spreader can make your surface look uneven. Fixing these stripes is simple if you follow the right steps. This guide will help you correct the issue quickly.
Each step focuses on one part of the process. Take your time to inspect, adjust, and smooth out the surface for the best results.
Inspecting The Stripes
Look closely at the striped areas on the surface. Check how deep and wide the stripes are. This helps you know how much work is needed.
Use good light to see the stripes clearly. Mark the most affected spots to focus your fixing efforts.
Adjusting The Spreader
Check the spreader settings before applying more material. Make sure the blade is clean and set evenly. Adjust the pressure to avoid deep stripes.
- Clean the spreader blade
- Set the blade height evenly
- Apply gentle, consistent pressure
- Test on a small area first
Reapplying Material Evenly
Apply a thin layer of material over the striped area. Spread it carefully to fill in the grooves and create a smooth surface. Use slow and steady movements.
- Start from one edge and move across
- Use overlapping strokes to avoid new stripes
- Keep the spreader at a steady angle
- Apply enough material to cover defects
Smoothing Out The Surface
After reapplying, smooth the surface with a flat tool or trowel. Work gently to blend the new material with the old. Remove excess material to keep it even.
Let the surface dry before checking for any remaining stripes. Repeat the smoothing if needed for the best finish.

Credit: www.reddit.com
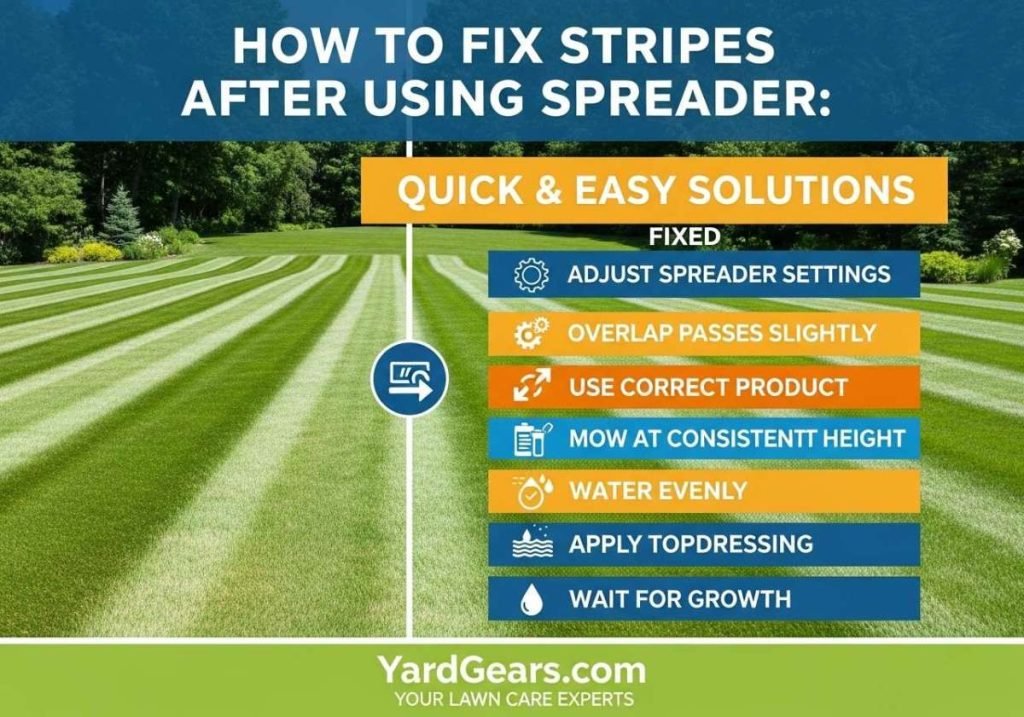
Preventing Stripes In Future Applications
Stripes appear after using a spreader if the application is uneven. Preventing stripes helps make your surface smooth and clean.
Following some simple steps will improve your spreader results. This guide covers key tips to avoid stripes.
Proper Spreader Calibration
Calibrate your spreader before each use. Correct calibration ensures the right amount of product is applied evenly.
Check the spreader settings for thickness and width. Adjust these settings to fit the job requirements.
- Set the spreader to the recommended thickness
- Test the spread on a small area
- Adjust if stripes or gaps appear
- Repeat until coverage is uniform
Consistent Application Speed
Move the spreader at a steady speed across the surface. Speed changes cause uneven layers and stripes.
Practice to find a rhythm. Keep your pace slow and even for the best results.
- Start with a slow, steady pace
- Keep your movements smooth
- Avoid stopping in the middle of a pass
- Overlap slightly to cover all areas evenly
Regular Maintenance Tips
Clean the spreader after every use. Dirt and residue cause uneven spreading and stripes.
Inspect the spreader parts often. Replace damaged or worn components to keep the tool working well.
- Wash off all product residue immediately
- Check blades and rollers for damage
- Lubricate moving parts as needed
- Store the spreader in a dry place
Quick Tips For Troubleshooting
Stripes after using a spreader can spoil your project’s look. Fixing these stripes quickly helps save time and effort.
Learn simple ways to spot problems and handle them. This guide covers material, drying, and environment tips.
Identifying Material Issues
Stripes often come from the material you use. Some paints or coatings may not spread evenly or mix well.
Check if the product is old or thick. Thick material causes uneven layers and stripes.
- Stir paint or coating before use to mix it well
- Thin thick materials with recommended thinner
- Use fresh material for smooth results
- Test material on a small area first
Dealing With Drying Time Variations
Different drying times can cause stripes after spreading. If some parts dry faster, you see uneven marks.
Control how fast or slow the material dries. This helps you get a smooth finish without stripes.
- Apply thin, even layers to help uniform drying
- Avoid spreading over partially dry areas
- Follow product drying time instructions carefully
- Work in small sections to keep the material wet
Handling Environmental Factors
Weather and temperature affect drying and spreading. High heat or wind can cause quick drying and stripes.
Work in good conditions to avoid stripes. Control the environment for best results.
- Paint in mild temperature and low wind
- Avoid direct sunlight on the work surface
- Keep humidity at recommended levels for the product
- Use fans or heaters carefully to control drying speed

Credit: www.reddit.com
Frequently Asked Questions
Why Do Stripes Appear After Using A Spreader?
Stripes appear due to uneven spreader speed or inconsistent material flow. This causes patchy application and visible lines on the surface.
How Can I Prevent Stripes When Using A Spreader?
Maintain a steady walking pace and consistent spreader settings. Overlapping each pass slightly also helps create an even finish.
What Tools Help Fix Stripes After Spreading?
Use a brush or roller to blend striped areas. Sanding lightly and reapplying material can also smooth out uneven spots.
Can Temperature Affect Stripe Formation After Spreading?
Yes, extreme temperatures affect material drying and spreading. Work in moderate conditions to ensure smooth and even application without stripes.
Conclusion
Fixing stripes after using a spreader takes some care and patience. Start by identifying the cause of the stripes. Adjust your spreader settings to ensure even coverage next time. Use a roller or brush to blend the striped areas smoothly.
Always apply paint in thin, consistent layers. Clean your tools well to avoid uneven spreading. Small fixes now save bigger problems later. Keep practicing these tips for better, stripe-free results. Painting can be easy with the right approach. Don’t let stripes ruin your project.
Try these steps and see the difference.

