
Your shed is more than just extra space—it’s a valuable part of your home. If your shed has a wooden floor, keeping it in good shape is key to making sure it lasts for years.
But how do you protect that wood from damage, moisture, and wear? You might think it’s complicated, but with the right steps, maintaining your wooden shed floor can be simple and even satisfying. You’ll discover easy, practical tips to keep your shed floor strong, clean, and looking great.
Ready to protect your investment and enjoy your shed to the fullest? Let’s dive in!
Choosing The Right Wood
Choosing the right wood for your shed floor is crucial to ensure durability and long-lasting performance. The wood you pick affects not only the shed’s stability but also its resistance to moisture and pests. Understanding your options will help you make a smart choice that fits your budget and maintenance plans.
Types Of Wood Suitable For Shed Floors
Not all wood types handle outdoor conditions the same way. For shed floors, hardwoods like oak and maple offer strength but can be costly. Softwoods such as pine and cedar are popular choices because they balance affordability and natural resistance to decay.
Cedar stands out for its natural oils that repel insects and resist moisture. Pressure-treated pine is another favorite; it undergoes chemical treatment that boosts its lifespan outdoors. You might wonder if exotic woods like teak or redwood are worth the investment—they are durable but often exceed typical shed budgets.
Benefits Of Treated Wood
Treated wood provides protection that plain wood simply can’t match. The treatment process infuses chemicals that prevent rot, fungal growth, and insect damage. This means less worry about your shed floor warping or weakening over time.
Using treated wood can save you money on repairs and replacements. It also reduces the frequency of maintenance tasks, freeing up your time for other projects. However, be sure to wear gloves and masks during installation to avoid contact with treatment chemicals.
Sourcing Quality Materials
Finding high-quality wood requires more than just picking the cheapest option at the store. Look for wood that is straight, free of large knots, and has a smooth surface. Inspect the ends for cracks, which can signal weak spots prone to splitting.
Buy from reputable suppliers who specialize in lumber for outdoor use. Don’t hesitate to ask about the wood’s treatment history and origin. Sometimes, investing a little extra upfront can prevent costly issues down the road.
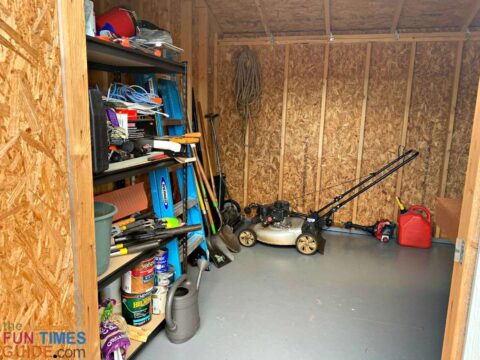
Credit: household-tips.thefuntimesguide.com
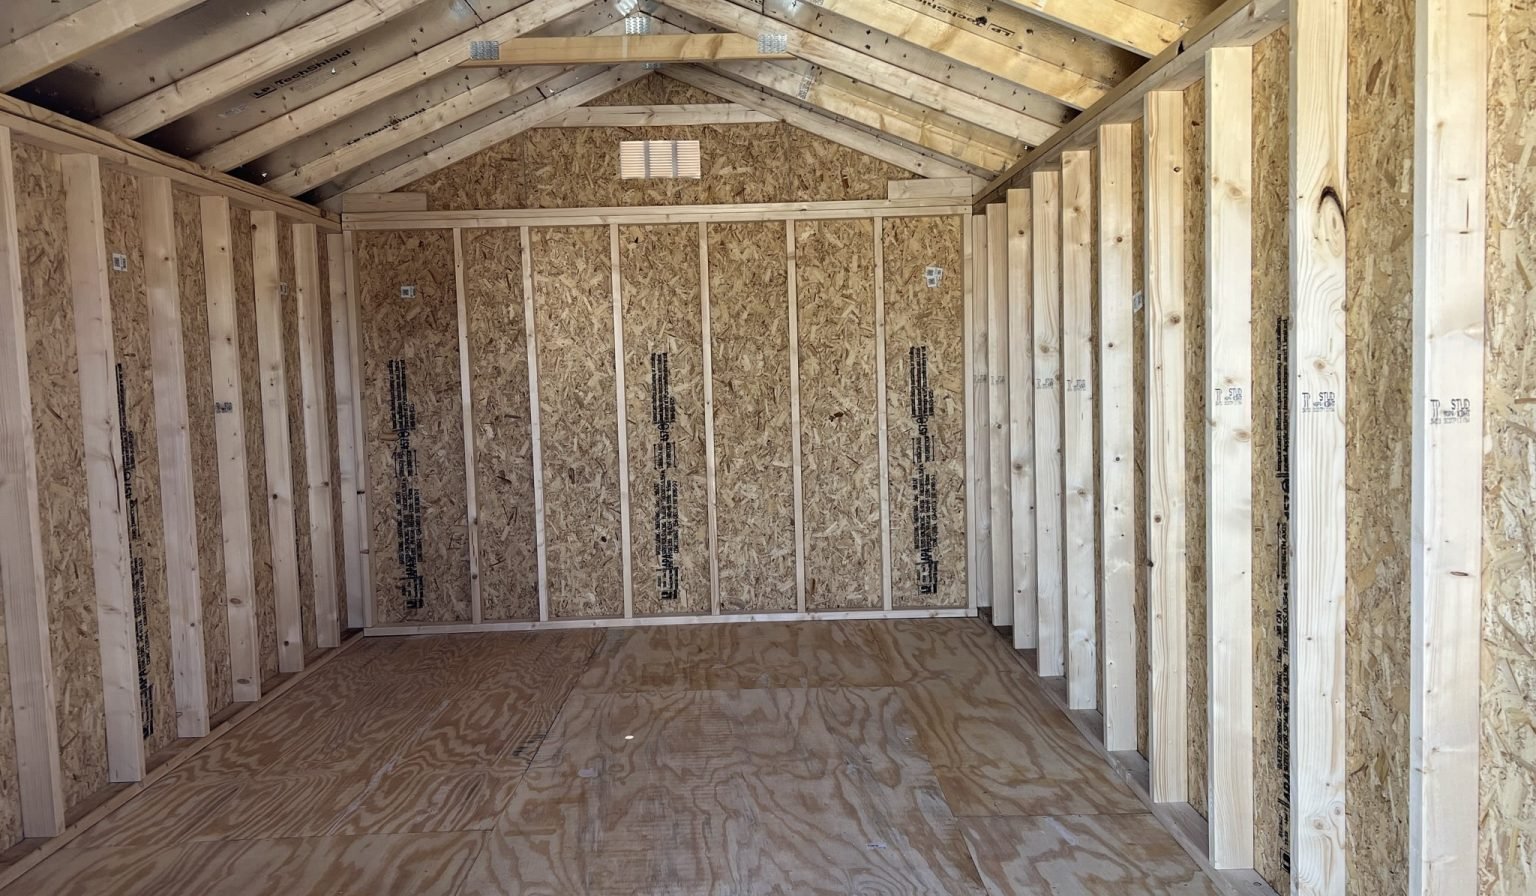
Preparing The Floor Base
Preparing the floor base is a crucial step when maintaining a shed with a wooden floor. A solid, well-prepared base prevents moisture damage, uneven flooring, and structural issues. It also ensures your shed remains sturdy and comfortable for years to come.
Leveling The Ground
Start by clearing the area where your shed sits. Remove rocks, roots, and debris to create a smooth surface.
Use a spirit level or a long straight board with a level to check the ground’s evenness. If you find dips or bumps, add or remove soil until the surface is flat.
Consider compacting the soil with a tamper or heavy roller. This prevents settling that could cause the floor to warp later on.
Installing A Moisture Barrier
Moisture is the enemy of wooden floors. A good barrier stops water from seeping up from the ground and causing rot.
Use a heavy-duty plastic sheet or a specialized vapor barrier. Lay it evenly across the entire base, overlapping edges by at least 6 inches.
Secure the barrier with staples or weights to keep it in place before you lay down the floor. This simple step can save you from expensive repairs down the line.
Proper Ventilation Setup
Ventilation plays a key role in preventing moisture build-up under your wooden floor. Without airflow, dampness can linger and lead to mold or wood decay.
Make sure your shed has vents near the base or install small vents in the floor itself. These allow air to circulate and keep the underside dry.
Think about adding a small fan or using breathable materials if your shed is in a particularly humid area. How often do you check your shed’s airflow?
Cleaning And Inspection
Keeping your shed’s wooden floor in great shape requires regular cleaning and careful inspection. Dirt, moisture, and unnoticed damage can quickly wear down the wood. Taking a few moments to clean and check your floor can save you from costly repairs later.
Routine Cleaning Methods
Start with sweeping the floor to remove dust, leaves, and debris that can trap moisture. Use a soft broom to avoid scratching the wood surface. After sweeping, mop the floor with a damp cloth or mop—avoid soaking the wood to prevent warping.
Try using a mild detergent mixed with water for deeper cleaning. Avoid harsh chemicals that can damage the wood finish. Make sure the floor dries completely; you can open windows or use a fan to speed up drying.
Checking For Damage And Rot
Look closely at the floorboards for any cracks, splits, or discoloration. Dark or soft spots often indicate rot and should be addressed immediately. Press gently with your fingers or a screwdriver—if the wood feels spongy, it’s time to replace that section.
Also, check the joints and edges where water might seep in. Small gaps can let moisture accumulate underneath, causing hidden damage. Fixing these early prevents the problem from spreading.
Identifying Pest Infestations
Wooden floors attract pests like termites, carpenter ants, and wood-boring beetles. Watch for tiny holes, sawdust piles, or hollow sounds when tapping the floor. These signs suggest pest activity that could weaken your shed’s foundation.
Regularly inspect the floor, especially in damp or shaded areas. If you spot any signs, treat the infestation promptly with appropriate insecticides or call a professional. Don’t let pests turn your sturdy shed into a fragile structure.
Sealing And Protecting The Wood
Sealing and protecting the wooden floor of a shed helps it last longer. Wood faces moisture, dirt, and wear every day. A good sealant stops water from soaking in. It also shields the wood from scratches and stains. Proper care keeps the floor strong and looking good.
Choosing The Right Sealant
Select a sealant that suits outdoor wood floors. Look for water-resistant and weatherproof types. Acrylic sealants are clear and dry quickly. Polyurethane offers a harder, tougher finish. Consider a sealant with UV protection. This stops the wood from fading in sunlight.
Applying Sealant Correctly
Clean the floor well before applying sealant. Remove dust, dirt, and old finishes. Use a brush or roller for even coverage. Follow the wood grain while applying. Avoid thick layers to prevent bubbling. Let the first coat dry fully. Apply a second coat for better protection.
Frequency Of Resealing
Check the floor every year for wear signs. Areas with heavy use may need resealing sooner. Typically, reseal every 1 to 3 years. Resealing keeps moisture and damage away. Watch for dullness or water spots as clues. Timely resealing saves money on repairs later.
Repairing And Replacing Damaged Sections
Damaged wooden floor sections in a shed should be repaired or replaced quickly to avoid further decay. Remove rotten boards carefully and install new, treated wood to keep the floor strong and dry. Regular checks help catch problems early.
Maintaining a shed with a wooden floor involves regular checks and timely repairs. Wooden floors can suffer from wear and tear over time. Repairing and replacing damaged sections can extend the life of your shed. This section will guide you on how to handle these issues.Spot Repairs For Minor Damage
For small scratches or dents, sanding works well. Use fine-grit sandpaper to smooth out the area. After sanding, apply a wood filler to fill any gaps. Let it dry completely. Once dry, sand the area again for a smooth finish. Finally, apply a matching stain or sealant.Replacing Floorboards
Sometimes, floorboards need replacing due to severe damage. First, remove the damaged board using a pry bar. Measure the gap and cut a new board to fit. Place the new board in the gap and secure it with nails or screws. Ensure it aligns with the surrounding boards. Finish by applying a stain or sealant to match the existing floor.Preventing Future Damage
Prevention is key to maintaining your shed floor. Regularly clean the floor to remove debris and moisture. Place mats or rugs at the entrance to reduce dirt entry. Apply a sealant annually to protect against water damage. Inspect for pests regularly and take action if needed. Proper ventilation can reduce moisture buildup inside the shed. These steps help maintain the integrity of your wooden floor.Controlling Moisture And Humidity
Controlling moisture and humidity is essential for keeping your shed’s wooden floor in good shape. Excess moisture can cause wood to warp, rot, or develop mold, leading to costly repairs. Taking simple steps to manage dampness can extend the life of your floor and keep the space comfortable.
Using Dehumidifiers
Dehumidifiers are a practical way to reduce indoor moisture, especially in humid climates or during rainy seasons. Placing a compact dehumidifier inside your shed helps pull excess moisture from the air, preventing condensation on the wooden floor.
Choose a unit with the right capacity for your shed’s size. Regularly empty the water collection tray or connect a drainage hose to avoid overflow. Have you noticed a musty smell in your shed? A dehumidifier can often solve that problem quickly.
Improving Drainage Around The Shed
Water pooling around your shed is a major cause of elevated humidity inside. Check that the ground slopes away from the shed’s foundation to guide rainwater outward. You might need to add soil or gravel to create a gentle slope.
Installing gutters and downspouts can direct roof water away from the base. Additionally, consider placing drainage pipes or French drains if your shed sits in a low spot. What if you could stop water before it reaches your shed? That’s the power of good drainage.
Managing Indoor Humidity
Ventilation plays a key role in controlling humidity inside your shed. Make sure vents are unblocked and allow fresh air to circulate. Opening windows or installing a vent fan can help air move freely, reducing moisture buildup.
Using moisture absorbers like silica gel packs or activated charcoal can also help in smaller sheds. Regularly check your wooden floor for signs of dampness or mold, and address any leaks immediately. Could better airflow be the simple fix your shed needs?
Preventing Pest Problems
Wooden floors in sheds face constant risks from pests. These pests can cause serious damage over time. Protecting your shed’s wooden floor helps keep it strong and lasting longer. Early prevention is key to avoiding costly repairs and replacements.
Common Wood-damaging Pests
- Termites: Tiny insects that eat wood from the inside out.
- Carpenter Ants: They hollow out wood to build nests.
- Wood Borers: Beetles that lay eggs in wood, damaging it as larvae grow.
- Powderpost Beetles: Create fine, powder-like dust as they bore into wood.
Natural Pest Deterrents
Keep the shed dry and well-ventilated. Moisture attracts many pests. Remove wood debris and leaves near the shed. Use cedar or eucalyptus wood chips around the floor. These repel insects naturally. Essential oils like neem and peppermint can be sprayed on wooden surfaces. Planting herbs such as lavender or mint nearby can help deter pests.
Chemical Treatments And Safety
Use wood preservatives designed to prevent pest damage. Apply insecticides carefully, following instructions. Wear gloves and masks during application. Avoid spraying near food or water sources. Keep children and pets away until the area dries. Regularly inspect treated wood for signs of new infestations.

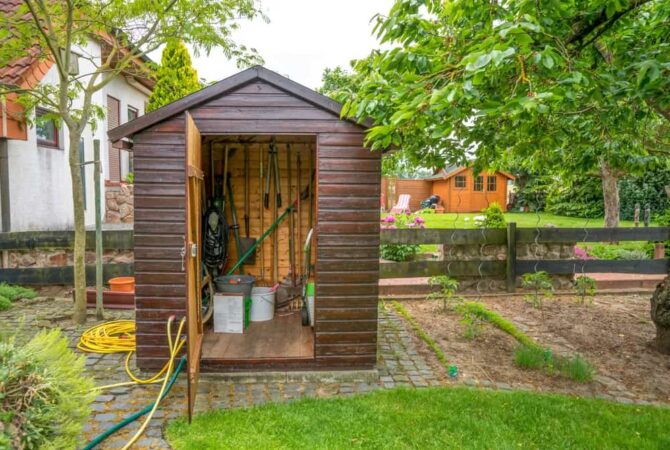
Credit: www.urban-sheds.com
Regular Maintenance Schedule
Maintaining a shed with a wooden floor requires a regular maintenance schedule. A consistent routine keeps your shed in top shape. It helps prevent damage and extends its lifespan. Breaking down tasks into monthly, seasonal, and annual categories can make this manageable.
Monthly Tasks
Inspect your shed floor for any signs of damage. Look for cracks or warping. Sweep the floor to remove dirt and debris. This prevents moisture buildup. Check for any leaks in the roof. Repair them promptly to avoid floor damage. Ensure there is proper ventilation. This helps reduce moisture accumulation.
Seasonal Checks
As seasons change, conduct a thorough inspection. In spring, check for winter damage. In summer, ensure the shed remains cool and dry. Fall is the time to clear fallen leaves and debris. In winter, make sure snow and ice do not pile up. These checks prevent seasonal wear and tear.
Annual Deep Maintenance
Once a year, perform deep maintenance. Refinish the wooden floor to protect against moisture. Use a sealant to enhance its durability. Examine the structure for any needed repairs. Replace damaged boards promptly. This keeps the shed sturdy and safe. Treat the wood for pests if necessary. This protects against infestations.
Credit: www.extraspace.com
Frequently Asked Questions
How Often Should I Clean A Wooden Floor Shed?
Clean your wooden floor shed at least once a month. Sweep or vacuum to remove dust and debris. Wipe with a damp cloth using mild soap. Avoid excess water to prevent wood damage and maintain its durability.
What Is The Best Sealant For Wooden Shed Floors?
Use a high-quality polyurethane sealant for wooden shed floors. It protects against moisture, wear, and UV damage. Apply two to three coats for optimal protection. This sealant extends the floor’s lifespan and keeps it looking fresh.
How Can I Prevent Wood Rot In Shed Floors?
Ensure proper ventilation and drainage in your shed. Keep the floor dry by fixing leaks and using a dehumidifier if needed. Regularly inspect for water damage and apply sealant to protect against moisture.
Should I Use Rugs On Wooden Shed Floors?
Yes, using rugs can protect wooden floors from scratches and dirt. Choose breathable, non-slip rugs to prevent moisture buildup. Rugs add comfort and help maintain the floor’s finish longer.
Conclusion
Maintaining a shed with a wooden floor takes regular care and attention. Clean the floor often to stop dirt and moisture damage. Check for cracks or loose boards and fix them quickly. Use a good wood sealant to keep the floor strong and dry.
Keep the shed well-ventilated to avoid mold and rot. Small efforts now save big repairs later. A well-kept wooden floor makes your shed last longer and look better. Simple steps make a big difference over time.

