
Are you tired of digging through a messy tool rack every time you need a screwdriver or wrench? Labeling your tools can save you time, reduce frustration, and keep your workspace organized.
Imagine reaching for the exact tool you need in seconds, every single time. You’ll discover simple, effective ways to label your tools so you never waste a moment searching again. Ready to transform your tool rack into a model of order and efficiency?
Let’s get started!

Credit: www.hgtv.com
Benefits Of Labeling Tools
Labeling your tools in the tool rack brings clear advantages that impact your daily work. It helps you stay organized and reduces stress when searching for the right tool. The benefits go beyond just neatness—they improve efficiency, security, and safety in your workspace.
Save Time And Effort
When tools have clear labels, you don’t waste precious minutes hunting for them. You can quickly spot what you need, even in a crowded rack. This simple step speeds up your tasks and keeps your workflow smooth.
Imagine working on a project and needing a specific screwdriver. Instead of rummaging through a pile, you grab it immediately because you labeled its spot. How much more could you get done if every tool was this easy to find?
Prevent Tool Loss
Tools without labels often get misplaced or borrowed and never returned. Labeling creates a sense of ownership and accountability. You know exactly which tool belongs where, making it easier to spot if something is missing.
This practice is especially useful in shared workshops. When everyone knows where tools belong, the chances of losing them drop dramatically. Have you ever lost a tool only to find it months later in a random drawer? Labels help avoid that frustration.
Enhance Workspace Safety
Clear labels help you avoid grabbing the wrong tool, which can prevent accidents. Using the right tool for the job reduces the risk of injury and damage to your work. Labels also help keep sharp or dangerous tools stored properly, out of harm’s way.
Safety is not just about equipment but also about habits. When your tools are labeled and organized, you develop better handling routines. Could your workspace be safer just by adding simple labels to your tools?
Choosing The Right Labels
Choosing the right labels for your tool rack ensures easy identification and organization. The right label improves efficiency and keeps your workspace tidy. Different labels suit different environments and tool types. Understanding label materials, durability, and visibility helps you select the best option.
Label Material Options
Labels come in various materials. Paper labels are cheap but not very durable. Plastic labels resist moisture and wear better. Vinyl labels offer flexibility and strong adhesion. Metal labels are sturdy and great for heavy-use areas. Choose a material based on your workspace conditions and tool handling.
Durability Considerations
Durability matters for long-lasting labels. Consider exposure to water, oil, and dirt. Some labels resist smudging and fading. Heat and cold can affect some materials. Use weatherproof or laminated labels for harsh environments. Durable labels reduce the need for frequent replacements.
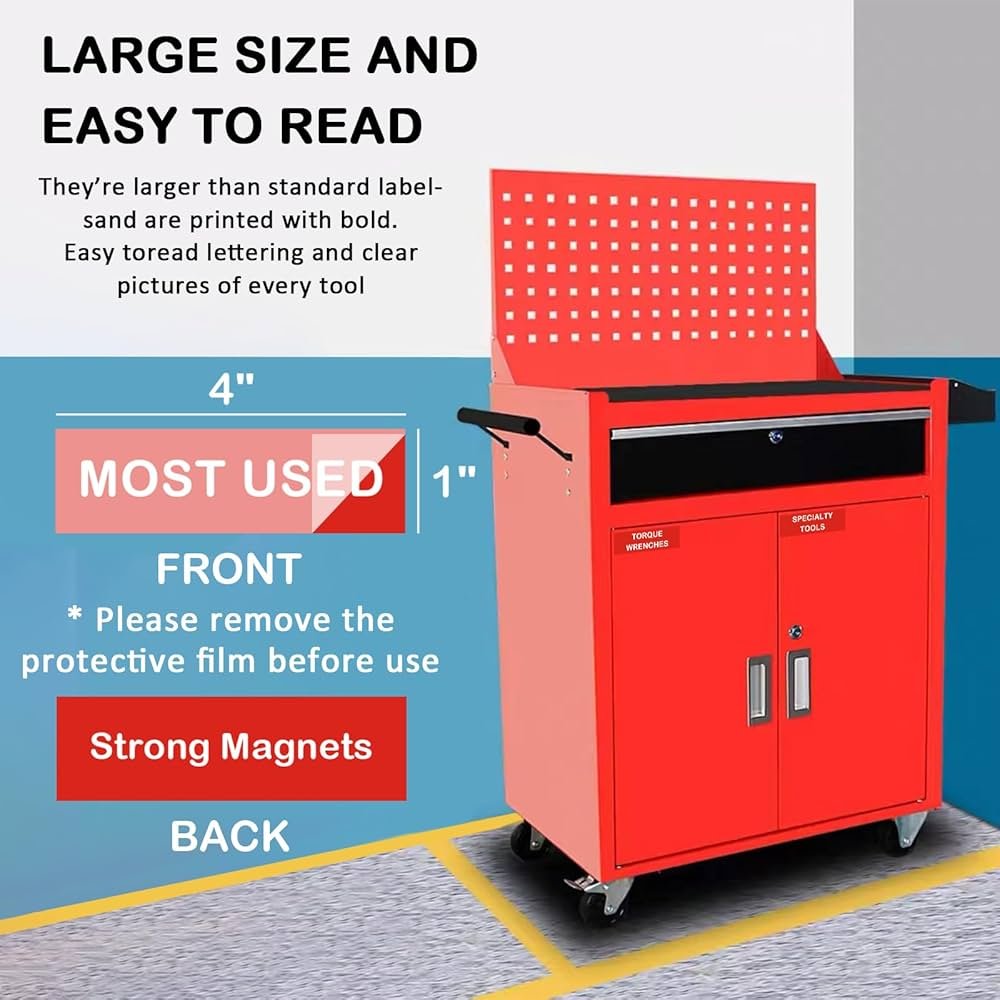
Visibility And Readability
Labels must be easy to read from a distance. Use clear fonts with large letters. Contrast colors improve visibility, like black text on white background. Avoid fancy fonts that confuse readers. Consider label size and placement on the tool rack. Good visibility saves time and prevents mistakes.
Preparing Your Tool Rack
Preparing your tool rack sets the foundation for effective labeling. It’s not just about slapping a label on any spot. Taking time to prepare ensures your labels are clear, organized, and long-lasting, which saves you from future frustration.
Clean And Clear The Surface
Start by removing all tools from the rack. Dust, grease, and dirt can prevent labels from sticking properly, so give the surface a thorough wipe-down. Use a mild cleaner and a dry cloth to make sure the rack is spotless and dry before you begin labeling.
Have you ever peeled a label off only to find it left behind a sticky mess? Cleaning first helps avoid that hassle and keeps your labels looking neat for longer.
Arrange Tools By Category
Group your tools logically before you label. Put similar items together—like screwdrivers in one section, pliers in another. This arrangement makes it easier to assign clear labels that make sense at a glance.
Try laying out your tools on a table first. This helps you visualize the space each category needs and prevents overcrowding on your rack.
Measure Label Placement
Take a ruler or tape measure to plan where each label will go. Consistent spacing and alignment create a professional look and improve readability. Don’t guess—measure twice and mark lightly with a pencil before sticking labels down.
Think about the height and angle from which you’ll usually view the rack. Placing labels too high or too low can make them hard to read, defeating the purpose of your effort.
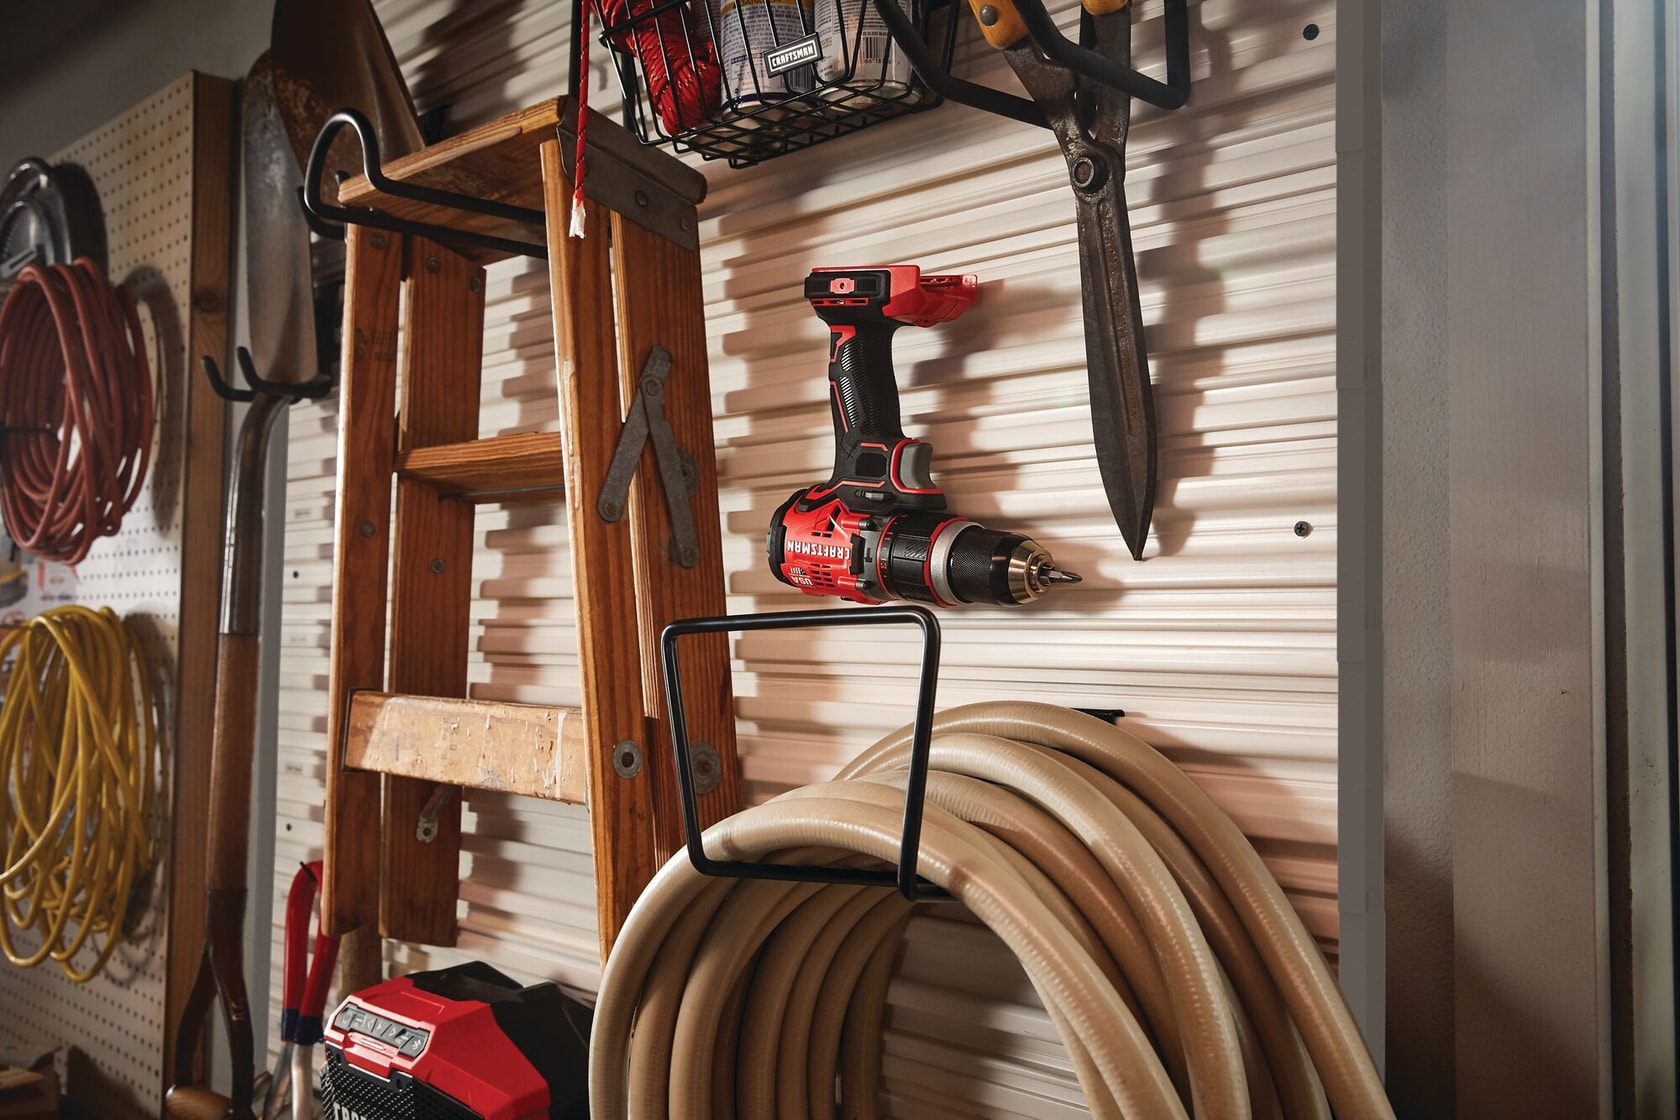
Credit: www.craftsman.com
Labeling Techniques
Labeling your tools effectively can save you time and keep your workspace organized. Choosing the right labeling technique depends on the type of tools you have and how often you use them. Let’s look at some practical ways to label tools in your tool rack that you can start using today.
Using Adhesive Labels
Adhesive labels are quick and easy to apply. You can print or write the tool name directly on the label, then stick it to the tool handle or the tool rack.
Look for waterproof or oil-resistant labels to make sure the label stays readable even if your tools get dirty or wet. Clear labels can blend in nicely without overwhelming your tool rack visually.
Have you noticed how some labels peel off after a few weeks? Try pressing down firmly and smoothing out air bubbles when applying to improve adhesion.
Applying Tag Labels
Tag labels are ideal for tools that you often move or share. These tags can be tied or clipped onto the tool, making them portable and easy to spot.
Use durable materials like plastic or laminated paper to prevent tearing. Tags with bold, large print help you read the tool name from a distance.
Think about attaching color-coded tags to group similar tools together. This visual cue can speed up finding what you need.
Engraving Or Etching
Engraving or etching your tool names directly onto the metal or wooden parts creates a permanent label that won’t wear off.
This technique works well for tools you use frequently and want to keep track of for a long time. It also looks professional and can add a personalized touch.
If you don’t have engraving tools, many local hardware stores offer this service at a reasonable price. Wouldn’t it feel good to know your tools are clearly marked, no matter how hard you work with them?
Maintaining Label Organization
Clear labels help keep tools easy to find and put away. Use simple tags with big letters to mark each tool’s spot. This saves time and keeps your workspace neat.
Maintaining a well-organized tool rack is essential. Proper labeling plays a key role in this task. Labels help in identifying tools quickly, saving time and reducing confusion. To keep the labels effective, it is important to maintain their organization. This involves updating, replacing, and encouraging proper usage of the labels. Let’s explore how to achieve this in a simple manner.Regularly Update Labels
Tool collections often change. New tools are added, and old ones are replaced. Regularly check your labels. Ensure they reflect the current inventory. Remove outdated labels. Add new ones for any new tools. This keeps the rack neat and easy to navigate.Replace Damaged Labels
Labels can wear out over time. Dust, moisture, and handling can cause damage. Check for labels that are torn or faded. Replace them immediately. Use durable materials for new labels. This ensures longevity and readability. A clear label saves time and reduces errors.Encourage Consistent Use
Everyone should use the labeled system. Encourage family or team members. Remind them to return tools to their labeled spots. Consistency maintains the organization. It also makes finding tools easier for everyone. Consistent use helps in maintaining an efficient workspace.
Credit: www.temu.com
Tools And Supplies Needed
Labeling your tools on a tool rack might seem simple, but having the right supplies makes a big difference. The right tools not only speed up the process but also ensure your labels last longer and remain clear. Gathering these essentials before you start saves frustration and keeps your workspace organized.
Label Makers And Printers
A label maker or printer is the most efficient way to create neat, professional-looking labels. These devices allow you to customize font sizes, styles, and even add symbols to make identification easier. If you’ve ever struggled to read handwritten labels, you’ll appreciate how a label maker improves clarity and consistency.
Consider a thermal label printer if you want waterproof and smudge-proof labels. They’re perfect for a garage or workshop where tools face grease and dust regularly. Investing in a good label printer means your labels stay intact longer, saving you from redoing the work frequently.
Markers And Pens
Sometimes a simple marker or pen is all you need, especially for quick labeling or temporary tags. Choose permanent markers with fine tips for clear, precise writing on labels or directly on tools. If you’ve ever used a marker that faded in days, you know why quality matters here.
Keep a variety of colors handy. Color-coding your tools by type or frequency of use can speed up your workflow and reduce confusion. Think about what colors will stand out best against your labels or tool surfaces.
Cleaning Materials
Before sticking any label, cleaning the surface is essential to ensure it adheres well. Dust, oil, or moisture can cause labels to peel off quickly. Use rubbing alcohol or a mild cleaner with a lint-free cloth to prep your tools or the rack.
Cleaning might sound basic, but it’s often overlooked. I once labeled a set of wrenches without cleaning, and the labels started peeling within a week. Taking a few extra minutes to clean can save you hours of relabeling later.
Frequently Asked Questions
How Do I Choose The Best Labels For Tool Racks?
Choose durable, waterproof labels with clear fonts. Use color-coding to organize tools by type or size. Vinyl or laminated labels last longer in workshops.
What Are Simple Steps To Label Tools Effectively?
Clean the tool rack surface first. Measure label size to fit tools. Attach labels securely and group similar tools together for easy access.
Can I Use Digital Tools For Labeling Tool Racks?
Yes, digital label makers create neat, uniform labels quickly. They offer customizable fonts and sizes, improving organization and readability in your tool rack.
How Often Should Tool Rack Labels Be Updated?
Update labels whenever tools are added, removed, or relocated. Regular updates ensure accurate organization and save time finding tools during projects.
Conclusion
Labeling tools on your rack keeps everything clear and easy to find. It saves time and reduces frustration during projects. Clear labels help maintain order and protect your tools. Use simple tags and place them where you can see them quickly.
This small step improves your workspace a lot. Stay consistent with your labeling style for the best results. Organized tools mean smoother work and less stress every day. Give it a try and notice the difference yourself.
