
Do you want a neat and stylish way to store your firewood indoors? Building your own indoor firewood rack can keep your space organized and add a cozy touch to your home.
It’s easier than you might think, and you don’t need special skills or tools. In this guide, you’ll discover simple steps to create a sturdy and attractive rack that fits your space perfectly. Keep reading, and you’ll be ready to build your own firewood rack that looks great and works even better.
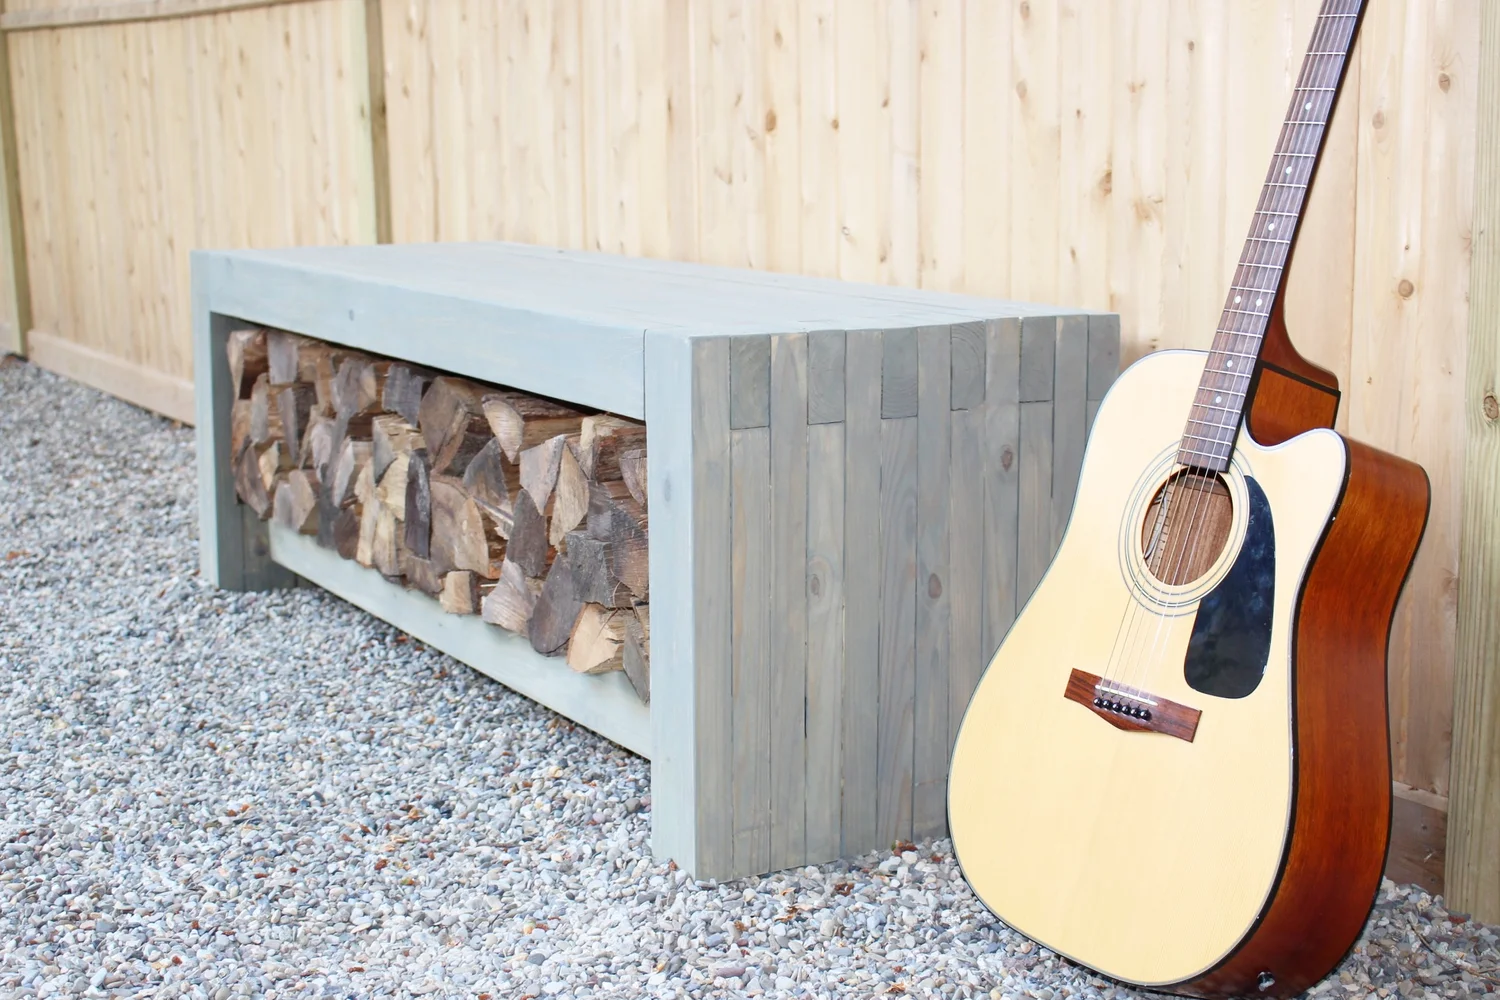
Credit: www.vevor.com
Materials Needed
Gathering the right materials is key for building a sturdy indoor firewood rack. Choose quality wood and tools. Prepare extra supplies to ensure smooth construction. This section covers everything needed to start your project.
Wood Types
- Pressure-treated lumber – strong and resistant to moisture
- Pine – affordable and easy to work with
- Cedar – naturally resistant to decay and insects
- Oak – very durable but heavier to handle
- Plywood – for backing or shelves, choose exterior grade
Tools Required
- Measuring tape – for accurate cuts and spacing
- Hand saw or circular saw – to cut wood pieces
- Drill – for making holes and driving screws
- Screwdriver – manual or electric for fastening
- Level – to ensure the rack stands straight
- Hammer – useful for nails or adjustments
- Sandpaper – to smooth rough edges
Additional Supplies
- Wood screws – to hold parts together securely
- Wood glue – adds extra strength to joints
- Wood stain or paint – protects wood and improves appearance
- Protective gloves – for safety during handling and building
- Drop cloth – to protect floors from dust and paint
- Wood filler – to cover any holes or gaps
Choosing The Location
Choosing the right location for your indoor firewood rack is essential. It affects both convenience and safety. Picking the best spot helps keep your home tidy and your firewood dry. This section covers key points to consider before setting up your rack.
Space Considerations
Find a spot with enough room for the rack and wood. Leave extra space around it to move and stack logs easily. Avoid tight corners or narrow hallways. The area should allow airflow to keep the wood dry. Check for flat, stable flooring to prevent the rack from tipping. Think about where you will use the firewood most often. Near the fireplace or wood stove is ideal for quick access.
Safety Tips
Keep the rack away from open flames and heat sources. Maintain a safe distance to avoid fire hazards. Avoid placing firewood near electrical outlets or cords. Store wood off the ground to prevent moisture and pests. Use racks made from non-flammable materials if possible. Make sure the rack is sturdy and well-built to avoid accidents. Regularly check the area for dust or debris buildup to reduce fire risk.
Measuring And Planning
Measuring and planning are the first and most important steps to build an indoor firewood rack. Accurate measurements help ensure the rack fits perfectly in your space. Planning the design allows you to organize the wood efficiently and safely. Taking time to measure and plan will save effort and materials later.
Determining Rack Size
Start by measuring the space where you want to place the firewood rack. Note the width, height, and depth available. Consider how much firewood you want to store. A good rule is to allow enough room for about one to two cords of wood. Keep in mind air circulation for drying the wood. Also, think about the rack’s height for easy access and stability.
Sketching Your Design
Draw a simple sketch of your firewood rack based on the measurements. Include the rack’s length, width, and height on the sketch. Decide on the number of shelves or compartments. Mark where you will place supports and braces. Use clear lines and labels to avoid confusion during building. A good sketch acts as a guide and helps avoid mistakes.

Credit: www.makinghomebase.com
Cutting The Wood
Cutting the wood is a crucial step in building your indoor firewood rack. Precise cuts ensure the rack fits perfectly and holds the wood safely. Taking your time here will save you frustration later and give your project a professional look.
Marking Measurements
Start by measuring each piece of wood carefully. Use a tape measure and mark the wood with a pencil where you need to cut. Double-check your measurements before making any cuts—once wood is cut, you can’t undo it.
Consider marking both ends of each piece for accuracy. This helps keep your cuts straight and consistent. If you’re building multiple identical pieces, making a simple template out of scrap wood can speed up the process and reduce mistakes.
Safe Cutting Techniques
Safety comes first. Before cutting, wear safety goggles and gloves to protect your eyes and hands. Use a stable work surface and clamp the wood down to prevent it from moving as you cut.
If you’re using a power saw, keep your hands away from the blade and follow the tool’s instructions closely. Take steady, controlled strokes instead of rushing. Have you ever noticed how a slow, careful cut produces a cleaner edge and reduces splintering?
Keep your workspace clear of clutter to avoid tripping or distractions. If you’re new to cutting wood, practicing on scrap pieces first can boost your confidence and help you understand how the saw handles different types of cuts.
Assembling The Frame
Building an indoor firewood rack can be a rewarding DIY project that enhances your home’s functionality and charm. One crucial step in this process is assembling the frame, which provides the structural foundation for your rack. Ensuring a sturdy and reliable frame is essential for safety and longevity, so let’s dive into the details.
Joining The Pieces
Start by laying out all the pieces of your frame on a flat surface. This allows you to visualize the entire structure and make any necessary adjustments. Make sure each piece fits snugly with the others to avoid instability later.
Consider using a corner clamp to hold pieces together while you work. This tool can be a real game-changer, especially if you’re working solo. Have you ever tried assembling without enough hands? It’s challenging, but clamps can act as your extra set.
Using Screws And Nails
When it comes to fastening your frame pieces, you have a couple of options: screws or nails. Each has its benefits, but screws generally provide stronger joints. They’re less likely to come loose over time, which is crucial for a structure that supports weight.
If you choose screws, pre-drilling holes can prevent wood from splitting. This small step can save you from future headaches and ensure a professional look. If nails are your preference, a nail gun can speed up the process significantly, making the task less tedious.
As you work, periodically check the frame’s alignment with a level. Even small misalignments can affect the final stability of your rack. This attention to detail might seem trivial, but it plays a significant role in the durability and safety of your finished product.
Adding Support And Stability
Adding support and stability to your indoor firewood rack is crucial to ensure it holds up safely and securely. Without proper reinforcement, the rack might wobble or collapse under the weight of the wood. Let’s look at two key ways you can strengthen your firewood rack: using cross braces and installing a solid feet or base.
Cross Braces
Cross braces create a strong diagonal support that prevents your rack from swaying side to side. They work by distributing the weight evenly and locking the frame in place. You can use metal strips, wooden slats, or even sturdy rope for cross braces.
Attach the braces in an “X” shape across the back of the rack. Secure them tightly with screws or nails at the frame’s corners. I once skipped this step and noticed the rack felt unstable when loaded. Adding cross braces fixed that issue immediately.
Feet Or Base
Raising your firewood rack off the floor helps protect the wood from moisture and keeps the rack steady. A solid base or feet also stops it from tipping forward as you add more firewood. Use thick wooden blocks, metal brackets, or small pallets to create a stable foundation.
Make sure the base is level and wide enough to distribute the weight evenly. If your floor is uneven, consider adjustable feet or shims to balance the rack perfectly. Have you checked how stable your rack feels before loading it? A little time spent here saves you from accidents later.
Finishing Touches
Finishing touches are what transform your indoor firewood rack from a simple structure to a polished piece that fits perfectly in your living space. These final steps not only improve the rack’s appearance but also increase its durability. Paying attention to details like smoothing rough edges and protecting the wood will make your project truly stand out.
Sanding Surfaces
Start by sanding all surfaces to remove splinters and rough spots. Use medium-grit sandpaper first, then move to finer grit for a smooth finish. This step is crucial because it prevents scratches and makes the wood feel pleasant to touch.
Focus on corners and edges where roughness is most common. Sanding also helps the sealant or paint adhere better, ensuring a longer-lasting finish. Do you notice how a well-sanded piece looks more professional and inviting?
Applying Sealant Or Paint
Choose a sealant or paint that suits your indoor environment and wood type. Clear sealants enhance the natural grain, while paint lets you add a pop of color to match your décor. Either way, the goal is to protect the wood from moisture and wear.
Apply thin, even coats using a brush or spray, allowing each layer to dry completely before adding the next. This careful application avoids drips and uneven textures. Have you thought about how the finish you pick can either blend your rack into the room or make it a focal point?
Loading And Organizing Firewood
Organizing firewood indoors requires careful planning. A well-built rack is crucial for storing firewood efficiently. It keeps the wood dry and accessible. Proper loading and organizing enhance usability and appearance. Let’s explore effective techniques.
Stacking Techniques
Stacking firewood properly prevents accidents and maximizes space. Use a crisscross method for stability. This involves alternating layers of wood in different directions. It creates a sturdy pile. Start with larger logs at the bottom. Smaller pieces go on top. Keep stacks low to avoid tipping.
Maintaining Airflow
Airflow is vital for keeping firewood dry. Ensure gaps between logs for ventilation. Place the rack away from walls. This prevents moisture buildup. A well-ventilated area speeds up drying. Avoid stacking wood directly on the floor. Use a raised platform or pallet. This keeps wood off damp surfaces.
Maintenance Tips
Maintaining your indoor firewood rack keeps it strong and neat. Regular care helps avoid damage and extends its life. A well-kept rack also ensures safe and easy access to your firewood. Simple maintenance routines save time and effort later.
Regular Cleaning
Dust and dirt can build up on your firewood rack. Clean it often to keep it looking good and working well. Use a soft cloth or brush to remove debris. Wipe down wooden or metal parts with a damp cloth. Dry the rack completely to prevent moisture damage. Keep the area around the rack tidy to reduce dust and pests.
Checking For Damage
Inspect your firewood rack regularly for signs of wear or damage. Look for cracks, loose screws, or rust spots. Tighten any loose bolts or nails to keep the rack stable. Sand down rough or splintered wood to avoid injury. Apply a protective finish or paint to prevent rust and wood decay. Early fixes stop small problems from becoming big ones.

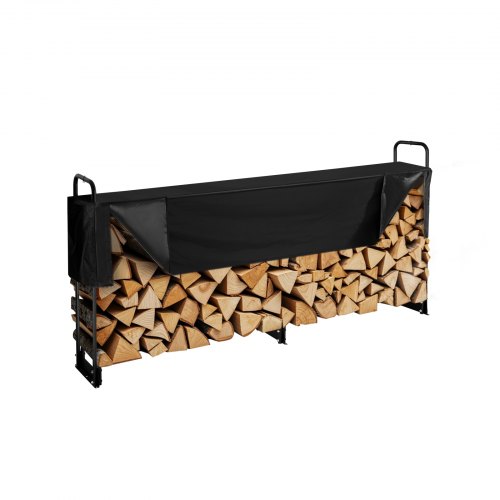
Credit: www.walmart.com
Frequently Asked Questions
What Materials Are Best For An Indoor Firewood Rack?
Wood and metal are ideal materials for indoor firewood racks. Wood offers a natural look and durability. Metal provides strong support and modern style. Both materials ensure stability and can handle the weight of firewood safely indoors.
How Do You Prevent Firewood From Rotting Indoors?
Keep firewood dry and well-ventilated to prevent rotting indoors. Use a rack that elevates wood off the floor. Avoid stacking firewood against walls. Proper airflow reduces moisture buildup, ensuring your firewood stays dry and ready to burn.
What Size Rack Is Suitable For Indoor Firewood Storage?
Choose a rack size based on your firewood usage and available space. A compact rack holds 1-2 cords of wood. Ensure it fits comfortably indoors without overcrowding. Proper sizing helps maintain organization and easy access to firewood.
How To Safely Place A Firewood Rack Indoors?
Place the firewood rack away from heat sources and open flames. Maintain clearance around the rack to prevent fire hazards. Position it in a dry, ventilated area to keep wood in good condition and ensure safety inside your home.
Conclusion
Building an indoor firewood rack is simple and useful. It keeps your wood dry and easy to reach. You save space and add a neat look to your room. Just follow the steps carefully and use safe materials. This small project can make a big difference in your home.
Enjoy warm fires with well-stored wood all season. Try building one yourself and see how handy it is. A sturdy rack helps keep your firewood ready anytime you need it.

