
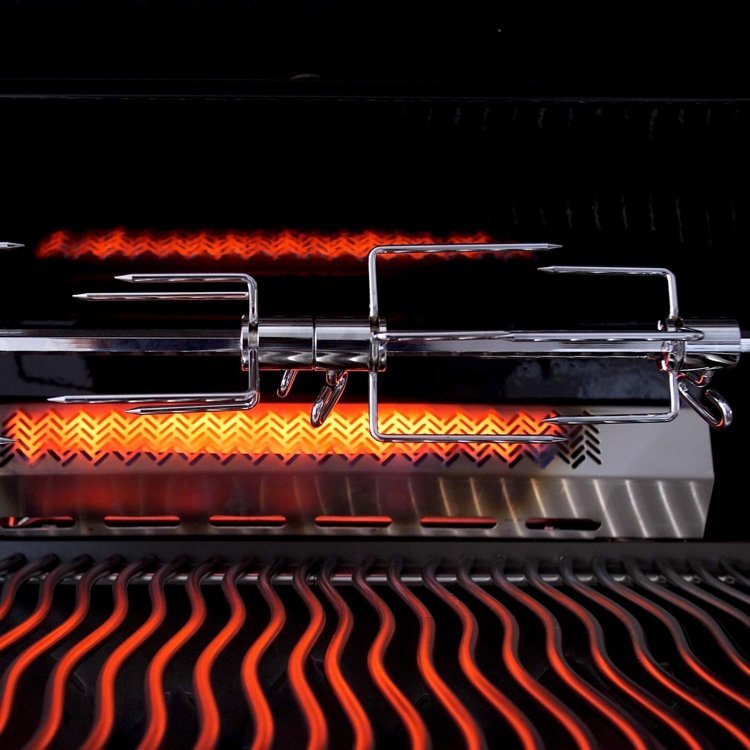
If you own an infrared gas grill, you know how important it is to keep it in top shape. But cleaning the burner can feel tricky and time-consuming.
What if there was a simple way to do it that saves you effort and keeps your grill working perfectly? You’ll discover easy steps to clean your infrared gas grill burner quickly and safely. By following these tips, your grill will stay efficient, last longer, and deliver better-tasting meals every time.
Keep reading—your next cookout will thank you!
Preparing Your Grill
Getting your infrared gas grill ready for cleaning sets the stage for a smooth and effective process. Taking a few moments to prepare can save you from frustration and potential hazards later. Let’s look at the key steps to prepare your grill before you start scrubbing the burner.
Gather Necessary Tools
Before you start, make sure you have everything you need within arm’s reach. Essential tools include a grill brush with stiff bristles, a soft cloth or sponge, a screwdriver to remove burner covers, and a vacuum or compressed air for clearing debris.
Some people also find it helpful to have a bucket of warm soapy water and a pair of gloves. Having these ready will keep you focused and efficient during the cleaning.
Ensure Safety Measures
Safety should never be overlooked. Wear protective gloves to shield your hands from sharp edges and hot surfaces. It’s also wise to work in a well-ventilated outdoor area to avoid inhaling any dust or fumes.
Ask yourself: Is your grill completely cool? Never attempt cleaning while the grill is still hot. Taking these precautions protects both you and your equipment.
Turn Off Gas Supply
This step is critical to avoid accidents. Locate the gas valve on your propane tank or natural gas line and turn it off completely. Double-check by trying to ignite the grill to confirm the gas flow has stopped.
Remember, even a small leak can cause serious harm. Cutting off the gas supply keeps your cleaning safe and worry-free.

Credit: www.amazon.ca
Removing The Burner
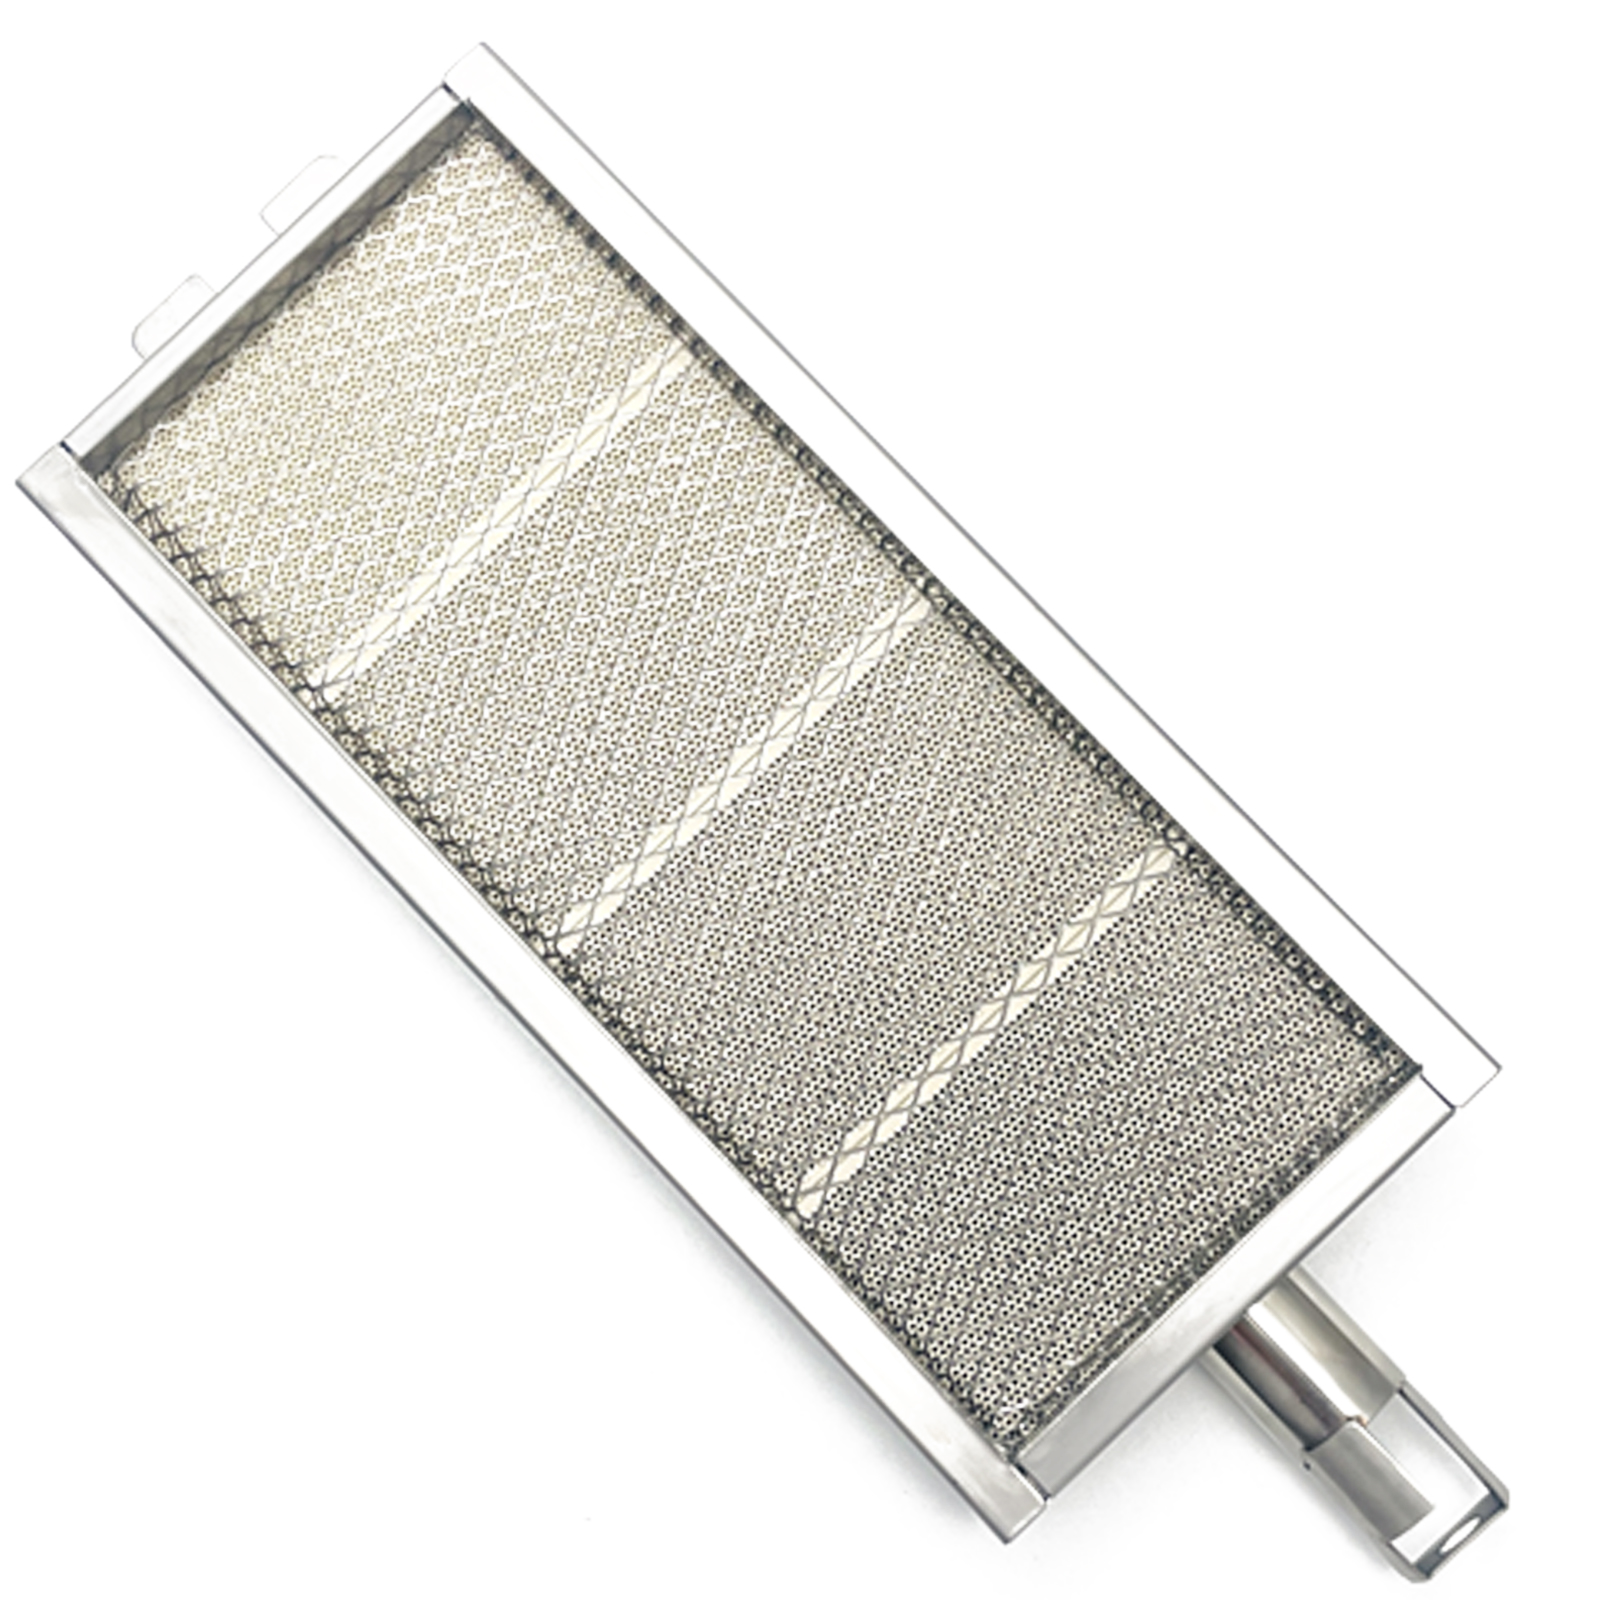
Removing the burner is a crucial step in cleaning your infrared gas grill. It allows you to access hard-to-reach areas and ensures a thorough clean. Handle the burner with care to avoid damage. Follow simple steps to detach it safely.
Locate The Burner
First, open the grill lid and locate the burner inside. The burner usually runs along the length of the grill. It is often held in place by screws or clips. Check the grill manual to identify the burner parts. Clear any food debris or grease around it before removal.
Detach Components Carefully
Turn off the gas supply and disconnect the propane tank or gas line. Use a screwdriver to remove screws or fasteners holding the burner. Keep the screws in a safe place for reassembly. Gently lift the burner away from the grill body. Avoid bending or scratching the burner surface. Detach any connected wires or sensors carefully to prevent damage.
Cleaning The Burner
Keeping your infrared gas grill burner clean is vital. This ensures optimal performance and longer lifespan. A clean burner provides better heat distribution and prevents flare-ups. Regular maintenance also saves you from expensive repairs. Follow these steps to clean your grill burner effectively.
Remove Debris And Ash
Start by removing the grill grates. Check for loose debris and ash on the burner. Use a soft cloth or brush to wipe away any particles. Make sure the burner is cool before cleaning. This prevents burns and damage to the grill.
Use Appropriate Cleaning Agents
Choose cleaning agents that are safe for your grill. Avoid harsh chemicals that might damage the metal. Mild dish soap and warm water work well. Mix them in a spray bottle for easy application. Test the cleaning solution on a small area first.
Scrub With A Soft Brush
Use a soft brush to scrub the burner gently. Circular motions help remove grime without scratching. Pay attention to clogged holes. These can affect the grill’s performance. Rinse with clean water and dry with a towel. Ensure the burner is fully dry before reassembling the grill.
Inspecting For Damage
Inspecting your infrared gas grill burner for damage is crucial before cleaning. It helps ensure safe and efficient grilling. Damaged burners can cause uneven heat or gas leaks. Careful inspection prevents potential problems and extends the grill’s life.
Check For Rust Or Corrosion
Rust or corrosion weakens the burner’s metal. Look for reddish-brown spots or flaky patches. Even small rust areas can grow quickly. Use a wire brush to gently remove loose rust. If corrosion is severe, consider replacing the burner.
Look For Blockages
Blockages reduce gas flow and affect flame quality. Check burner tubes and ports for dirt or spider webs. Use compressed air or a soft brush to clear debris. Make sure nothing blocks the gas flow paths.
Assess Burner Holes
Burner holes control gas release for even flames. Examine each hole for clogging or damage. Clogged holes cause weak or uneven flames. Clean holes carefully with a small wire or needle. Replace the burner if holes are too damaged.
Reassembling The Grill
Reassembling the grill is a key step after cleaning. It ensures the grill works safely and efficiently. Proper reassembly prevents gas leaks and keeps the burner stable. Take time to put all parts back carefully. Follow the steps below to finish this process smoothly.
Reattach The Burner
Place the burner back in its original spot inside the grill. Align it with the mounting brackets and gas ports. Make sure the burner fits snugly and does not wobble. Check that the burner holes face upward for proper flame flow. Secure it gently without forcing any parts.
Secure All Parts
Reinstall all screws, bolts, and clips removed during cleaning. Tighten them enough to hold the parts firmly. Do not overtighten to avoid damaging the components. Ensure the heat shields and cooking grates are properly positioned. Double-check that nothing is loose or out of place.
Reconnect Gas Supply
Attach the gas line or tank back to the grill’s regulator. Turn the connection clockwise until it is tight and secure. Check for gas leaks by applying soapy water around the connection. Look for bubbles indicating a leak, and fix it before use. Always open the gas valve slowly to control the flow.
Credit: www.walmart.com
Testing And Maintenance Tips
Keeping your infrared gas grill burner in top shape requires more than just occasional cleaning. Testing and routine maintenance help you catch small issues before they become costly repairs. Let’s look at practical ways to ensure your burner performs safely and efficiently every time you grill.
Perform A Flame Test
After cleaning, always check your burner’s flame. A healthy burner should produce a steady, blue flame with minimal yellow tips. If the flame flickers or is uneven, it could mean blockages or gas flow problems.
To perform a flame test, turn on your grill and observe the flames closely. Are they consistent across all burner ports? If not, you may need to clear debris or adjust the gas pressure. This quick test can save you from flare-ups or poor cooking results later.
Regular Cleaning Schedule
Set a cleaning routine based on how often you use your grill. For frequent grillers, a monthly deep clean of the burner is ideal. Light users can get away with cleaning every few months.
Keeping a simple checklist helps: remove the burner, clean with a soft brush, check for rust or damage, and wipe down with a damp cloth. Don’t forget to clear the burner ports with a thin wire if they seem clogged. Regular cleaning extends your burner’s life and improves heat distribution.
Preventive Care Suggestions
- Cover your grill:Protect your burner from rain and debris by using a quality grill cover.
- Inspect connections:Regularly check gas hoses and fittings for leaks or cracks.
- Avoid harsh tools:Use non-abrasive brushes to prevent damaging the burner’s surface.
- Store properly:If you won’t grill for a long time, disconnect and store the burner indoors.
Have you noticed how small preventive steps reduce your grill headaches? Taking the time to care for your burner means you spend more time enjoying your cookouts, not fixing equipment.
Credit: www.walmart.ca
Frequently Asked Questions
How Often Should I Clean An Infrared Gas Grill Burner?
Clean your infrared gas grill burner every 3 to 4 months. Frequent cleaning ensures optimal heat distribution and extends burner life. If you grill often, clean it more regularly to prevent grease buildup and maintain safety.
What Tools Do I Need To Clean Infrared Grill Burners?
Use a wire brush, soft cloth, mild detergent, and a vacuum. Avoid abrasive tools that damage the burner surface. These tools help remove debris and grease without harming the burner’s material.
Can I Use Water To Clean Infrared Grill Burners?
Yes, but use water sparingly and avoid soaking the burner. After cleaning with water, dry the burner thoroughly to prevent rust and corrosion. Use a damp cloth for gentle cleaning if needed.
Why Is Cleaning Infrared Burners Important For Grill Performance?
Cleaning removes grease and debris, preventing flare-ups and uneven heating. A clean burner produces consistent infrared heat for better cooking results. It also prolongs burner lifespan and ensures safe grill operation.
Conclusion
Cleaning your infrared gas grill burner keeps it working well. Regular care stops clogs and uneven heat. Use a brush and gentle cleaner for best results. Always check the burner for damage before use. Clean burners make grilling safer and tastier.
Keep your grill ready for every cookout. Simple steps save you time and money later. Enjoy smoky, delicious meals with a clean grill.

