
If you use a bong or a water pipe, you know how quickly ash catchers can get dirty. A clogged or grimy ash catcher can ruin your smoking experience and affect the taste.
But cleaning it doesn’t have to be a hassle. In this guide, you’ll discover simple, effective ways to keep your ash catcher spotless and working like new. Stick around, and you’ll save time, avoid frustration, and enjoy every session to the fullest.
Ready to make your ash catcher shine again? Let’s get started!
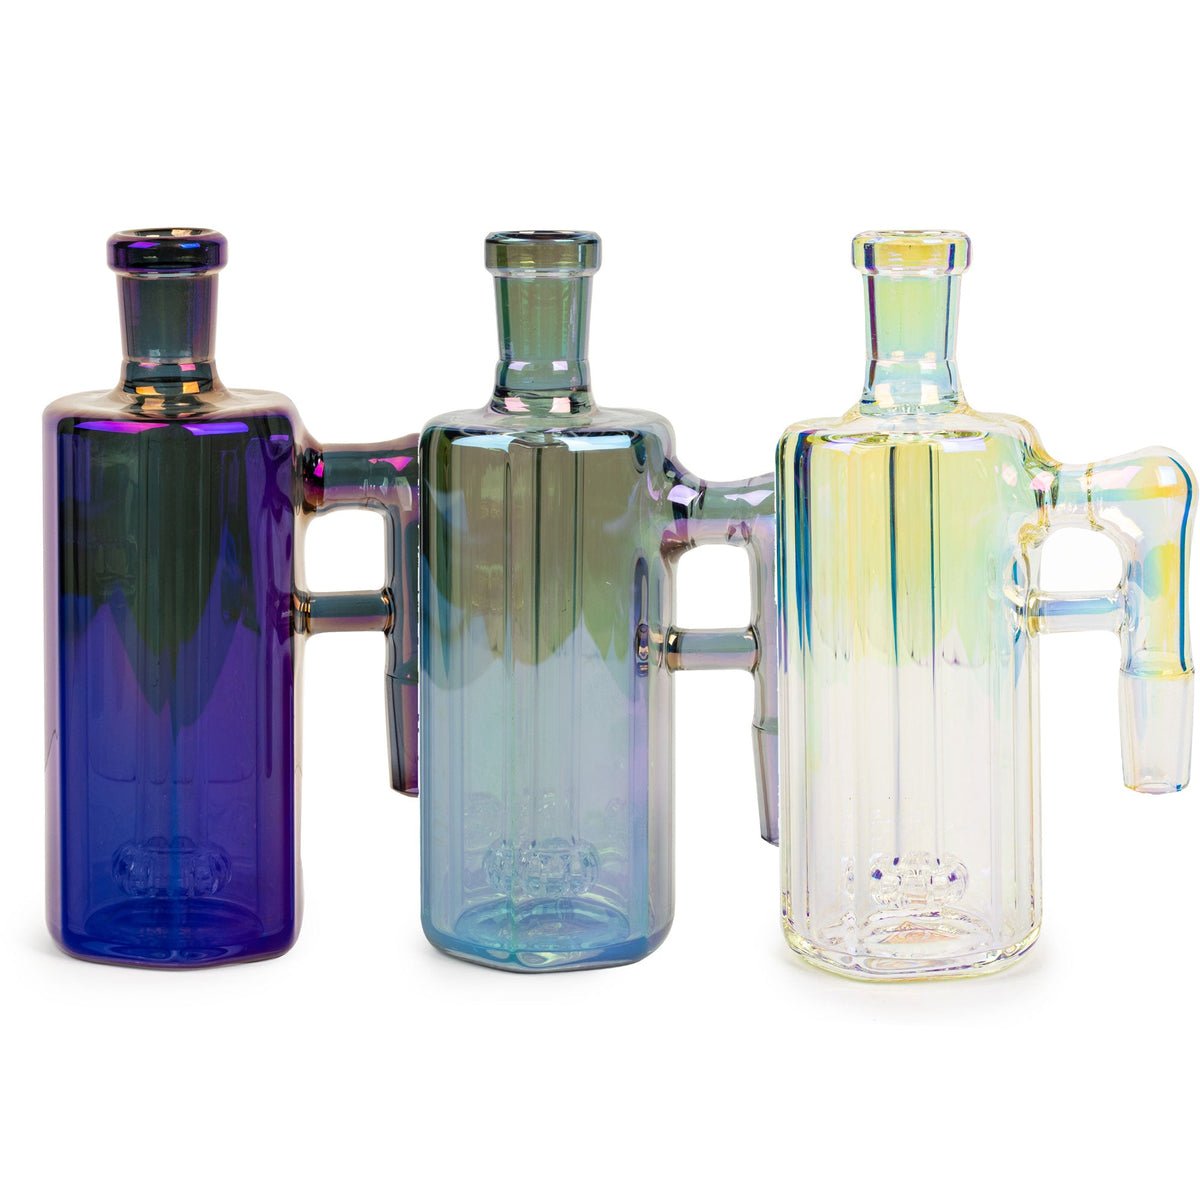
Credit: www.thedablab.com
Tools And Materials Needed
Before you start cleaning your ash catcher, gather the right tools and materials. Having everything ready makes the process smoother and more effective. The right supplies help you avoid damage and get your ash catcher sparkling clean.
Cleaning Solutions
Choosing the right cleaning solution is crucial. Isopropyl alcohol (at least 90%) works wonders for breaking down resin and ash buildup. You can also try specialized glass cleaners made for hookahs or pipes.
If you prefer a natural option, white vinegar mixed with warm water can do the trick. Just make sure to rinse thoroughly afterward to avoid leftover smells. Have you ever used baking soda? It’s great for scrubbing stubborn spots when combined with a bit of water.
Brushes And Scrubbers
Not all brushes are created equal. A small bottle brush or pipe cleaner fits perfectly inside narrow parts of your ash catcher. Soft bristle brushes help avoid scratching delicate glass surfaces.
For tougher grime, a nylon scrubber or sponge with a rough side can be very effective. Avoid metal scrubbers—they can damage your glass. Think about the last time you cleaned a similar item—did you find a particular brush worked best? That insight can guide your choice here.
Protective Gear
Cleaning solutions can be harsh on your skin, so gloves are a must. Disposable nitrile or latex gloves protect your hands from chemicals and grime. You’ll want to avoid irritation, especially if you clean often.
Eye protection is wise if you’re handling strong cleaners or scrubbing vigorously. Safety glasses shield your eyes from splashes. Have you ever gotten cleaner in your eyes? It’s a painful reminder why gear matters.

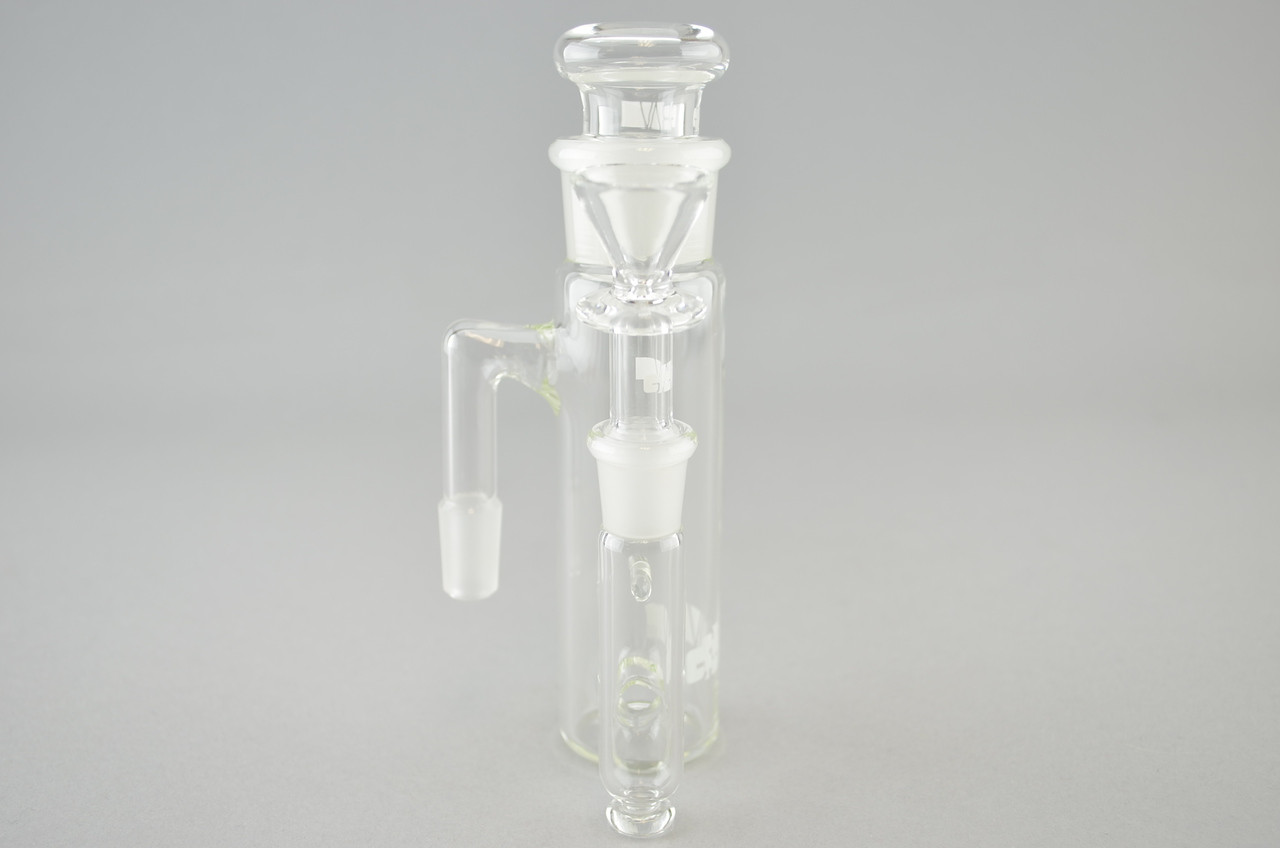
Credit: www.zeevapor.com
Preparing The Ash Catcher
Preparing the ash catcher is the first important step in cleaning it effectively. This process helps you reach all parts and remove hidden ash. Proper preparation makes cleaning easier and more thorough.
Disassembling Parts
Start by carefully taking apart the ash catcher. Remove any detachable pieces, such as lids or screens. Keep track of small parts to avoid losing them. Disassembling exposes the inner surfaces for better cleaning.
Emptying Residual Ash
Gently tap the ash catcher to remove loose ash. Use a soft brush or cloth to clear remaining ash inside. Avoid using water at this stage to prevent clumping. Clearing ash fully prevents buildup and keeps the catcher working well.
Cleaning Process
Cleaning your ash catcher properly ensures a smoother smoking experience and extends the life of your gear. The cleaning process involves breaking down stubborn resin and ash buildup without damaging the glass or metal. Let’s dive into effective techniques that make this task easier and more efficient.
Soaking Techniques
Start by soaking your ash catcher in a cleaning solution to loosen tough residue. You can use isopropyl alcohol mixed with coarse salt, which acts as a natural abrasive. Let it sit for at least 30 minutes, but overnight soaking often works best for heavy buildup.
Make sure the ash catcher is fully submerged to reach all the nooks and crannies. Ever tried just rinsing without soaking? It rarely gets the job done completely, leaving behind stubborn spots.
Scrubbing Methods
After soaking, scrub your ash catcher gently with a brush or pipe cleaner to remove remaining residue. Focus on areas where ash tends to collect, such as corners and joints. Avoid using metal brushes that can scratch the glass; soft-bristled brushes work well.
If you notice stubborn spots, add a bit more alcohol and salt directly onto the brush for extra scrubbing power. Have you ever found a hidden clog that soaking alone didn’t clear? Scrubbing often reveals and clears those tough areas.
Rinsing Thoroughly
Once scrubbed, rinse your ash catcher thoroughly with warm water to wash away all cleaning agents and loosened residue. Leaving any alcohol or salt behind can affect the taste and purity of your next session.
Inspect your ash catcher after rinsing. If it still looks cloudy or dirty, repeat the soaking and scrubbing steps. Clean water should flow freely through all parts, signaling your ash catcher is ready to use again.
Drying And Reassembling
Allow the ash catcher to dry completely to avoid moisture buildup. Carefully reassemble all parts, ensuring a snug fit for optimal use.
After thoroughly cleaning your ash catcher, it’s crucial to dry and reassemble it correctly. Proper drying ensures no moisture remains, which could affect your smoking experience. Reassembling the ash catcher accurately prevents leaks and keeps your sessions smooth.Air Drying Tips
Place the ash catcher on a clean towel. Ensure it’s in a well-ventilated space. Avoid direct sunlight as it can cause damage. Allow it to dry completely before reassembly. This prevents any residual moisture from affecting performance.Reattaching Components
Once dry, carefully inspect each part. Ensure all pieces are completely dry. Begin reattaching each component gently. Align them correctly to avoid any misfit. Secure each piece firmly but avoid over-tightening. This helps maintain the integrity of the connections.Maintenance Tips
Keeping your ash catcher clean is key to enjoying smooth hits and extending the life of your gear. Maintenance isn’t just about aesthetics—it directly affects performance and your overall experience. Here are some practical tips to help you stay on top of it.
Regular Cleaning Schedule
Set a routine that fits your usage. If you smoke daily, cleaning your ash catcher once a week can prevent stubborn residue buildup. For occasional use, a thorough clean every two to three weeks usually works well.
Mark it on your calendar or set a phone reminder to make sure you don’t skip it. Consistency will save you time and effort in the long run. Have you noticed how skipping cleaning even once makes the residue harder to remove?
Preventing Build-up
Stopping buildup before it starts makes cleaning easier and keeps your ash catcher functioning smoothly. Rinse your ash catcher with warm water immediately after each session to wash away loose ash and resin.
Using a small brush or pipe cleaner regularly helps reach tight spots. Avoid letting residue dry for too long—it becomes sticky and tough to remove. Think about how much time you waste scrubbing old grime; a quick rinse can prevent all that hassle.
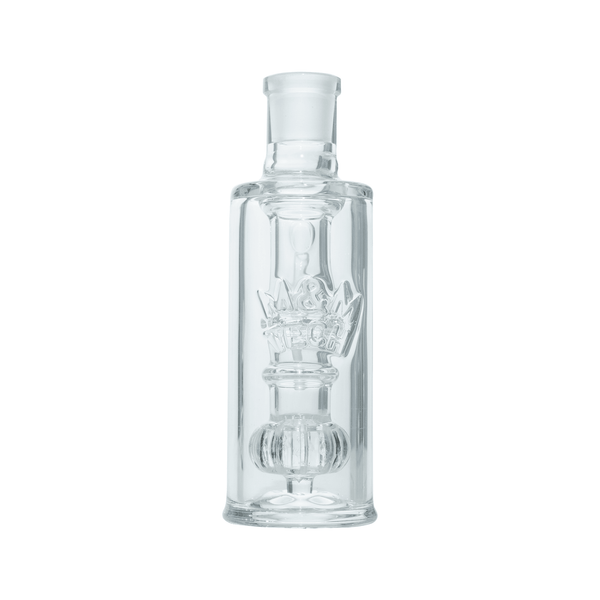
Credit: getmmtech.com
Troubleshooting Common Issues
Cleaning an ash catcher can sometimes be tricky. Some problems may slow down your progress or make cleaning less effective. Troubleshooting these common issues helps keep your ash catcher spotless and working well. The tips below tackle two frequent problems: stubborn stains and odors.
Stubborn Stains
Some stains stick tightly to the ash catcher’s surface. These usually come from burnt resin or tar. To remove them, soak the ash catcher in warm water mixed with a bit of dish soap. Let it sit for 30 minutes.
Use a soft brush or sponge to scrub gently. Avoid hard scrubbing tools that can scratch the glass. For very tough stains, try a mixture of baking soda and water. Apply this paste and let it sit for 15 minutes before scrubbing.
Odor Removal
Odors can linger in the ash catcher, especially after heavy use. To remove smells, rinse the ash catcher with warm water and white vinegar. Vinegar neutralizes odors without harsh chemicals.
Another way is to use lemon juice. It works as a natural deodorizer and leaves a fresh scent. After rinsing, air dry the ash catcher completely to stop any smells from returning.
Frequently Asked Questions
How Often Should I Clean My Ash Catcher?
Clean your ash catcher after every 3-5 uses to avoid residue buildup. Regular cleaning ensures optimal airflow and better smoking experience.
What Materials Are Best For Cleaning Ash Catchers?
Use isopropyl alcohol, warm water, and salt for effective cleaning. These materials dissolve resin and ash without damaging the glass or metal.
Can I Use Household Cleaners For Ash Catchers?
Avoid harsh household cleaners as they may damage your ash catcher. Stick to isopropyl alcohol or specialized cleaning solutions for safe and thorough cleaning.
How Do I Remove Stubborn Resin From An Ash Catcher?
Soak the ash catcher in isopropyl alcohol with coarse salt for 30 minutes. Then, gently scrub with a brush to remove stubborn resin.
Conclusion
Cleaning your ash catcher keeps your smoking experience smooth and fresh. Regular cleaning stops buildup and bad smells. Use warm water and gentle soap for best results. Rinse well and dry completely before use. Clean ash catchers last longer and work better.
Simple steps can save you time and hassle. Keep your gear clean, enjoy every session more. A little effort goes a long way. Ready to clean your ash catcher today?
