
Are you ready to enjoy delicious grilled meals wherever you go? Learning how to assemble a portable charcoal grill is easier than you think.
With the right steps, you can have your grill set up quickly and start cooking in no time. This guide will walk you through every part of the process, helping you avoid common mistakes and get the best results. Keep reading to turn your outdoor cooking plans into reality with confidence and ease.
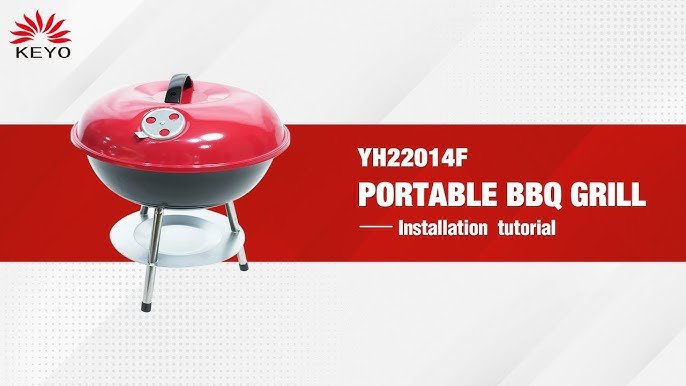
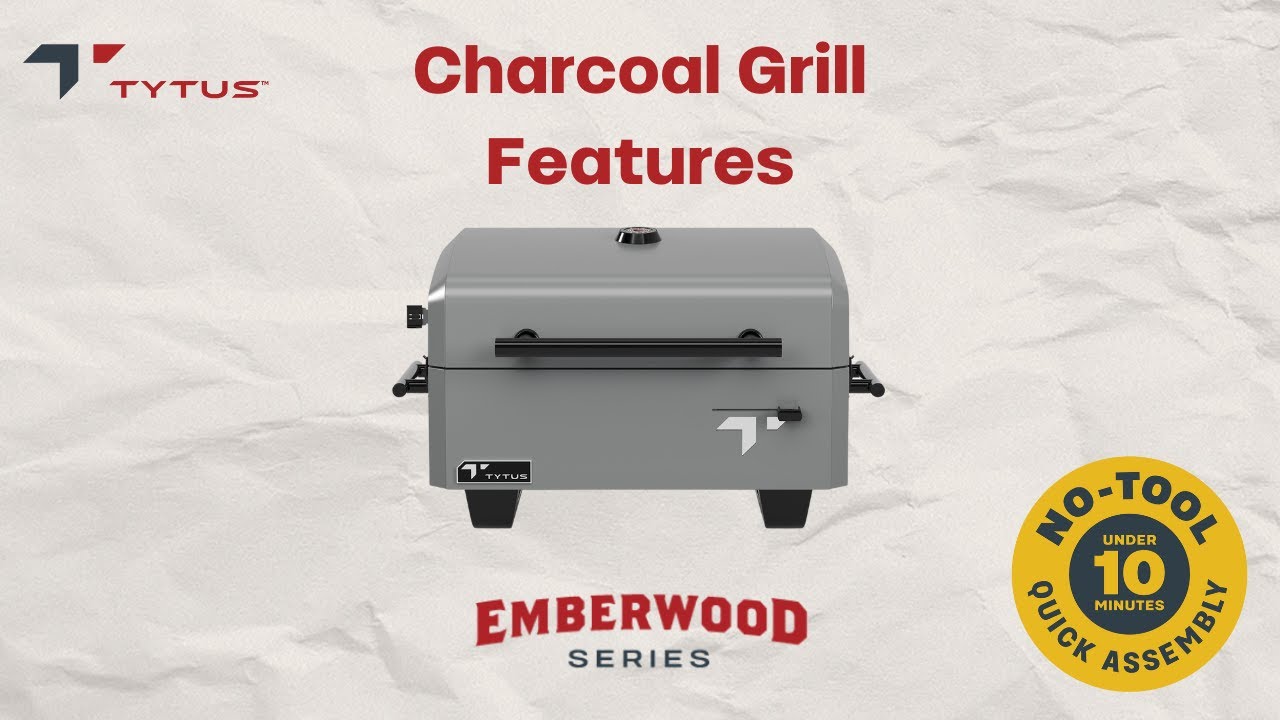
Choosing The Right Grill
Choosing the right portable charcoal grill sets the stage for great outdoor cooking. The perfect grill matches your needs, space, and cooking style. Consider how often you will use it and where you will take it. Portability and ease of use matter a lot. The right grill makes assembling and grilling much easier and more fun.
Types Of Portable Charcoal Grills
Portable grills come in several styles. Each type suits different activities and group sizes.
- Kettle Grills:Round shape, good heat control, classic design.
- Box Grills:Square or rectangular, simple and compact.
- Tabletop Grills:Small, light, fits on tables, great for small spaces.
- Foldable Grills:Collapse for easy transport and storage.
Key Features To Look For
Focus on features that improve cooking and transport.
- Size:Choose a grill that fits your space and group size.
- Weight:Lighter grills are easier to carry.
- Material:Look for rust-resistant steel or aluminum.
- Ventilation:Adjustable vents help control heat.
- Grate Quality:Durable grates ensure even cooking.
- Ease of Assembly:Simple designs save time and effort.
Budget Considerations
Grills come in different price ranges. Set a budget before choosing.
- Low-cost grills suit occasional use and small groups.
- Mid-range grills offer better build and features.
- High-end grills provide durability and advanced options.
Balance cost with quality and features. Avoid very cheap grills that break quickly.
Credit: www.youtube.com
Unboxing And Inspecting Parts
Opening the box of your new portable charcoal grill is an exciting moment. However, before you dive into assembling, take time to carefully unbox and inspect every part. This step helps you avoid surprises later and ensures your grill is ready to perform perfectly when you’re outdoors.
Checking The Components
Start by laying out all the pieces on a flat surface. Compare each part against the instruction manual’s list. Look for the grill body, lid, charcoal grate, cooking grate, legs, handles, and any screws or fasteners included.
Inspect each component for damage like dents, scratches, or missing holes. If you notice anything unusual, note it immediately. Missing or broken parts can halt your assembly and spoil your grilling plans.
Have you ever tried to set up a grill only to realize a crucial piece is missing? Avoid that frustration by double-checking now. This small step saves you time and stress before you start cooking.
Identifying Tools Needed
Next, review the tools required for assembly. Most portable charcoal grills come with basic hardware that can be assembled using simple tools like a screwdriver or wrench.
Check the instruction manual for a recommended tool list. Sometimes, the package includes a small tool kit, but you might need to grab a Phillips head screwdriver or an adjustable wrench from your toolbox.
Ensuring you have the right tools on hand before starting keeps your workflow smooth. Imagine stopping midway because you need a tool—keeping them ready means you stay focused on putting your grill together efficiently.
Preparing The Assembly Area
Preparing the assembly area is the first crucial step when putting together your portable charcoal grill. A well-organized and safe workspace can make the process smoother and prevent avoidable frustrations. Setting up the right environment helps you focus on the task and reduces the risk of losing small parts or tools.
Selecting A Safe Workspace
Choose a flat, stable surface with plenty of space around it. This prevents the grill from tipping over during assembly and gives you room to move comfortably. Avoid areas with heavy foot traffic to keep curious pets or children away from sharp tools and small parts.
Good lighting is essential. Whether it’s natural daylight or a bright lamp, clear visibility helps you follow instructions accurately. Have you ever struggled to find a tiny screw in dim light? Avoid that hassle by preparing your workspace well.
Organizing Parts And Tools
Before you start, lay out all parts and tools neatly. Use a table or a clean floor area where nothing can roll away. Group similar items together—screws, bolts, grill grates—to quickly identify what you need.
Keep your tools within reach, but not in a cluttered pile. This saves you time hunting for a screwdriver or wrench mid-assembly. If your grill kit includes an instruction manual, place it nearby for easy reference.
Assembling The Grill Base
Begin by placing the grill base on a flat surface. Secure the legs firmly to ensure stability. Attach any support brackets to keep the base steady during use.
Assembling the grill base of your portable charcoal grill is a straightforward process, yet it’s crucial for achieving the perfect grilling experience. A stable base ensures safety and optimal performance. Before you start, gather all parts and tools, so you can smoothly transition through the assembly steps. By the time you’re done, you’ll be ready to fire up your grill and enjoy that smoky flavor we all love.Attaching Legs And Supports
To begin, locate the legs of your grill. Typically, these come in four separate pieces. – Position each leg at the designated corners of the grill base. – Align the holes in the legs with those in the base, ensuring a snug fit. Use the screws and nuts provided in your kit. Tighten them securely to avoid any wobbling. It’s like setting a foundation for a house—without solid support, everything else may crumble. Once the legs are attached, add any additional support brackets that came with your grill. These usually fit between the legs to enhance stability.Securing The Charcoal Tray
Once the legs and supports are in place, it’s time to secure the charcoal tray. The tray is where the magic happens, where your charcoal will sit and heat up to cook your food. – Slide the charcoal tray into its designated slot at the bottom of the grill. Ensure it sits flat and is evenly supported by any clips or hooks. This step is crucial for an even heat distribution across your grill. If the tray is tilted, you might end up with hot spots, which can lead to uneven cooking. Have you ever tasted a piece of meat that’s half-cooked and half-burnt? Ensuring that the charcoal tray is properly secured prevents this grilling mishap. Double-check all connections and make sure the tray is stable. Once everything is locked in place, you’re ready to stack your charcoal and prepare for a delightful grilling session.Installing The Grill Body
Installing the grill body is a key part of assembling your portable charcoal grill. This step ensures the main chamber is secure and ready for cooking. Proper installation also helps with air flow, which controls the heat and smoke inside the grill. Focus on positioning the parts correctly and tightening all connections.
Mounting The Main Grill Chamber
Start by placing the main grill chamber on a flat surface. Align the holes on the chamber with the base or stand. Use the screws or bolts provided to attach the chamber firmly. Check that the chamber sits evenly and does not wobble. Tighten all fasteners to avoid any movement during use.
Handle the chamber carefully to avoid dents or scratches. The chamber holds the charcoal and cooking grate, so it must be stable. A well-mounted chamber improves safety and cooking results.
Connecting Air Vents
Locate the air vents on the grill body. These vents control airflow and temperature inside the grill. Attach the vents using the included screws or clips. Make sure the vents open and close smoothly. Adjust the vents to test their movement before using the grill.
Proper vent installation allows better heat control. It helps the charcoal burn evenly and keeps smoke flowing. Check that vents are sealed well to prevent air leaks. Good air vent connection improves grilling performance.

Credit: www.youtube.com
Attaching The Grill Grate And Lid
Attaching the grill grate and lid is an important step in assembling your portable charcoal grill. These parts hold the food and control heat during cooking. Proper installation ensures safety and better grilling results. Follow simple steps to place the cooking grate and install the lid with handles.
Placing The Cooking Grate
The cooking grate sits directly above the charcoal tray. It holds the food while grilling. Align the grate carefully with the grill’s frame. Make sure it fits securely without wobbling. A stable grate prevents food from falling and allows even heat distribution.
- Lift the cooking grate gently by its edges.
- Place it evenly on the support ledges inside the grill.
- Check that the grate does not move when pressed lightly.
- Adjust the position if any side feels loose or uneven.
Installing The Lid And Handles
The lid helps keep heat inside for better cooking. It also protects food from wind and sparks. Attach the lid carefully to avoid damage. Most lids come with handles for easy lifting and safety.
- Align the lid’s hinges with the grill’s hinge slots.
- Slide the lid into place, ensuring it opens and closes smoothly.
- Secure the handles using screws or clips provided.
- Tighten handles firmly but avoid over-tightening to prevent cracking.
- Test the lid’s movement to confirm it is stable and secure.
Final Checks And Adjustments
Before firing up your portable charcoal grill, it’s crucial to perform final checks and adjustments. These last steps ensure your grill functions safely and efficiently. Taking a few extra minutes here can prevent frustration and enhance your grilling experience.
Ensuring Stability
Check that all legs and supports are securely attached and firmly on the ground. A wobbly grill can be dangerous, especially when hot charcoal is involved. Give the grill a gentle shake to test its steadiness—if it tips or rocks, tighten the screws or adjust the legs until it stands solidly.
Consider the surface where you place the grill. Uneven or soft ground can cause instability, so use a flat, hard surface whenever possible. If you’re outdoors on grass or dirt, placing a sturdy board underneath can help keep things balanced.
Testing Airflow Controls
Airflow controls regulate the temperature inside the grill, so they must move smoothly and open fully. Slide the vents back and forth to ensure nothing is stuck or obstructed. Proper airflow lets you control the heat, which is key for cooking your food evenly.
Try adjusting the vents while the grill is cold first. This practice helps you understand how much each adjustment affects airflow. Have you noticed how just a small change can shift the heat dramatically? Mastering this lets you grill like a pro, even on a portable setup.
Safety Tips For First Use
Starting your portable charcoal grill for the first time is exciting, but safety should always be your top priority. Taking a few extra precautions can protect you from accidents and ensure a smooth grilling experience. Let’s look at some essential safety tips to keep in mind before lighting up your grill.
Lighting The Charcoal Safely
Always use a charcoal chimney starter or approved lighter fluid to ignite your charcoal. Avoid using gasoline or other flammable liquids that can cause dangerous flare-ups.
Light the charcoal in a well-lit area and keep children and pets away. Never add lighter fluid to burning or hot coals—this can cause sudden flames and serious burns.
Proper Ventilation
Grilling produces carbon monoxide, an odorless and deadly gas. Always set up your grill outdoors in a well-ventilated space to allow smoke and gases to disperse safely.
Never use your portable charcoal grill inside a garage, tent, or enclosed patio. If you’re unsure about ventilation, step back and ask yourself: is fresh air flowing freely around your grill?
Handling Hot Surfaces
The grill and charcoal can stay hot for hours after cooking. Use heat-resistant gloves or long-handled tools to avoid burns when adjusting vents or moving the grill.
Place your grill on a stable, heat-resistant surface away from flammable materials. Have a spray bottle of water or a fire extinguisher nearby, just in case small flare-ups occur.
Maintenance And Storage
Keep your portable charcoal grill clean by removing ashes and wiping down surfaces after use. Store it in a dry place to avoid rust and damage. Regular checks help maintain its condition for longer grilling enjoyment.
Maintaining and storing your portable charcoal grill properly ensures it remains in top condition, ready to serve up delicious meals at a moment’s notice. Regular maintenance not only extends the life of your grill but also enhances safety and efficiency. Let’s dive into the essential steps for keeping your grill clean and stored correctly.Cleaning After Use
Cleaning your portable charcoal grill after each use is crucial. Begin by allowing the grill to cool down completely. This is a great time to relax and enjoy the afterglow of a successful barbecue. Once cooled, remove any leftover charcoal and ash. An ash tool or small shovel can be very handy for this task. Dispose of the ash safely, ensuring it’s completely extinguished to avoid any fire risks. Next, focus on the grates. A grill brush with sturdy bristles works wonders for scrubbing off leftover food particles. If you’re out of a grill brush, a crumpled piece of aluminum foil can be a great alternative. For a deeper clean, consider soaking the grates in warm soapy water. This helps to loosen any stubborn residue. Remember, a clean grill not only looks better but cooks better too.Storing The Grill Properly
Proper storage is key to prolonging the life of your grill. Once your grill is clean and dry, it’s ready to be stored. Always store your grill in a dry location. Moisture can cause rust and deterioration. If you don’t have indoor storage, a weather-resistant cover is a must. Think about the space you have available. Is there a spot in your garage or shed that can accommodate the grill? Vertical storage can save space; just make sure it’s stable. Consider the grill’s portability. If you’re frequently on the go, having a designated spot in your vehicle for your grill can save you time and hassle. It’s all about making your grilling adventures as seamless as possible. Are there any specific tricks you’ve discovered to keep your grill in top shape? Share your tips in the comments!
Credit: www.youtube.com
Frequently Asked Questions
How Do I Start Assembling A Portable Charcoal Grill?
Begin by unpacking all parts and checking the instruction manual. Lay out the components on a flat surface for easy access. Attach the legs, grill body, and charcoal tray following the step-by-step guide provided. Ensure all screws and bolts are tightened securely.
What Tools Are Needed To Assemble A Portable Charcoal Grill?
Most portable charcoal grills require basic tools like a screwdriver and wrench. Some models include these tools in the package. Check the instruction manual to confirm. Having pliers and gloves handy can also help during assembly for better grip and safety.
How Long Does It Take To Assemble A Portable Charcoal Grill?
Assembly typically takes between 20 to 45 minutes depending on the grill model and your experience. Reading instructions thoroughly before starting speeds up the process. Taking your time ensures proper assembly and safety during use.
Can I Assemble A Portable Charcoal Grill Without Instructions?
While possible, it’s not recommended to assemble without instructions. The manual ensures correct placement of parts and safe assembly. Missing steps can lead to unstable or unsafe grills. Always refer to the manufacturer’s guide for best results.
Conclusion
Assembling your portable charcoal grill can be quick and simple. Follow each step carefully for the best results. Check all parts fit tightly and securely. Clean the grill before your first use. Enjoy cooking outdoors with your new grill. Keep safety in mind while handling hot charcoal.
Practice assembling once or twice to feel confident. Now, you are ready for tasty grilled meals anywhere. Happy grilling!
