
You love the convenience of your portable gas grill, but cleaning it? That can feel like a chore.
What if you could make the process quick, easy, and even satisfying? Knowing how to clean your portable gas grill properly not only keeps your food tasting great but also extends the life of your grill. In this guide, you’ll discover simple steps and smart tips that anyone can follow.
By the end, your grill will be spotless, ready for your next cookout. Keep reading—you’re about to become a grill-cleaning pro.
Prepare Your Grill
Preparing your portable gas grill before cleaning is essential for a smooth and safe process. Taking a few moments to set up properly can save you time and prevent accidents. Let’s look at how you can get your grill ready effectively.
Gather Cleaning Supplies
Start by collecting everything you need in one place. Basic supplies include a grill brush, warm soapy water, a sponge or cloth, and a scraper for stubborn residue. Having these ready means you won’t have to interrupt your cleaning to find tools.
Consider using a grill cleaner spray designed for gas grills to make the job easier. Don’t forget gloves to protect your hands and a bucket to hold dirty water. What cleaning supplies do you usually keep on hand for your outdoor gear?
Ensure Safety Measures
Safety should always come first. Make sure your grill is completely cool before you touch it to avoid burns. Also, clean in a well-ventilated area to prevent inhaling fumes from grease or cleaning products.
Check your grill’s manual for any specific safety warnings. Keeping a fire extinguisher nearby is a smart move, especially if you’re dealing with gas appliances. Have you ever encountered a safety issue while cleaning your grill?
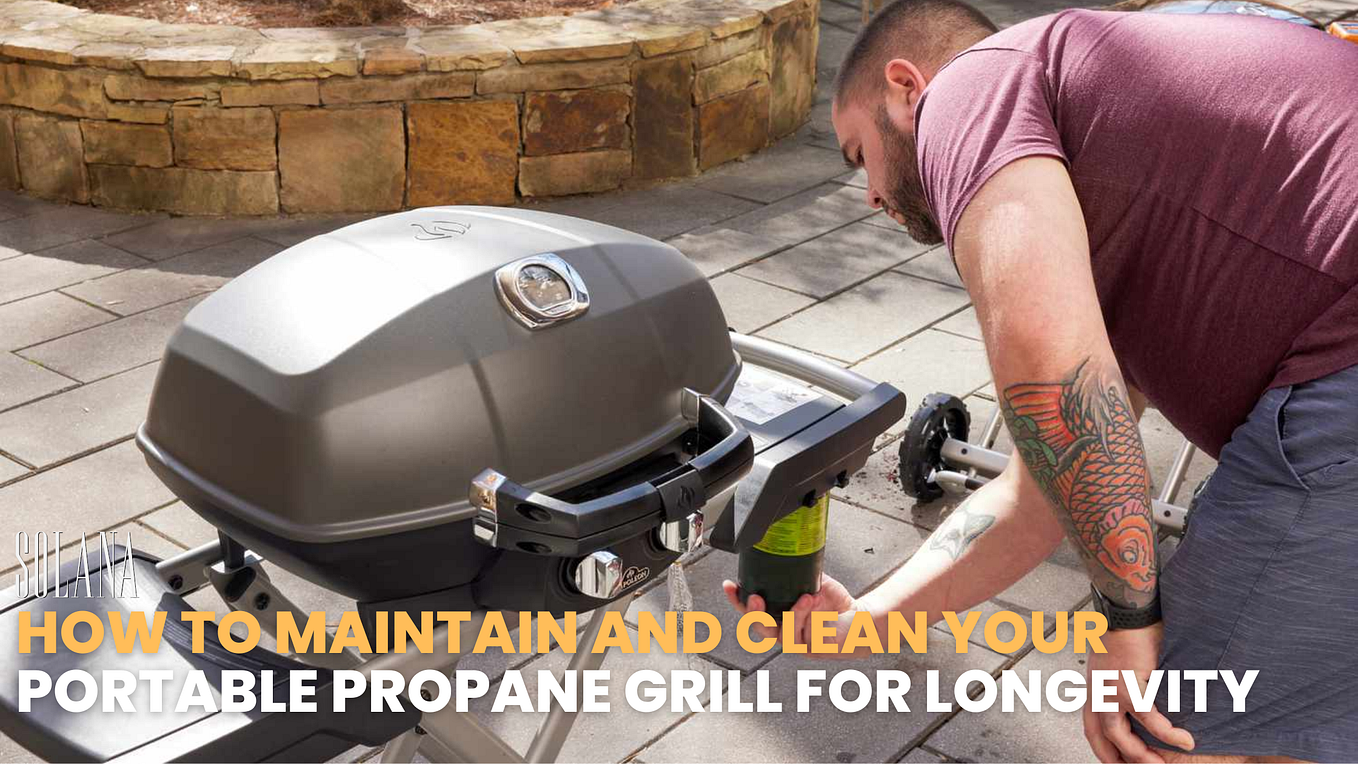
Disconnect Gas Supply
Before you start scrubbing, always disconnect the gas supply. Turn off the propane tank valve and detach the hose carefully. This step eliminates the risk of accidental gas leaks or ignition while cleaning.
If you’re unsure how to do this, review your grill’s instructions or watch a quick tutorial online. Properly disconnecting the gas is a small step that makes a big difference in safety. When was the last time you checked your grill’s gas connections for leaks?
Credit: medium.com
Clean The Grill Grates
Cleaning the grill grates is essential for great tasting food and longer grill life. Dirty grates cause flare-ups and uneven cooking. Regular cleaning removes stuck-on food and grease. It helps keep your portable gas grill ready for the next cookout.
Remove And Soak Grates
Start by carefully removing the grates from the grill. Place them in a large container or sink. Fill with warm water and a few drops of dish soap. Let the grates soak for 20 to 30 minutes. This softens burnt food and grease, making scrubbing easier.
Scrub Away Residue
Use a grill brush or a scrub sponge to clean the grates. Focus on all sides and corners. Scrub until the residue loosens and comes off. For tough spots, apply a paste of baking soda and water. Let it sit, then scrub again. Avoid metal brushes if your grates are coated.
Rinse And Dry
Rinse the grates thoroughly with clean water. Make sure no soap or residue remains. Shake off excess water and dry the grates with a clean cloth. Let them air dry fully before putting back on the grill. This prevents rust and keeps the grill in good shape.
Clean The Burner Tubes
Remove burner tubes carefully and use a brush to clear out dirt and debris. Clean tubes ensure even gas flow and better grilling performance. Regular cleaning helps prevent clogs and flare-ups during cooking.
Cleaning the burner tubes of your portable gas grill is crucial for maintaining its performance and ensuring even cooking. Burner tubes can get clogged with grease, food particles, and other debris, which can lead to uneven heat distribution and flare-ups. Taking the time to clean them effectively will not only extend the lifespan of your grill but also enhance your grilling experience. So, let’s dive into how you can keep those burner tubes in tip-top shape.Remove Debris
Begin by turning off the gas supply and disconnecting the propane tank. Safety first! Once that’s done, carefully remove the grill grates and any other parts obstructing access to the burner tubes. Use a small brush or a soft-bristled toothbrush to gently sweep away any loose debris or food particles from the tubes. This simple step can prevent clogging and improve burner efficiency. It’s surprising how much gunk can accumulate. Have you ever noticed how a small effort in cleaning can drastically improve performance?Clear Blockages
After removing visible debris, it’s time to clear any blockages inside the tubes. A thin, flexible tool like a pipe cleaner or a specialized burner cleaning rod works wonders here. Gently insert the tool into each tube, moving it back and forth to dislodge any stubborn deposits. You might feel resistance at first, but persistence pays off. Doesn’t it feel satisfying to know that a little cleaning can restore your grill’s power and precision?Inspect For Damage
Once the tubes are clear, take a moment to inspect them for any signs of damage. Look for rust, cracks, or holes that could affect performance. If you spot any damage, consider replacing the tubes. This might be an opportunity to upgrade to more durable materials. Ever thought about how a simple inspection can save you from bigger issues down the line? Your grill—and your meals—will thank you!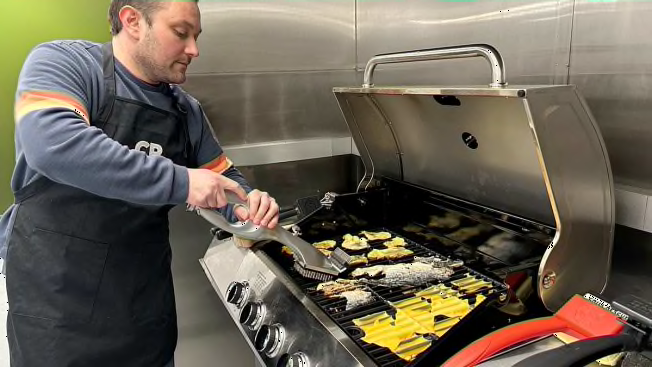
Credit: www.consumerreports.org
Clean The Interior And Exterior
Keeping your portable gas grill clean inside and out is key to maintaining its performance and extending its life. A well-cleaned grill not only looks inviting but also ensures your food tastes fresh without any unwanted flavors from leftover grease or dirt. Let’s dive into practical ways you can tackle both the interior and exterior surfaces effectively.
Scrape Off Grease
Grease buildup inside your grill can cause flare-ups and uneven cooking. Use a sturdy grill scraper or a putty knife to gently remove hardened grease from the grill grates and the interior walls. Pay special attention to corners and crevices where grease tends to collect.
Don’t forget to clean the grease trap or drip pan—empty it regularly to avoid messy spills. Have you noticed how much easier cooking is after a thorough scrape? That’s the payoff of this simple step.
Wipe Down Surfaces
After scraping, wipe all surfaces with a damp cloth or sponge soaked in warm, soapy water. This removes any remaining residue and dirt inside and outside the grill. For stubborn spots, a mix of baking soda and water makes a gentle, effective scrub.
Make sure to rinse thoroughly with clean water to avoid soap taste on your food. Regular wiping keeps grime from building up and helps you spot any damage early, like rust or cracks.
Polish Stainless Steel
If your grill has stainless steel parts, polishing them keeps your grill looking new and protects against rust. Use a stainless steel cleaner or a simple mix of vinegar and olive oil applied with a soft cloth. Rub in the direction of the metal grain for the best shine.
Polishing not only improves appearance but also makes future cleaning easier. Have you tried this on your grill? The difference in shine is often surprising and satisfying.
Reassemble And Test
After thoroughly cleaning your portable gas grill, it’s time to put everything back together and ensure it works safely. Reassembling the grill correctly is crucial to avoid leaks or malfunctions. Testing your grill before the next cookout guarantees a smooth, hassle-free grilling experience.
Reattach Components
Start by carefully reattaching all the parts you removed. This includes burners, heat shields, and cooking grates. Make sure each piece fits snugly into place—loose components can affect performance and safety.
Take your time and double-check connections. Missing a small clip or screw can cause bigger problems later. If you struggled with reassembly before, consider taking pictures during disassembly next time to guide you.
Reconnect Gas
Once the grill components are secure, reconnect your propane tank or gas line. Ensure the connection is tight and properly aligned to prevent leaks. Use a wrench if necessary, but don’t overtighten—it can damage the fittings.
Have you ever experienced that unsettling smell of gas after setting up your grill? That often means a loose connection. Avoid this by always checking the connection points carefully before proceeding.
Perform Safety Check
Before firing up the grill, perform a safety check. Apply a soap and water solution to all gas connections and watch for bubbles indicating leaks. Never skip this step, as even a small leak can be dangerous.
Next, open the grill lid, turn on the gas, and ignite the burners. Observe the flame—it should be steady and blue. Yellow or flickering flames suggest a problem that needs addressing before cooking.
Have you noticed odd smells or sounds during testing? These are signs to stop and troubleshoot. Your safety and enjoyment depend on a properly functioning grill.
Maintenance Tips
Maintaining your portable gas grill goes beyond just cleaning after use. A little effort in upkeep can save you from costly repairs and keep your grill performing at its best. Here are essential maintenance tips that help extend the life of your grill while ensuring every cookout is safe and enjoyable.
Regular Cleaning Schedule
Set a cleaning routine based on how often you use your grill. After every use, scrape off food residue from the grates while they’re still warm. Deep clean the burners and grease tray at least once a month to prevent buildup that can cause flare-ups.
Keeping a grill brush handy makes it easier to stay on top of this task. Have you noticed that skipping even one cleaning session makes the next one harder? That’s why consistency matters.
Proper Storage
Where you store your portable grill affects its lifespan significantly. Keep it in a dry, covered area to protect it from rain and dust. If storing outside, invest in a high-quality grill cover that fits snugly.
Disconnect the propane tank when not in use for long periods. This simple step prevents leaks and damage to the valves. Have you ever returned to a grill only to find it rusty or unusable? Proper storage prevents that disappointment.
Prevent Rust And Corrosion
Rust can ruin your grill’s metal parts and affect food safety. After cleaning, dry all parts thoroughly before storing. Applying a light coat of cooking oil on grates can create a protective barrier.
Check for any signs of corrosion regularly, especially around the burners and connections. Replace any rusted components promptly to maintain safety. Do you inspect your grill closely or wait until a problem appears? A quick look now can save you from bigger trouble later.

Credit: www.treelinereview.com
Frequently Asked Questions
How Often Should I Clean My Portable Gas Grill?
Clean your portable gas grill after every use to maintain performance. Regular cleaning prevents grease buildup and prolongs grill life. Deep clean it monthly or after heavy use for optimal hygiene and safety.
What Tools Do I Need To Clean A Gas Grill?
You need a grill brush, mild soap, sponge, and cloth. Also, use a scraper for stubborn residues and a bucket of warm water. These tools help remove grease and food particles effectively.
Can I Use Household Cleaners On My Gas Grill?
Avoid harsh household cleaners on your gas grill. Use mild soap and water instead. Harsh chemicals can damage grill surfaces and affect food safety. Always rinse thoroughly to remove soap residue.
How Do I Clean The Grill Grates Properly?
Remove grates and soak them in warm, soapy water. Scrub with a grill brush to remove stuck food. Rinse and dry thoroughly before placing them back in the grill. This ensures a clean cooking surface.
Conclusion
Cleaning your portable gas grill keeps it working well and safe. Regular cleaning stops grease build-up and flare-ups. Use simple tools and mild soap for the best results. Remember to clean after each use to save time later. A clean grill means better tasting food every time.
Take a few minutes to care for your grill. Enjoy your cooking with less worry and more fun. Simple steps lead to a grill that lasts longer and works great. Keep your grill clean and ready for your next meal.
